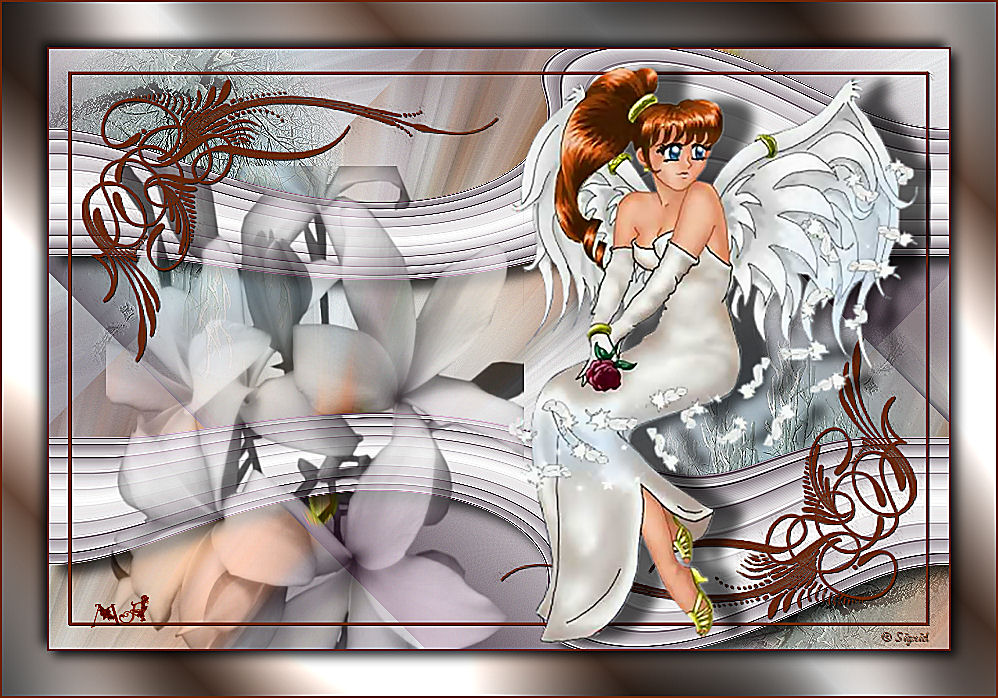
White Lady

I am member of TWInc
This tutorial is protected


Conditions of use of the material provided
It is forbidden to modifiy, change the name, take off the watermarks or alter the tubes.
It is forbidden to share them in groups or offer them on your site, blog or forum.
If you want to use them to create a tutorial, you must ask the permission of the authors.

Matérial
1 tube created by Betsie

1 mist created by Nurso 53
1 mask created by Sigrid
download material


thank you to the tubers for their wonderful work
Plugins
Simple/Diamonds
Xero/Improver
Graphic Plus/Cross Shadow
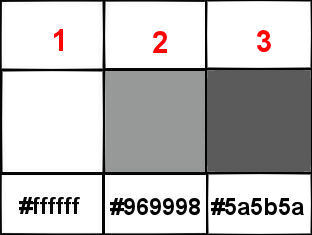
Colors palette
foreground color #ffffff (white) --> color 1
background color #969998 --> color 2
# 5a5b5a --> color 3
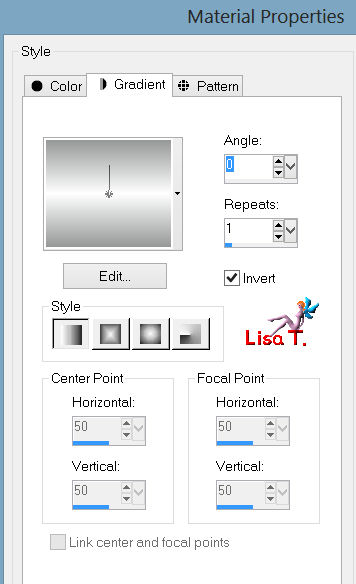
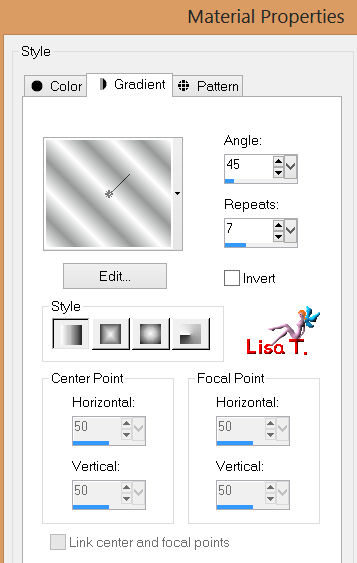
in the materials palette, prepare a linear gradient / 0/1 / check “invert”
Use the paint brush to follow the steps
left click to grab it

Realization
Step 1
open a new transparent raster background
900 X 600 pixels
activate the flood fill too, and paint with the gradient
selections/select all
Step 2
activate the tube “Betsie 384”
edit/copy – back on your work – edit/paste into selection
selections/select none
Step 3
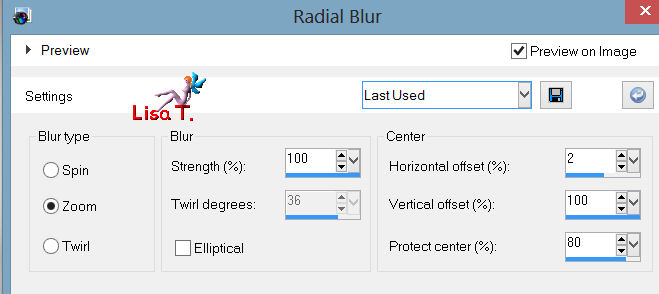
adjust/blur/radial blur
effets/edge effects/enhance
effects/plugins/Simple/Diamonds
Step 4
activate the tuve “NS-08-0501-10”
copy and paste as a new layer
image/resize/uncheck the box “rezize all layers”/150%
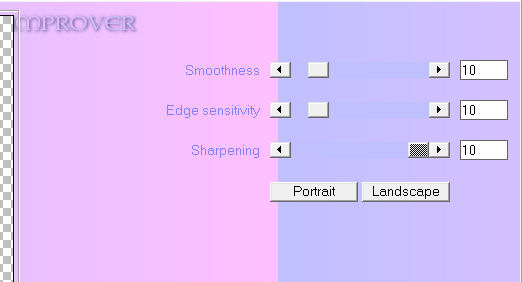
effects/plugins/Xero/Improver
move the tube as shown on the final result
layers/duplicate – image/mirror – image/flip
Step 5
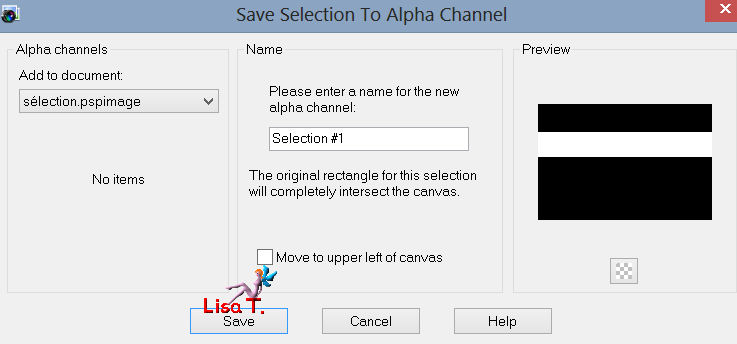
open the selection “sélection.pspimage”
selections/load-save selection/save selection to alpha channel
save the selection with the name “selection#1”
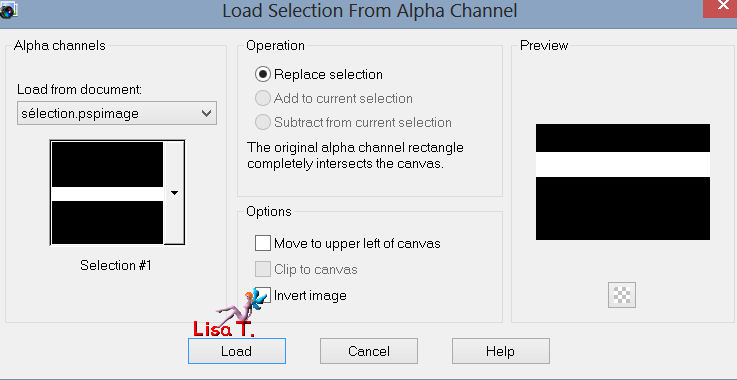
activate your tag
selections/load-save selection/load selection from alpha channel
find selection #1/load
Step 6
layers/new raster layer
paint the selection with the gradient
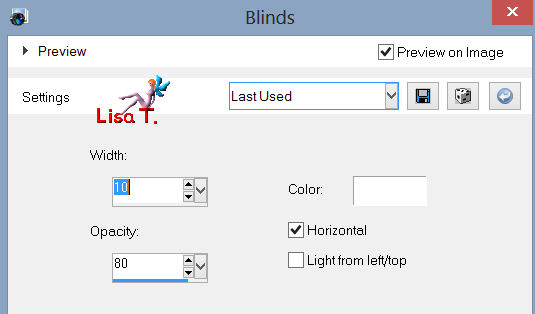
effects/texture effects/blinds
effects/geometric effects/cylinder-horizontal /strength 25%
selections/select none
effects/distortion effects/twirl/120
effects/edge effect/enhance
effects/3D effects/drop shadow/ 10 / 10 / 70 / 15 / black
move the form downwards (see final result)
layers/duplicate - image/flip
Step 7
layers/new raster layer
in the materials palette, set color 3 as background
paint with color 3 (right click)
Step 8
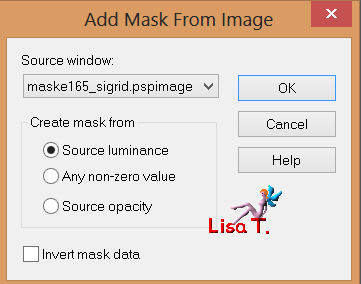
open the mask “masque165-sigrid” and minimize the window
activate your work
layers/new mask layer/from image
find mask “masque165-sigrid”
keep the mask active (mask-raster4) in the layers palette
effects/edge effects/enhance
layers/merge/merge group
effects/3D effects/drop shadow/ 1 / 1 / 100 / 1 / black
Step 9
open the tube “betsie-384-14feb.2010”
copy and paste as a new layer
place as shown on the final result
effects/plugins/Xero/Improver 10 / 10 / 10 as on step 4
layers/duplicate
in the layers palette, activate layer “raster 4”
effects/3D effects/drop shadow/ 0 / 30 / 65 / 15 / black
in the layers palette, activate the layer “copy of raster 4”
image/mirror, and move as shown
layers/arrange/move down
in the layers palette, set the blend mode of the layer on Luminance(legacy) and the opcity on 50%
activate the layer “raster 4”
in the layers palette, set color 2 as background
foreground --> linear gradient --> 45/7 -->uncheck “invert”
Step 10
image/add borders/2 pixels/check “symmetric”/color 3
image/add borders/45 pixels/contrasting color
activate the magic wand tool with the following settings

select the large border with the magic wand
paint the selection with the gradient prepared on step 9
effects/plugins/Graphic Plus/Cross Shadow/default settings
selections/invert
effects/3D effects/drop shadow/ 6 / 6 / 80 / 15 / black
and again with -6 / -6 / 80 / 15 / black
selections/select none
image/add borders/2 pixels/color 3
layers/merge/merge all (flatten)
If you don’t want to animate your tag, you can stop there
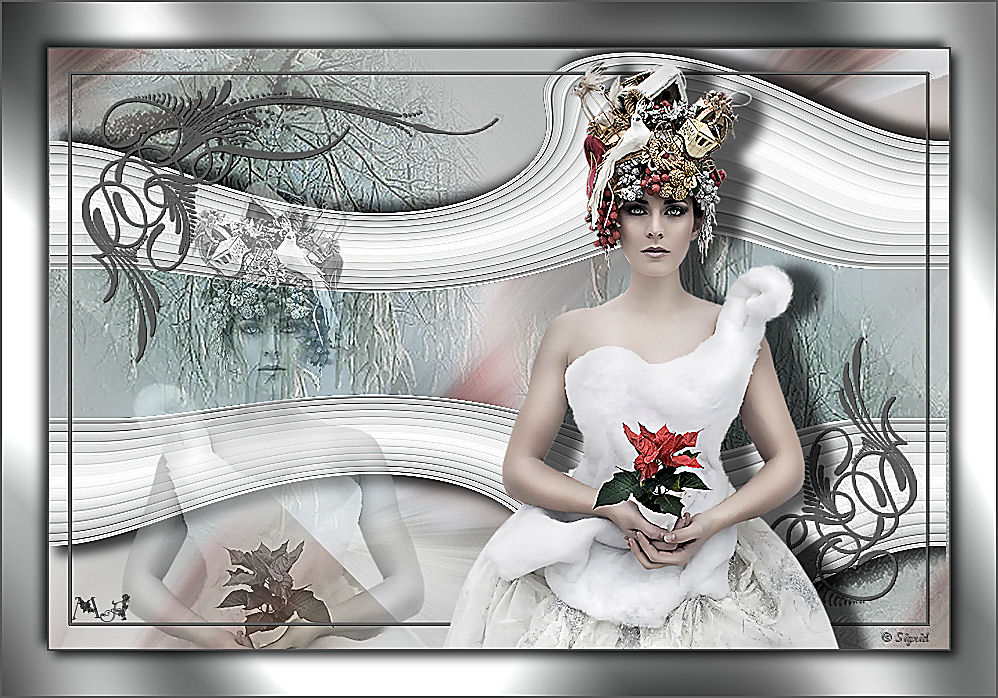
your tag is finished !
Don’t forget to sign, and save as ... type jpeg
Animation
edit/copy
step 1
open Animation Shop
right click in the middle of the work space, and paste as a new animation
edit/duplicate (Ctrl + Shift + L) 7 times, to obtain an animation of 8 pictures
edit/select all (Ctrl + A)
Step 2
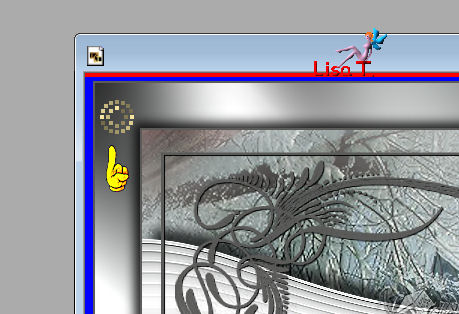
open animation “cream” provided in the material
edit/select all
edit/propagate paste
edit/copy
Step 3
activate your work of 8 frames by clicking on the higher bar
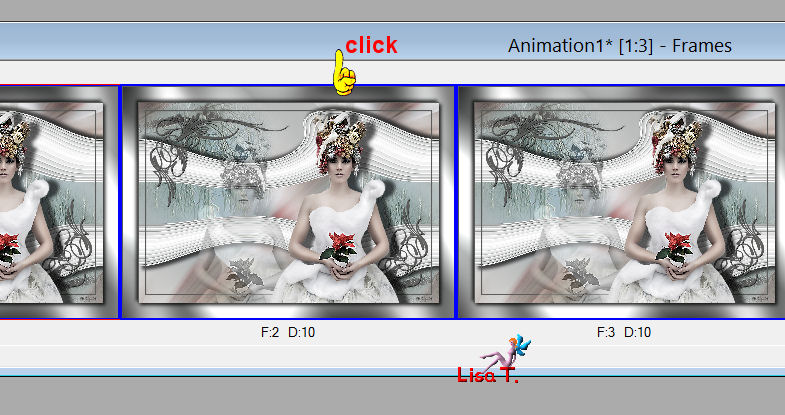
edit/paste into selected frame
your animation “cream” appears, and follows your cursor
place it where you like (left click)
now, you just have to do edit/paste into selected frame
as many times as you want, to place a new “cream” animation
Step 4
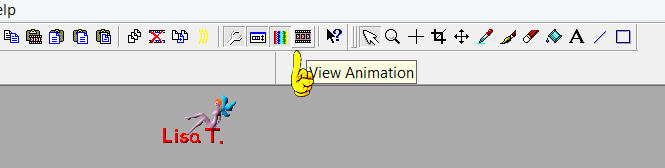
to see if everything is OK, --> view/animation
or you can click on the “cinema film”
file/save as...
you can resize if necessary
Sybel resized to 700 pixels width, I did’nt resize..

Your tag is now finished
Thank you to have realized it
Don’t hesitate to write to Sybel

or to me

if you have any problem
or to send us your creations
It will be a real pleasure to present them at the end of this tutorial
Your Creations
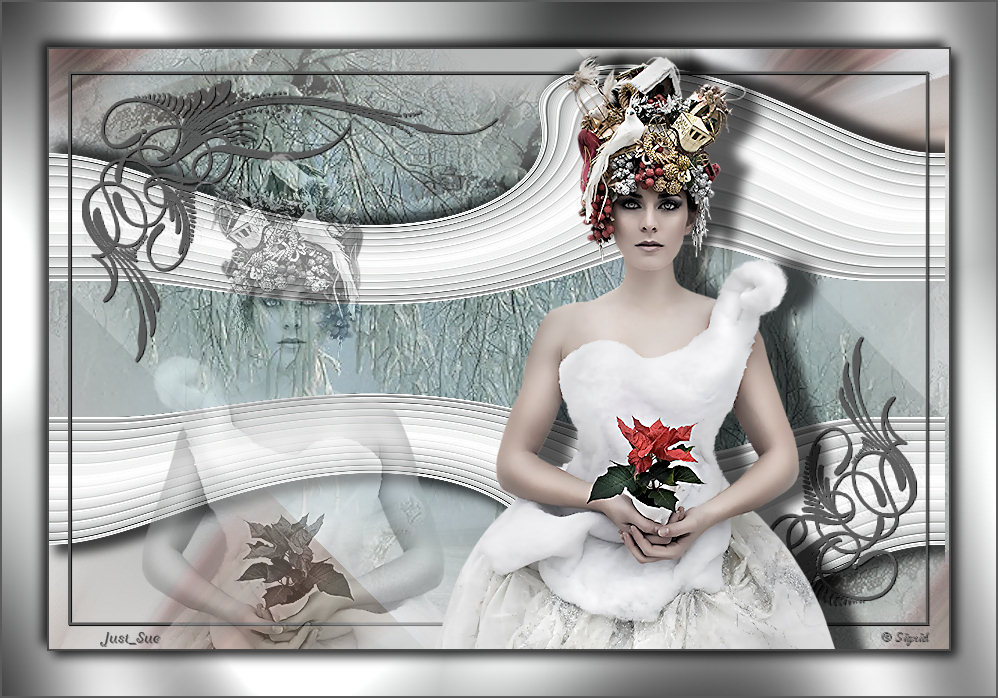
Creation Just Sue
Creation Isabella Reynolds
Creation Natalia Morela

Creation Marian
Création Maria-Angeles
Création Maria-Angeles
Back to the board of Sybel's Tutorials


|