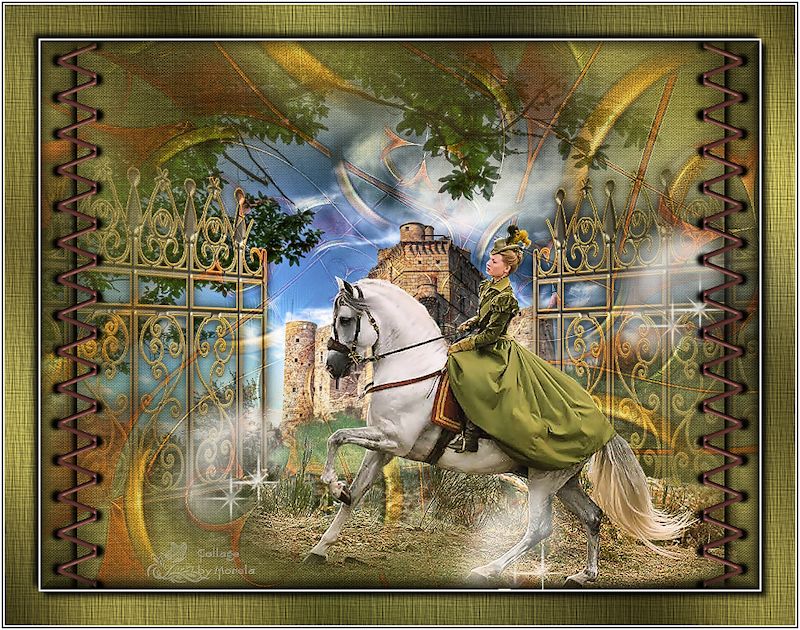
The gates of Fate

I am member of TWInc
This tutorial is protected


Conditions of use of the material provided
It is forbidden to modifiy, change the name, take off the watermarks or alter the tubes.
It is forbidden to share them in groups or offer them on your site, blog or forum.
If you want to use them to create a tutorial, you must ask the permission of the authors.
Matérial
tubes and images
the tube of the women was created by Tina Reagen. Thank you Tina
Download material


Plugins
Unlimited 2
Transparency
Xero
Graphic Plus
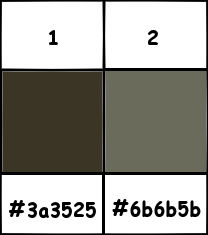
Colors palette
foreground color #3a3525
background color #6b6b5b
Use the paintbrush to follow the steps
Left click to grab it

Realization
Step 1
Open a new raster background layer, transparent
in the materials palette, prepare a linear gradient 45/7, uncheck “invert”
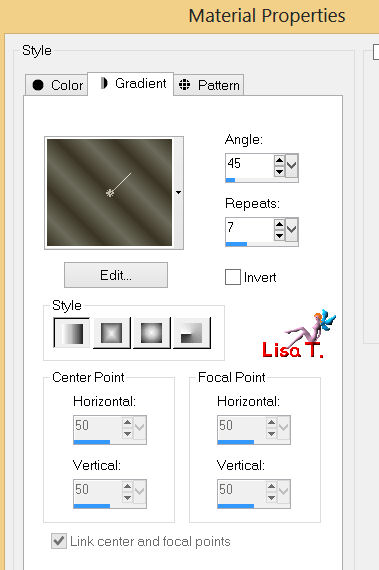
paint the layer with the gradient
adjust/blur/gaussian beur/30
Step 2
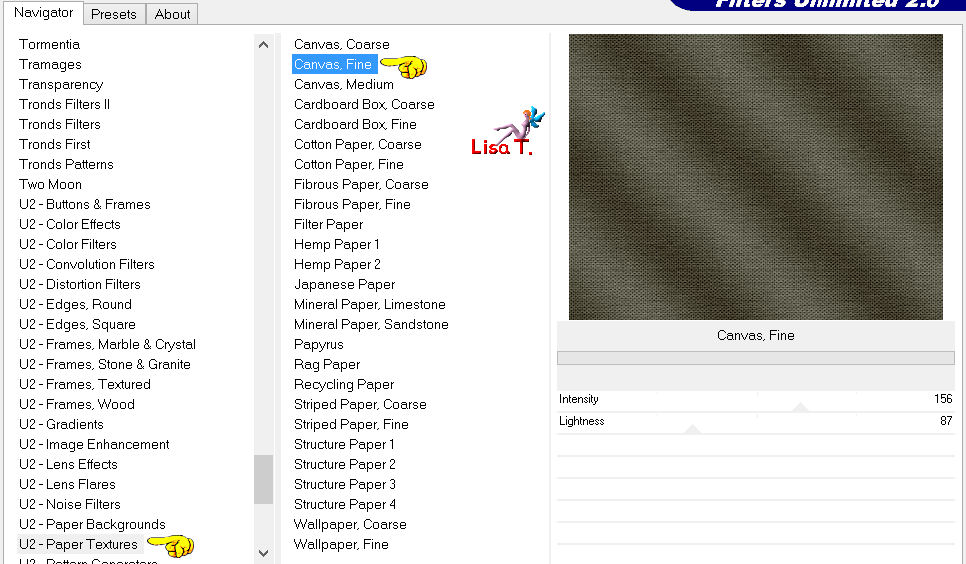
effects/plugins/Unlimited 2/Paper Textures/Canvas Fine
Step 3
activate the image “paper 4”, copy and paste as a new layer
don’t move it, keep raster 2 active
effects/3D effects/drop shadow/ 7 / 7 / 85 / 10 / black
and again drop shadow / -7 / -7 / 85 / 10 / black
layers/merge/merge down
Step 4
activate the image “confusionbylapurr”
layers/promote background layer
effects/plugins/Transparency/Eliminate Black
edit/copy - back on your work - edit/paste as a new layer
set the blend mode of this layer on Overlay, opacity on 65%
effects/edge effects/enhance
Step 5
activate the tube “2848 TR tube”
copy and paste as a new layer
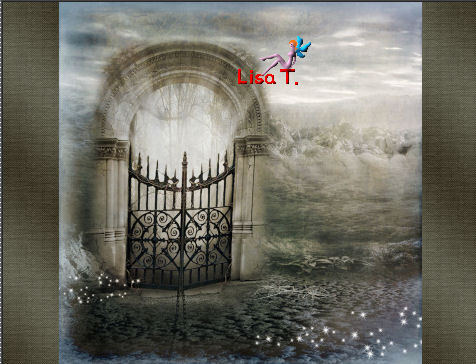
move it as shown on the final result
effects/plugins/Xero/Improver/10 / 10 / 10 / landscape
Step 6
activate the image “ES sparkles cluster 05”
file/export/custom brush
name the brush you are creating. Sybel named it “etoile 2”
layers/new raster layer
in the materials palette, set White as foreground color
activate the paint brush tool, and click in the small rectangle to find the brush you just created
size 250

apply the brush (left click) where you want
Sybel applied it 3 times
set the opacity on 70%
layers/merge/merge visible
Step 7
activate the tube “zigzag cuir”, (or create your own stitching effect)
image/free rotate/left/90°
move the tube as shown
layers/duplicate - image/mirror
Step 8
iamge/add borders/2 pixels/white (check symmetric)
select this border with the magic wand
selections/invert
effects/3D effects/buttonize/use color 1
selections/select none
Step 9
activate the image “paper 4”
adjust/blur/gaussian blur/20
edit/copy - back on your work
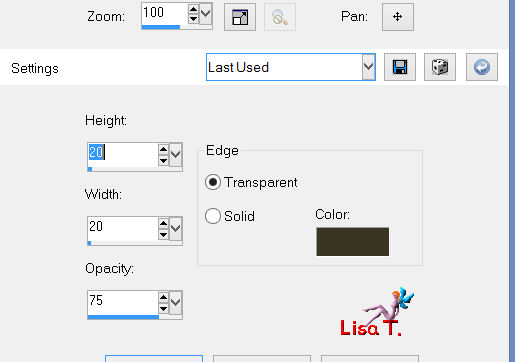
image/add borders/45 pixels/contrasting color
select this border with the magic wand
edit/paste into selection
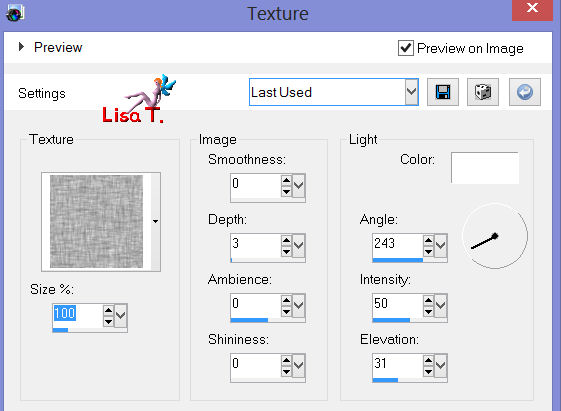
effects/texture effects/Texture/canvas coarse
effects/plugins/Graphic Plus/Cross Shadow
all settings on 50 except the last two on 128
selections/invert
effects/3D effects/drop shadow 7 / 7 / 85 / 15 / black
and again with -7 / -7 / 85 / 15 / black
selections/select none
Step 10
image/add borders/2 pixels/white
image/add borders/2 pixels/black
image/add borders/2 pixels/white
Step 11
don’t forget your signature
image/resize/950 pixels width
Your tag is now finished
Thank you to have realized it
Don’t hesitate to write to Sybel
or to me

if you have any problem
or to send us your creations
It will be a real pleasure to present them at the end of this tutorial
Your creations
Création Marian 

Création Natalia M.
Back to the board of Sybel's tutorials


|