Another World

Conditions of use of the material provided
It is forbidden to modifiy, change the name, take off the watermarks or alter the tubes.
It is forbidden to share them in groups or offer them on your site, blog or forum.
If you want to use them to create a tutorial, you must ask the permission of the authors.

Sybel has the permission of the creators to use their tubes, masks and decorations
Thank you to all of them.
Without their beautiful creations, no tutorials could be written.

Sybel uses PSPX6 to create her tags
I use PSPX8 to create my tags
but you can realized these tutorials with any other version of PSP

Matérial
tubes by Sybel – mask – animation by Simone - fractal
xxxxxxxxxx matos xxxxxxxxx
open all tubes
window/duplicate. Close the originals and work with the copies
open the mask and minimize it to tray


Plugins
Unlimited 2 - Background Designer IV - sf10 Slice N Dice
Dsb Flux - Blast
Filtre personnalisé - Emboss 8
Xero - Improver
Graphics Plus - Kaléidoscope

Colors palette
foreground color -> color 1 -> #242017
background color -> color 2 -> #e05a25

utilisez le pinceau pour suivre les étapes
clic gauche maintenu pour le déplacer


Realization
Step 1
in the materials palette, set color 1 ans FG color and color 2 as BG color
prepare a linear gradient
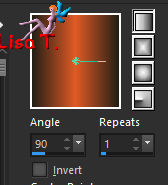
open a new transparent raster layer 900 * 550 pixels and flood fill with the gradient
selections/select all
layers/new raster layer
Step 2
copy/paste into selection the tube « image 4 »
selections/select none
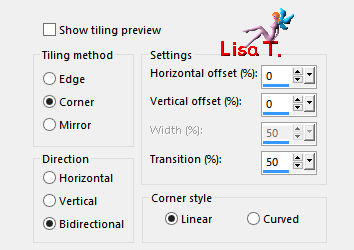
effects/image effects/seamless tiling/default settings
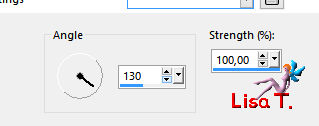
adjust/blur/motion blur
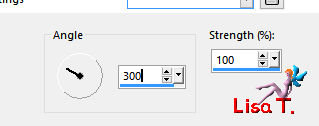
again, same effect with new settings
effects/distortion effects/Spiky Halo

layers/merge/merge down
effects/art media effects/brush strokes
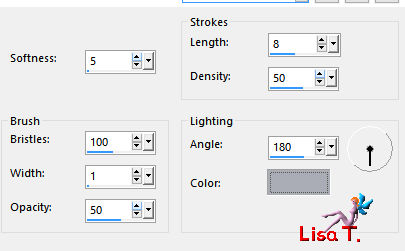
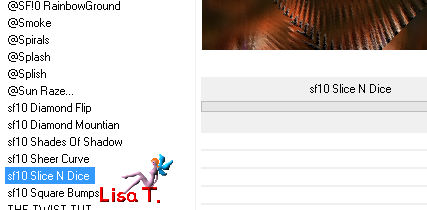
effects/plugins/Unlimited 2/&<Backgrounds Designers IV>sf10/Slice N Dice
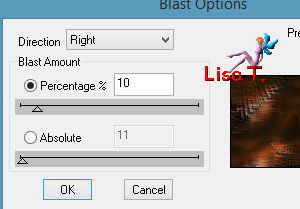
effects/plugins/dsb Flux/Blast
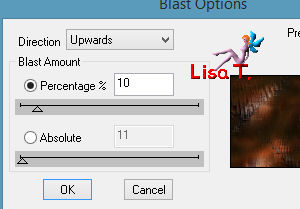
again, apply the same effects with new settings
window/duplicate, and set this image aside for a later use
Step 3
back to your work
layers/new raster layer
selections/select all
copy/paste into selection the fractal image « gnarl-2bd
effects/edge effects/enhance
selections/select none
Step 4
layers/new raster layer
flood fil with FG color
layers/new mask layer/from image
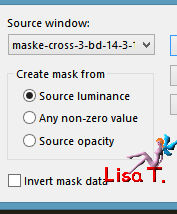
effects/user defined filter/emboss 8
layers/merge/merge group
efefcts/edge effects/enhance more
effects/3D effects/drop shadow
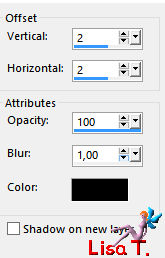
Step 5
copy/paste as new layer the tube « image 4 »
image/mirror/mirror horizontal
image/resize/uncheck « resize all layers »/90%
move it to the right (see final result)
opacity of the layer 72%
Step 6
copy/paste as new layer the tube « 10690020........ »
image/resize/uncheck « resize all layers »/90%
move it to the left - opacity of the layer 40%
layers/merge/merge down
effects/plugins/Xero/Improver/Landscape/OK
Step 7
image/add borders/check « symmetric »/2 pixels black
effects/3D effects/buttonize
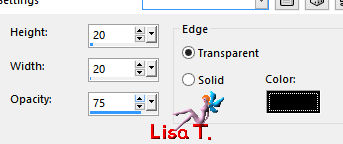
image/add borders/check « symmetric » -->
6 pixels color 2
2 pixels black
60 pixels white
select the white border with the magic wand tool
copy the image set aside in step 2 - paste into selection
effects/plugins/Graphic Plus/Kaleidoscope

selections/invert
effects/3D effects/drop shadow
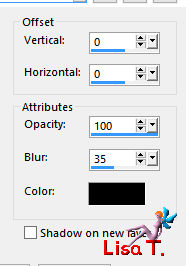
drop the same shadow once more
selections/select none
image/add borders/check « symmetric » -->
1 pixel black
6 pixels color 2
1 pixel black
Step 8
apply your signature
Step 9
image/resize possibly – I resized to 1000 pixels width
Animation (optional)
Sybel uses UGA to create the animations
translator’s note : I use the same software
the animation used in this tutorial is provided in the material
apply it as much and where you want
thank you to Simone for her gorgeous animations
you can find other animations on her site

your tag is finished
Don’t hesitate to write to Sybel

if you have any problem
or to send her your creations
It will be a real pleasure to present them at the end of this tutorial

Your Creations
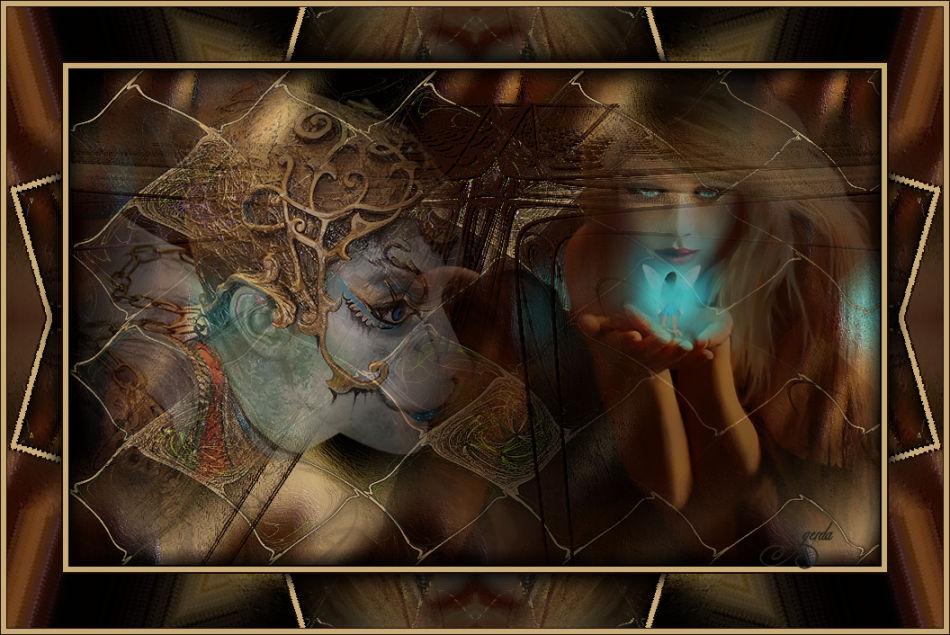
Created by  Gerda Gerda

Back to the board of Sybel’s tutorials
board 1  board 2 board 2 

|