Wish

I am member of TWInc
My translations are protected


Material
The selections and the mask must be recorded in the corresponding files of My Psp Files
open the tubes with PSP and minimize them
Thank you to the tubers : Nicole and Castorke

Filters used
Toadies - Mura’s Meister - AP01 Innovations - AAA Frames
Colors palette

Use the paintbrush to follow the steps
Left click to grab it

Realization
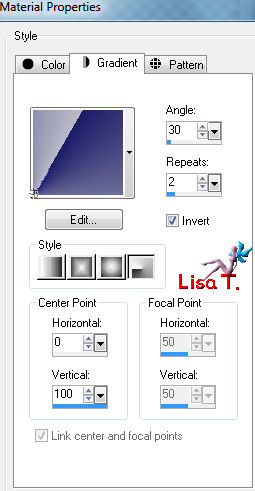
In the materials palette, prepare a radial gradient
select 2 colors in your tubes, lignt color as foreground and dark color as background
open a new raster background, transparent, 900 X 550 pixels
fill with the gradient
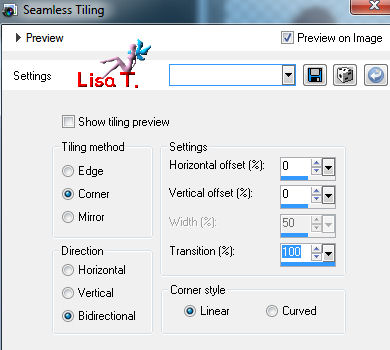
effects/image effects/seamless tiling
layers/duplicate
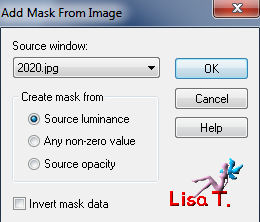
layers/new mask layer/from image/mask 2020
layers/merge/merge group
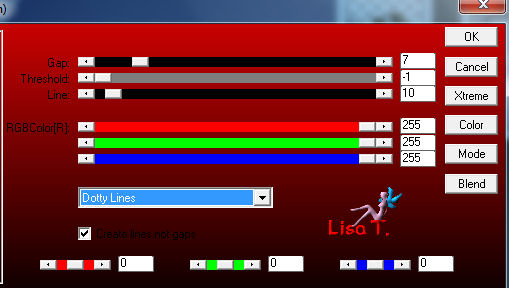
effects/plugins/AP01 Innovations/Lines-Silverlining
effects/image effects/seamless tiling as before
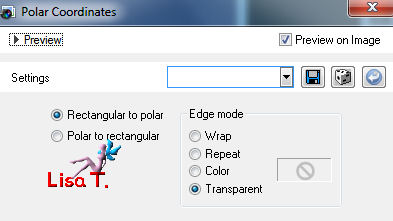
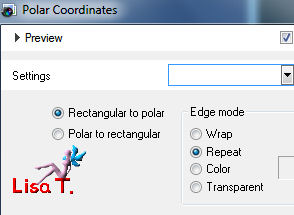
effects/distortion effects/polar coordinates
effects/image effects/seamless tiling as before
in the layers palette, set the blend mode on “overlay”, opacity 100%
layers/new raster layer
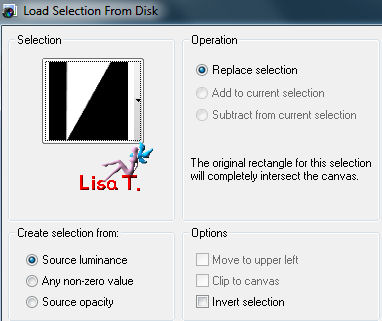
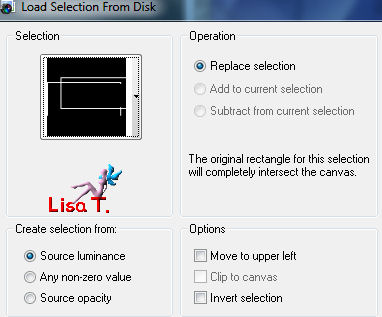
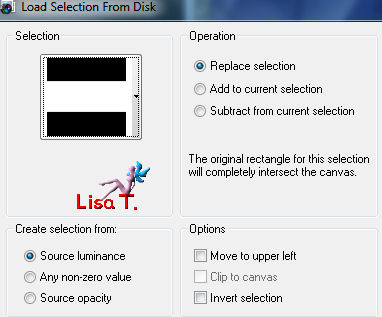
selections/load selection from disk/selection “vivi 340”
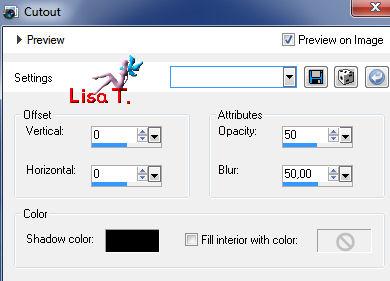
effects/3D effects/cutout/ 0 / 0 / 50 / 50 / black
selections/select none
layers/arrange/move down/rename this layer “cutout”
layers/duplicate
image/mirror - image/flip
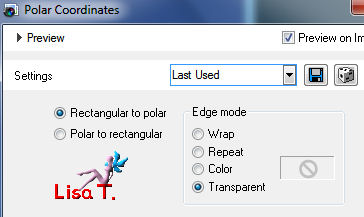
effects/distortion effects/polar coordinates
in the layers palette, set the blend mode on “hard light” or “darken”, opacity 100%
layers/duplicate
image/mirror - image/flip
in the layers palette, activate the layer “cutout”
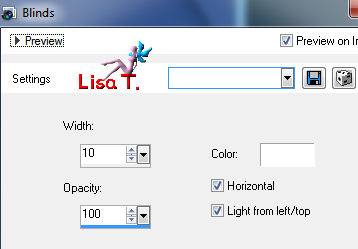
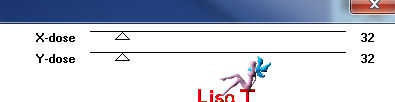
effects/texture effects/blinds (white)
adjust/sharpness/sharpen more
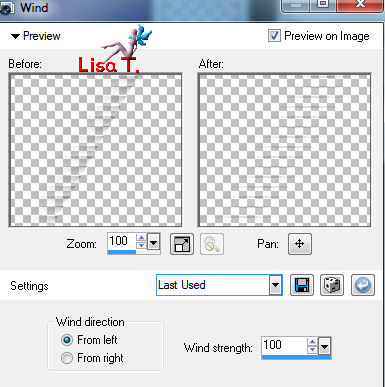
effects/distortion effects/wind
in the layers palette, activate the background layer (raster 1)
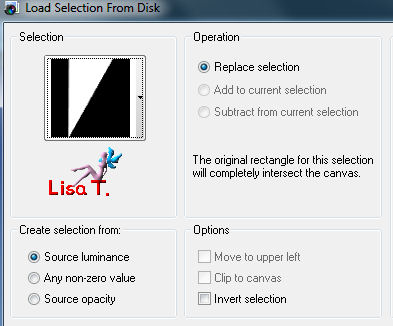
selections/load selection from disk/selection “vivi 340”
selections/promote selection to layer
selections/select none
layers/arrange/bring to top
effects/plugins/Toadies/What Are You?
layers/duplicate
image/mirror - image/flip
layers/merge/merge down
effects/distortion effects/polar coordinates
in the layers palette, set the blend mode on “hard light” or “overlay” (or other), opacity 90%
adjust/sharpness/sharpen more
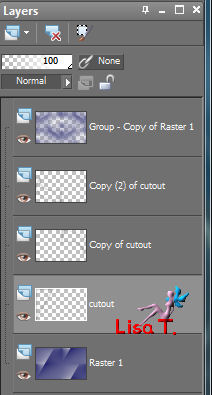
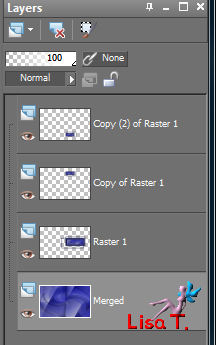
your layers palette, must be like this
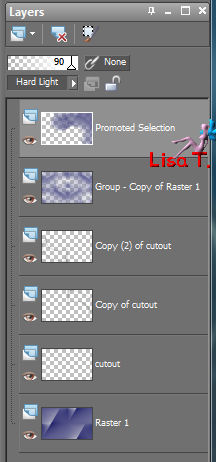
layers/merge/merge visible
edit/copy
layers/new raster layer
selections/load selection from disk/selection “vivi 342”
fill with the dark color you chose at the beginning
layers/new raster layer
selections/load selection from disk/selection “vivi 343”
fill with the dark color again
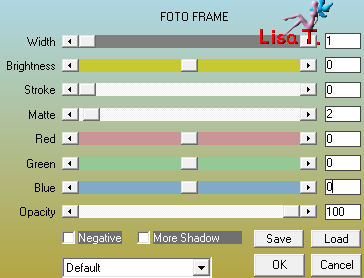
effects/plugins/AAA Frames/Foto Frame
selections/modify/contract/20 pixels
edit/paste into selection
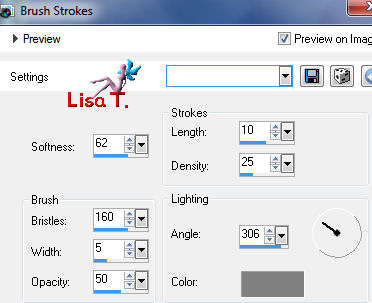
effects/art media effects/brush strokes
effects/plugins/AAA Frames/Foto Frame as before
selections/select none
effects/3D effects/drop shadow/ 0 / 0 / 60 / 20 / black
layers/merge/merge down
effects/3D effects/drop shadow as before
layers/duplicate
image/resize/45% (uncheck “resize all layers”)
image/mirror
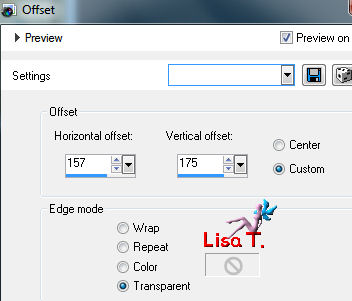
effects/image effects/offset
layers/duplicate
image/flip
in the layers palette, activate the background layer (merged)
layers/duplicate
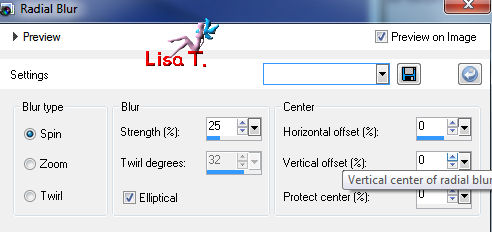
adjust/blur/radial blur
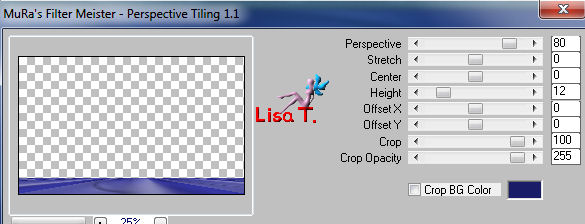
effects/plugins/Mura’s Meister/Perspective tiling
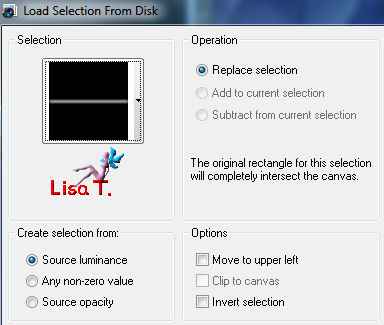
selections/load selection from disk/selection “vivi 341”
press 3 times the delete key of your keyboard
selections/select none
layers/duplicate - image/flip
layers/merge/merge down
in the layers palette, set the opacity on 85% (about)
adjust/sharpness/sharpen more
layers/merge/merge all (flatten)
image/add borders/check “symmetric” ->
1 pixel/dark color
1 pixel/light color
2 pixels/dark color
selections/select all
image/add borders/50 pixels/white
effects/3D effects/drop shadow/ 0 / 0 / 80 / 40 / black
selections/select none
image/add borders ->
2 pixels/dark color
2 pixels/light color
20 pixels/white
activate the tube “nicole femme 662013”/image/resize/70% (uncheck “resize all layers”)
edit/copy - back to your work - edit/paste as a new layer
move to the left (see final result)
adjust/sharpness/sharpen
effects/3D effects/drop shadow/ -4 / 24 / 35 / 25 / black
activate the tube “castorke33 bloemvaas2012”
image/resize/60%/(uncheck “resize all layers”)
edit/copy - back to your work - edit/paste as a new layer
move it to the right ((see final result)
effects/3D effects/drop shadow as before
activate the tube “wishwordart”
edit/copy - back to your work - edit/paste as a new layer
move it where you want (or see final result)
add a new layer to apply your signature
layers/merge/perge all (flatten)
image/add borders/1 pixel/black
resize if necessary, save as... type JPEG
thank you to have realized this tutorial
if you want Vivi to see your creation
she will be very glad to receive it and present it at the end of her tutorial

My try with my tubes
Back to the boards of Vivi's tutorials
board 1  board 2 board 2 

|