Winter Beauty

Material
tubes - selections (Alpha layer) - preset Eye Candy Nature - user defined filter Emboss 3 - frame
doble click on the preset to install it
Emboss 3 is to copy/paste into the folder « presets » of Corel PSP
the frame Corel 09018 is to copy/paste into the folder « Corel 09 » of PSPX2
or in the folder « frames » of « My PSP Files »

thank you to the tubers : Maryse - Talanat
Filters used
Simple - AP Innovations - Tichard Rosenman - Tramages - Graphic Plus - Eye Candy 5 Impact & Nature
BKG Designers sf10I - BKG Kaleidoscope - AAA Frmaes - Mura’s Seamless
Colors
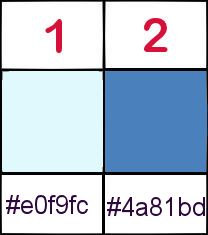
color 1 -> foreground color -> #e0f9fc
color 2 -> background color -> #4a81bd
pick up 2 colors in you main tube, set light color as foreground (except white) and dark color as background
I use PSPX7, but this tutorial can be followed with another version

Use the pencil to follow the steps
left click to grab it
 |
Realization
open the alpha layer, duplicate it , close the original and work with the copy
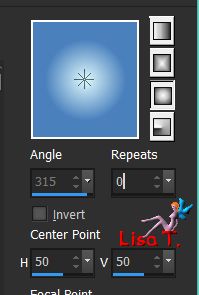
in the materials palette, prepare a sunburst gradient and fill the layer with this gradient
selections/select all
copy/paste into selection the tube « Talanat Paysage 19281113 »
selections/select none
effects/image effects/seamless tiling/default settings
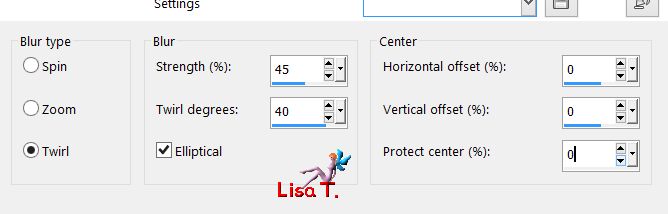
adjust/blur/radial blur
effects/<user Defined Filter/Emboss3
adjust/blur/gaussian blur/21
layers/duplicate
image/resize/uncheck « resize all layers »/75%
renma this layer Raster « 2 »
layers/duplicate
image/resize/uncheck « resize all layers »/60%
rename this layer Raster « 3 »
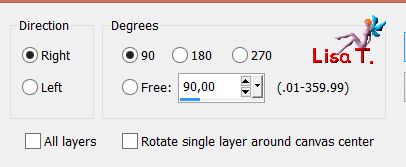
image/free rotate
effects/image effects/seamless tiling/default settings
effects/plugins/Simple/Pizza Slice Mirror
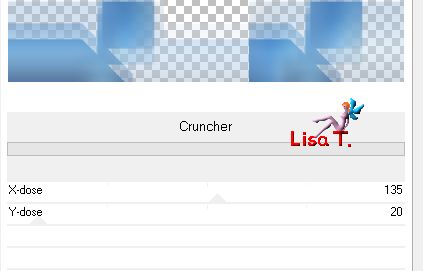
effects/plugins/BKG Designers sf10I/Cruncher
adjust/sharpness/sharpen more
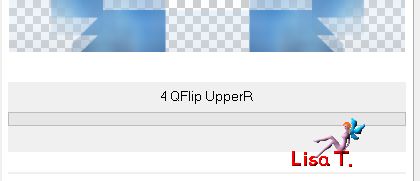
effects/plugins/BKG Kaleidoscope/4QFlip Upper R
blend mode : overlay or lighten (or other) - opacity :
75%
activate the layer « 2 »
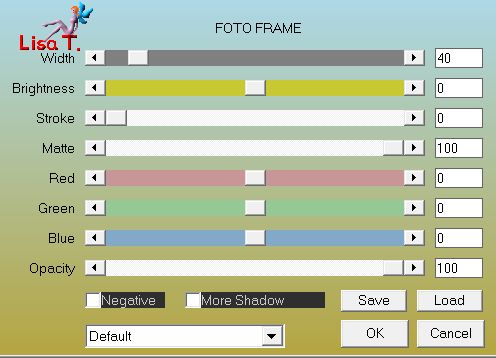
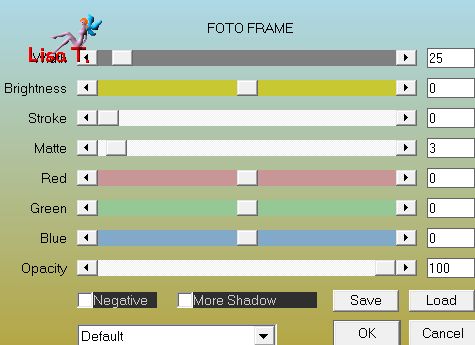
effects/plugins/AAA Frames/Foto Frame
effects/image effects/seamless tiling/defautl seetings
effects/plugins/BKG Designers sf10I/Cruncher
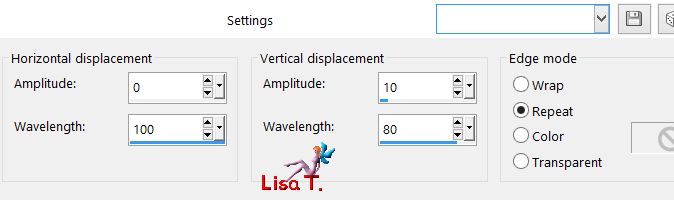
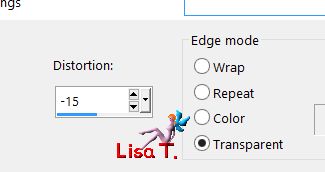
effcts/distortions effects/wave
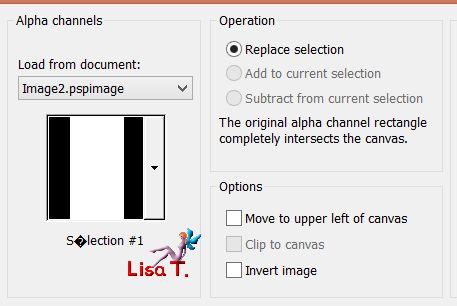
selections/load selection/from alpha channel/ »selection 1 »
selections/promote selection to layer
layers/arrange/bring to top
adjust/blur/gaussian blur/21
selections/select none
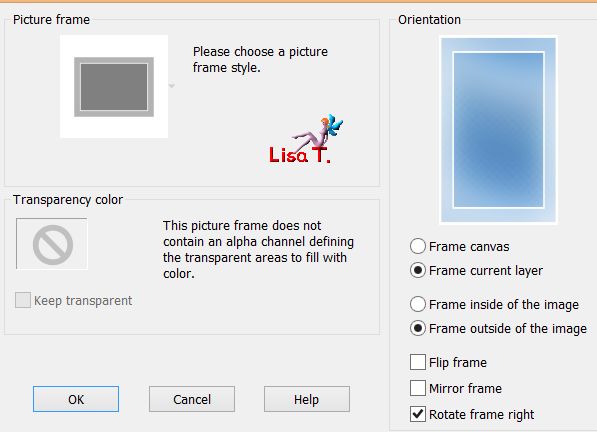
image/picture frame (transparent 09018)
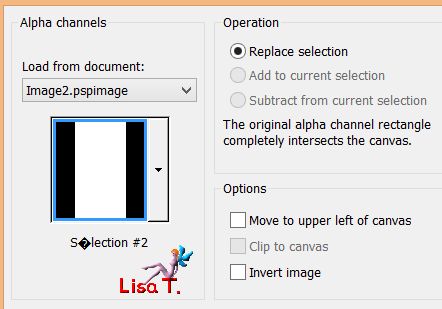
selections/load selection from alpha channel/selection 2
copy/paste (landscape tube still in the clipboard) as new layer (resize it if necessary) (Vivi resized to 75%)
move what you want to keep in the frame
selections/invert
hit the delete key of your keyboard
selections/select none
layers/arrange/move down
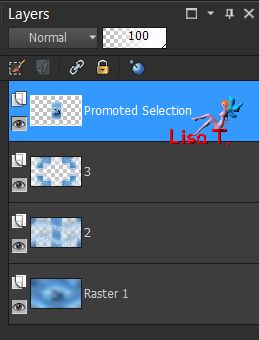
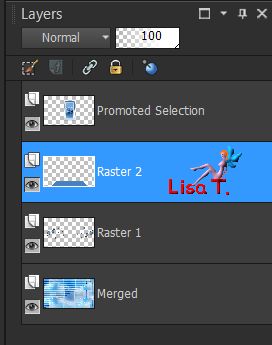
activate the layer « promoted selection picture frame » and
merge down twice
your layers palette looks like this
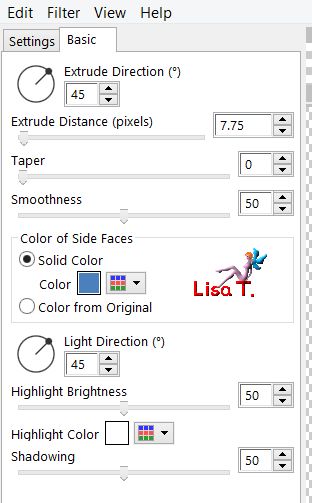
effects/plugins/Eye Candy 5 Impact/Extrude/preset « Small Offset 45 degrees »
in the tab « basic » set the dark color as « solid color »
effects/3D effects/drop shadow/ 0 / 0 /
50 / 25 / black
effects/geometric effects/perspective vertical
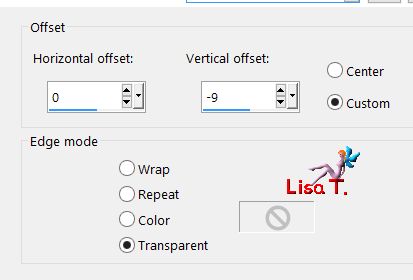
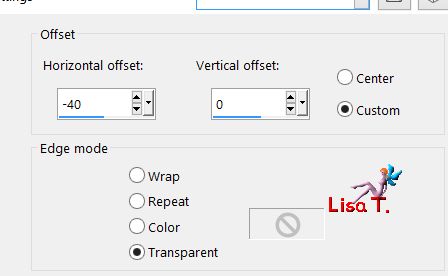
effects/image effects/offset
activate the layer « 3 »
selections/load selection from alpha channel/selection 3
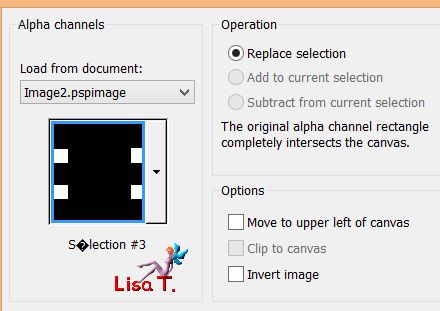
selections/promote selection to layer
selections/select none
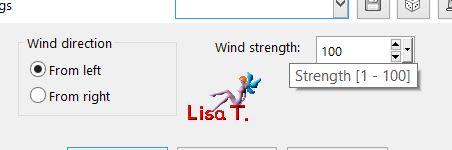
effects/distortion effects/wind
layers/duplicate - image/mirror/horizontal mirror
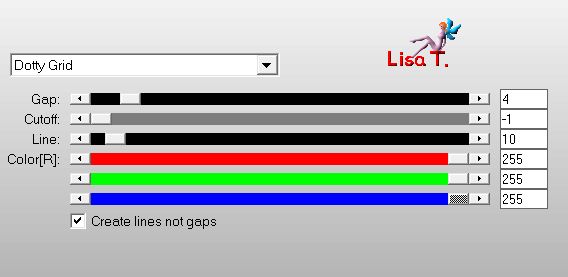
effects/plugins/AP Innovations/Lines Silverlining/Dotty Grid
blend mode : lighten (or overlay, or other), opacity :
100%
acitvate the layer « 2 »
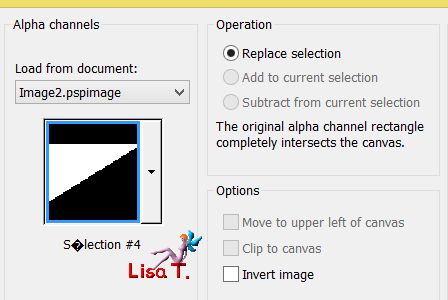
selections/load selection from alpha channel/selection 4
selections/promote selection to layer
selections/select none
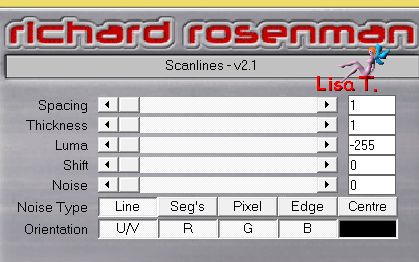
effects/plugins/Richard Rosenman/Scanlines
blend mode : overlay - opacity 80%
activate the layer « 2 »
selections/load selection from alpha channel/selection 5
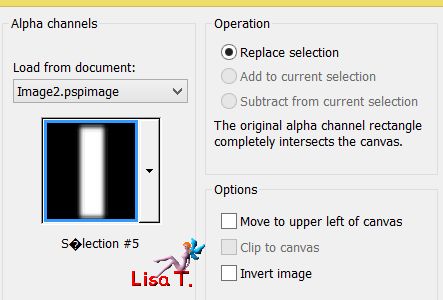
selections/promote selection to layer and select none
effects/plugins/Tramages/Tow The Line
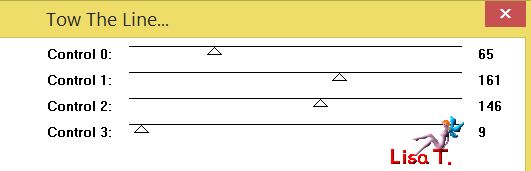
blend mode : Luminance (Legacy) and opacity 100%
close the eye of the top layer (the frame)
activate another layer and merge visible
open the eye of the top layer
copy/paste as new layer the tube « deco Vivi »
blend mode : Luminance (Legacy) and opacity 100%
don’t move it
layers/new raster layer (place it under the frame)
selections/load selection from alpha channel/selection 6
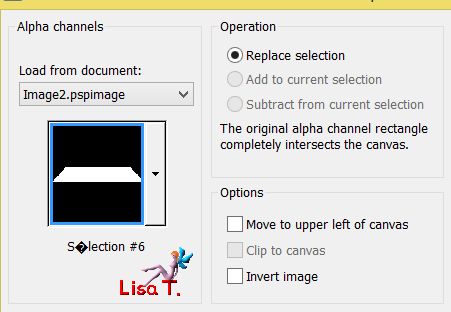
fill with the dark color
effects/plugins/Mura’s Seamless/Checks With Gradation

selections/select none and merge all (flatten)
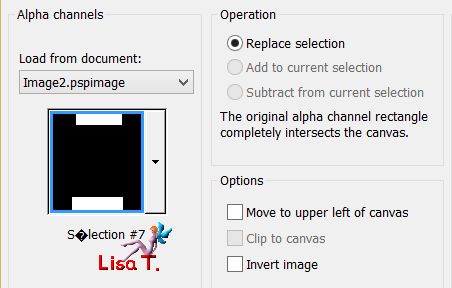
selections/load selection from alpha channel/selection 7
effcts/plugisn/Eye Candy 5 Nature/Icicles : preset « vivi 2014 »
selections/select none
layers/duplicate - image/resize/uncheck « resize all layers »/15%
select the transparent part with the magic wand (default settings)
selections/invert
selections/modify/select selection borders
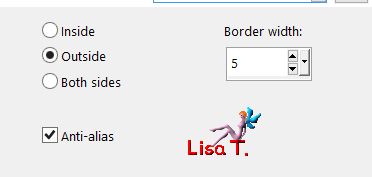
fill the selection with the dark color (match mode :
none)
selections/select none
effects/3D effets/drop shadow/ 0 / 0 / 55
/ 25 / balck
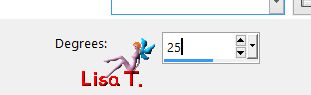
effects/distortion effects/twirl/25
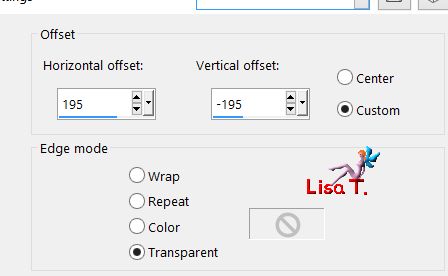
effects/image effects/offset
layers/duplicate - image/resize/uncheck « resize all layers »/80%
image/mirror/horizontal mirror
effects/image effects/offset
layers/merge/merge all (flatten)
image/add borders --->
1 pixel color 2
60 pixels with a contrasting color
select this border and fill with the sunburst gradient of the begining
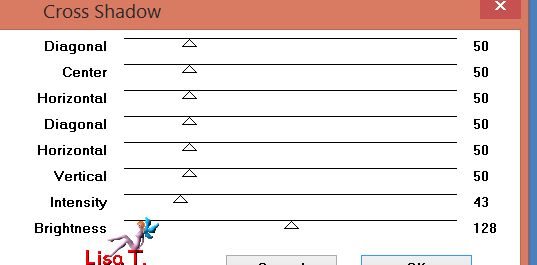
effects/plugins/Graphic Plus/Cross Shadow
selections/invert
effcts/3D effects/drop shadow/ 0 / 0 / 70
/ 35 / black
selections/modify/expand/25 pixels
effects/plugisn/AAA Frames/Fotro Frame
effects/3D effects/drop shadow/ 0 / 0 /
70 / 35 / black
selections/invert
effects/plugins/Tramages/Tox The Line
selections/select none
copy/paste as new layer the tube « Mr Winter Beauty » and
move it as shown on the final result
resize your tube if necessary (Vivi resized to 85%)
drop a shadow of your choice
copy/paste as new layer the decoration tube, move it where you want and drop a shadow of your choice
apply your signature on a new raster layer
layers/merge/merge all (flatten)
image/add borders/1 pixel color 2
resize your tag if necessary
File/save as... type jpeg
thank you to have realized this tutorial
another tag created by Nadège

if you want Vivi to see your creation
she will be very glad to receive it and present it at the end of her tutorial

Back to the boards of Vivi’s
tutorials
Board 1  Board 2 Board 2

|