Smile

Material
alpha layer - tubes - presets for Eye Candy 5 Impact
double click on the presets to install them

Thank you to the thbers - Ana Ridzi - Logane - LF - EljDorado

Filters used
Eye Candy 5 Impact- AP01 Innovations - BKG Kaleidoscope - Muras Meister - Mehdi
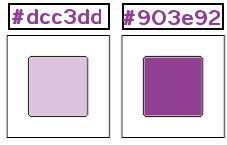
Colors
color 1 -> foreground color -> #dcc3dd (light
color)
color 2 -> background color -> #903e92 (dark
color)
Use the pencil to follow the steps
left click to grab it
 |
Realization
open the alpha layer, duplicate
work with the copy, close the original
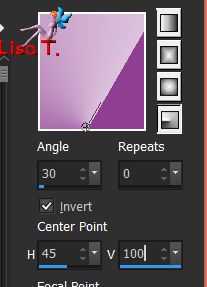
in the materials palette, prepare a radial gradient with 2 colors chosen in your main tube
fill the layer with this gradient
layers/duplicate - image/mirror/mirror horizontal - image/mirror/mirror vertical
opacity : 55%
layers/merge/merge visible
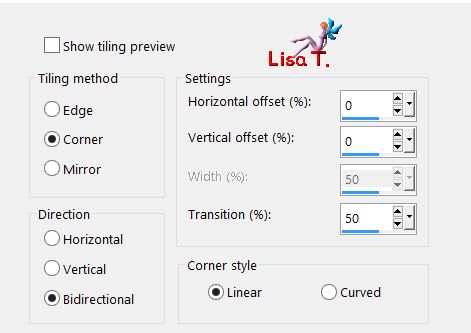
effects/image effects/seamless tiling/defautl settings
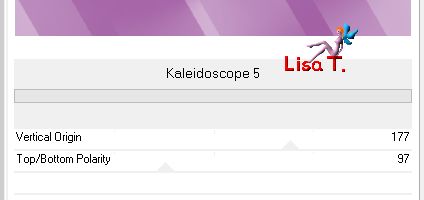
effects/plugins/BKG Kaleidoscope/Kaleidoscope 5
adjust/sharpness/sharpen
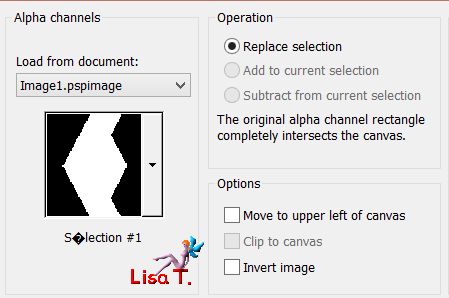
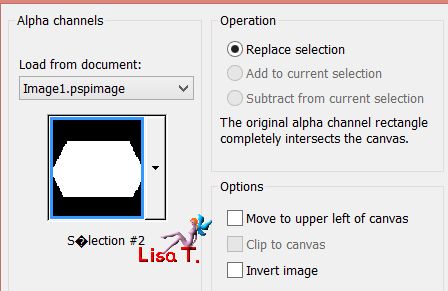
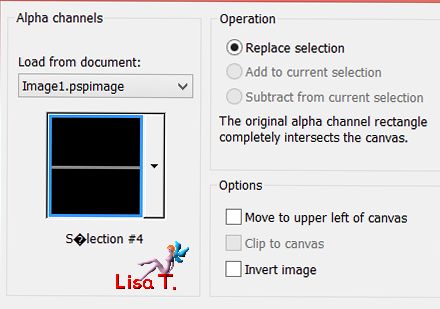
selections/load selection from alpha channe/selection 1
selections/promote selection to layer
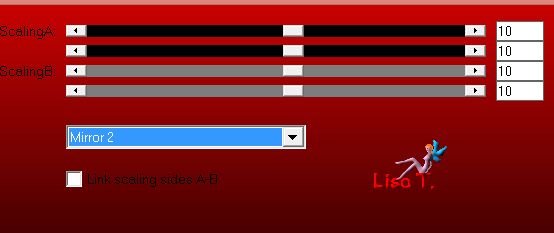
effects/plugins/AP (Lines)/Mirror Reflections/Mirror 2
selections/select none
effects/image effects/seamless tiling/default settings
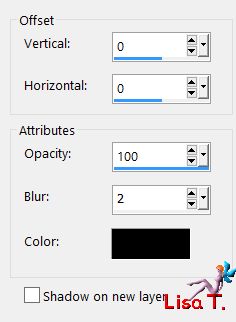
effects/3D effects/drop shadow/ 0 / 0 / 50 / 25 / black
layers/duplicate - image/mirror/mirror horizontal
effects/texture effects/blinds
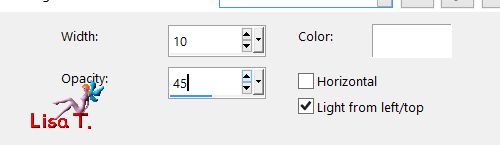
blend mode : Overlay - opacity : 60%
activate the layer underneath
effects/texture effects/blinds
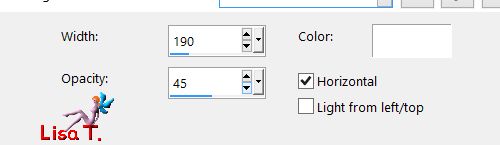
adjust/sharpness/sharpen
blend mode : Screen - opacity : +/- 75%
layers/new raster layer
selections/load selection from alpha channe/selection 2
copy/paste the misted tube « LF springhatflowers » into selection
selections/select none
blnd mode : Luminance or Luminance Legacy (or colorize according to your colors)
opacity : +/- 55%
adjust/sharpness/sharpen
effects/image effects/seamless tiling
activate the background layer
layers/new raster layer
selections/load selection from alpha channe/selection 1
effects/plugins/Eye Candy 5 Impact/Backlight/preset Vivi 1014
effects/3D effects/drop shadow
selections/select none
image/mirror/mirror horizontal
effects/image effects/seamless tiling as before
blend mode : Screen - opacity : 45%
layers/new raster layer
layers/arrange/bring to top
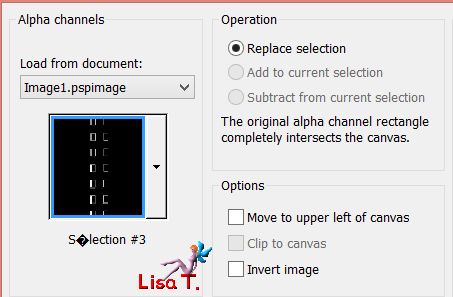
selections/load selection from alpha channe/selection 3
fill the selection with color 2 (click 3 times at least to fill properly)
effects/plugins/Alien Skin Eye Candy5 Impact/Extrude/presetVivi1014
selections/select none
blend mode : Luminance (or other) - opacity : 100%
layers/duplicate
effects/plugins/Alien Skin Eye Candy 5 Impact/Glass/preset Vivi 1014
blend mode : Overlay - opacity : 100%
layers/merge/merge down
blend mode : Luminance or Luminance Legacy - opacity : 100%
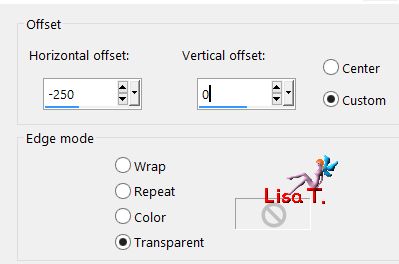
effects/image effects/offset
layers/new raster layer
selections/load selection from alpha channe/selection 5
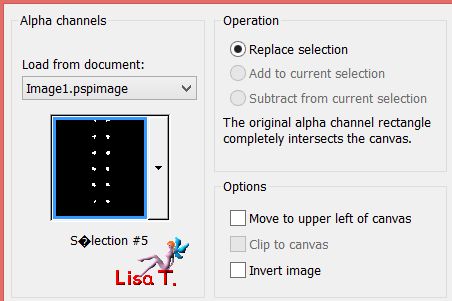
fill with color 2 and select none
effects/3D effects/drop shadow/ 0 / 0 / 70 / 9 / black
effects/plugins/Alien Skin Eye Candy 5 Impact/Glass/preset Vivi 1014
blend mode : Hard light or Overlay - opacity : 100%
activate the background layer and duplicate
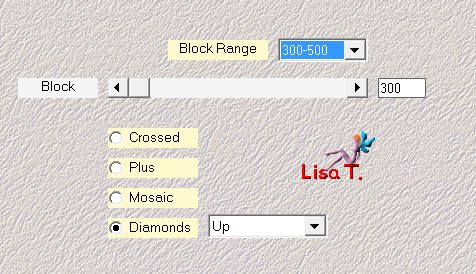
effects/plugins/Mehdi/Sorting Tiles/Diamonds Up

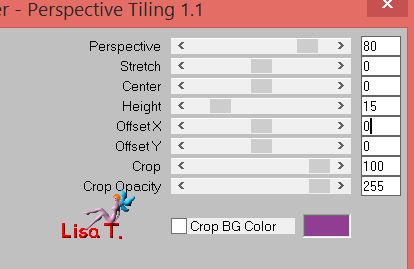
effects/plugins/Mura’s Meister/Perspective Tiling
layers/arrange/bring to top
selections/load selection from alpha channe/selection 4
hit the dlete key of your keyboard 3 times and select none
layers/merge/merge all (flatten)
image/add borders/check « symmetric » -->
1 pixel color 2
1 pixel color 1
1 pixel color 1
edit/COPY
selections/select all
image/add borders/75 pixels/contrasting color
selections/invert - selections/paste into selection
adjust/blur/gaussian blur/
effects/plugins/Alien Skin Eye Candy 5 Impact/Backlight/preset Vivi 1014
selections/promote selection to layer
image/mirror/mirror horizontal
selections/defloat
blend mode : soft light - opacity 100%
adjust/sharpness/sharpen more
layers/merge/merge down
selecitons/invert
effects/3D effects/drop shadow/ 0 / 0 / 75 / 35 / black and select none
copy/paste the tube « Logane vase fleuri » as new layer
move it as shown and drop a shadow of your choice
(translator’s note : I applied a mirror horizontal effect, resized to 80% and sharpened)
copy/paste the Word Art tube as new layer - move it as shown and colorize (or blend mode : Luminance)
drop a shadow of your choice
copy/paste the tube of the woman as new layer, move it and drop a shadow of your choice
translator’s note : I applied a mirror horizontal effect
layers/merge/merge all (flatten)
image/add borders-->
1 pixel color 2
35 pixels white
1 pixel color 2
apply your signature and save as... type jpeg
resize eventually
thank for following this tutorial
if you want Vivi to see your creation
she will be very glad to receive it and present it at the end of her tutorial

Back to the boards of Vivi’s tutorials
Board 2  Board 3 Board 3

|