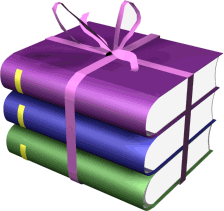
Shannah

Material
1 alpha layer - tubes - 1 mask - 2 presets “eye candy impact - glasss”
Thank you to the tubers : Alies - Svb - Syl (Narah, for the mask)

Filters used
Eye Candy 5 Impact - Carolaine & Sensibility - Mehdi - Mura’s Meister - Simple - Frames - Toadies
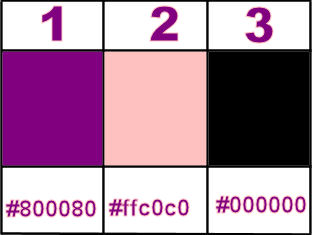
Colors palette
foreground color / color 1 / #800080
background color / color 2 / #ffc0c0
color 3 / #000000

use the paintbrush to follow the steps
Left click to grab it

Realization
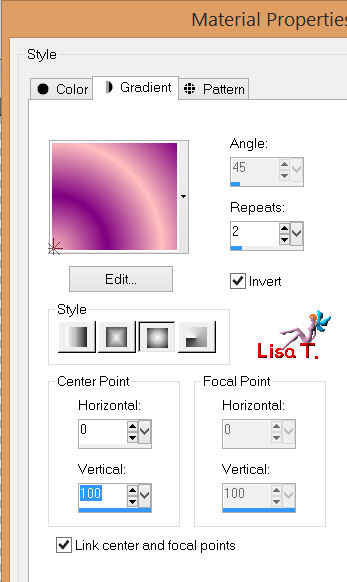
in the materials palette, prepare a sunburst gradient with 2 colors of your main tube
(dark color as foreground, and light color as background)
activate the alpha layer “alpha shannah”, window/duplicate, and close the original
work with the copy
paint with the gradient
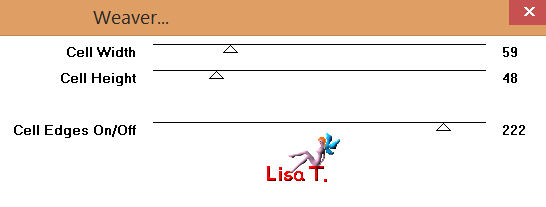
effects/plugins/Toadies/Weaver/defautl settings
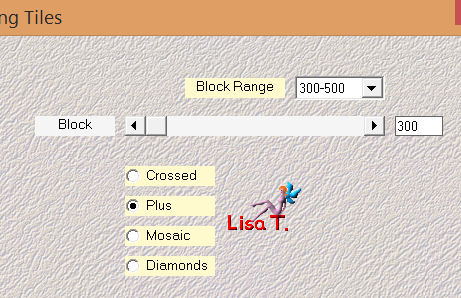
effects/plugins/Mehdi/Sorting Tiles
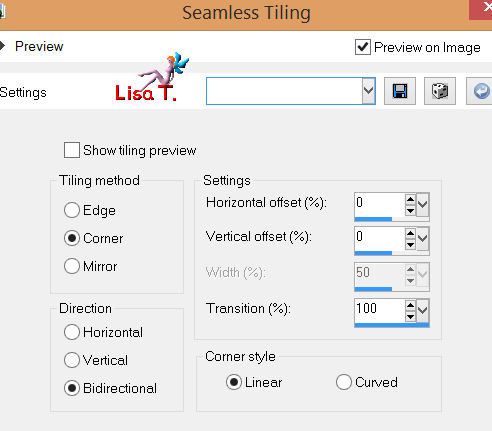
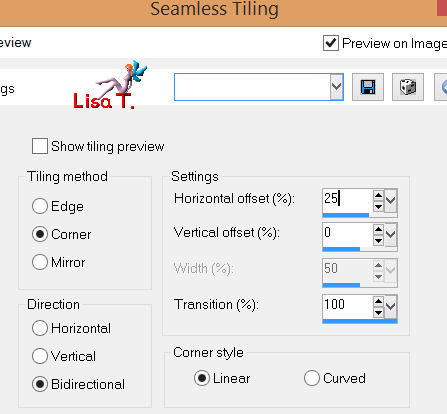
effects/image effects/seamless tiling
effects/plugins/Mehdi/Kaleidoscope 2.1
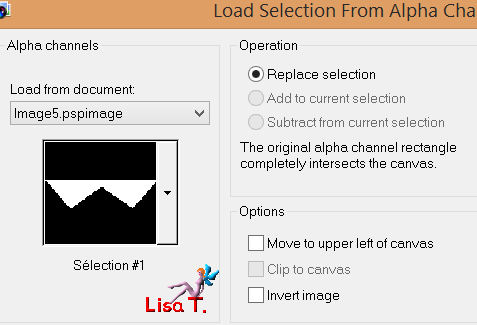
selections/load-save selection/from alpha channel/selection #1
effects/plugins/Carolaine & Sensibility/CS Halloween 2
selections/promote selection to layer
effects/plugins/Carolaine & Sensibility/CS B Rectangles

effects/3D effects/drop shadow/ 0 / 0 / 60 / 50 / black
selections/select none
in the layers palette, set the blend mode on “lighten” or “hard light” (or other)
and the opacity between 60% and 75%
layers/duplicate
image/mirror - image/flip
effects/plugins/Carolaine & Sensibility/CS LDots
in the layers palette, set the blend mode on “hard light” or “Luminance (legacy)” (or other)
and the opacity on 60%
in the layers palette, activate the bottom layer (raster 1)
selections/load-save selection/from alpha channel/selection #2
selections/promote selections to layer
layers/arrange/bring to top
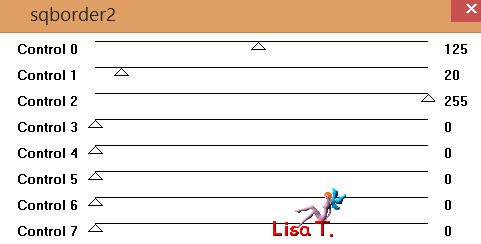
effects/plugins/AFS Import/sqborder2
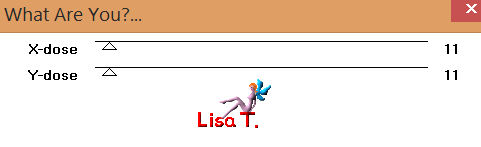
effects/plugins/Toadies/What Are You?
effects/3D effects/drop shadow/ 0 / 0 / 35 / 50 / black
selections/select none
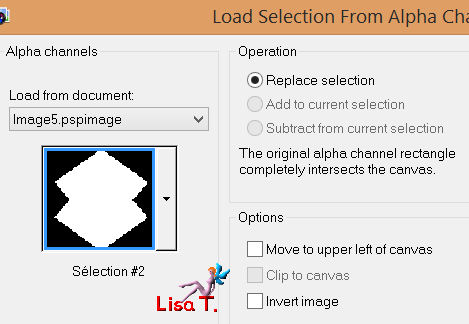
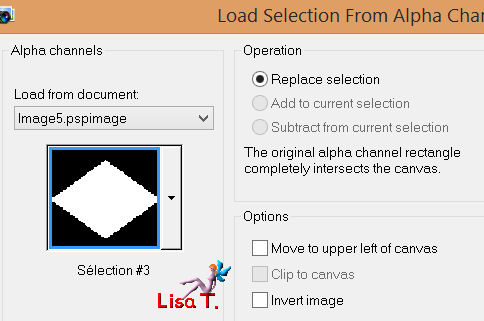
selections/load-save selection/from alpha channel/selection #3
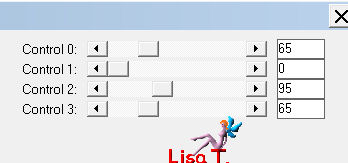
effects/plugins/Eye Candy 5 Impact/Glass/preset Shannah 1
selections/promote selection to layer
selections/select none
image/resize/60% (uncheck “resize all layers”)
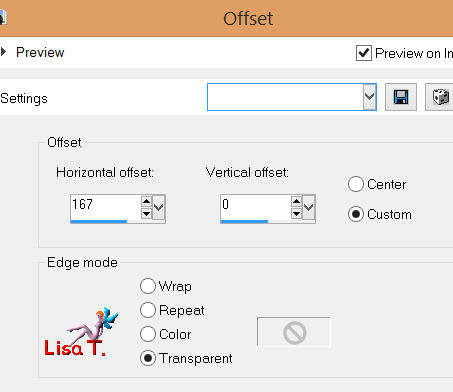
effects/image effects/offset
layers/duplicate - image/mirror
layers/merge/merge down
effects/3D effects/drop shadow as before
in the layers palette, activate the bottom layer (raster 1)
in the materials palette, set color 3 as background
layers/new raster layer/paint black
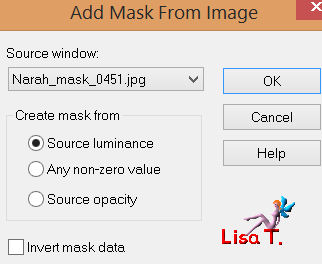
layers/new mask layer/from image
layers/merge/merge group
effects/image effects/seamless tiling
image/negative image
effects/texture effects/weave/weave color : color 1
adjust/sharpness/sharpen
in the layers palette, set the blend mode on “screen”
and the opacity between 45% and 60% (éccording to your colors)
activate the tube “deco_vivi”
edit/copy - back to your work - edit/paste as a new layer
layers/arrange/move up (3 times)
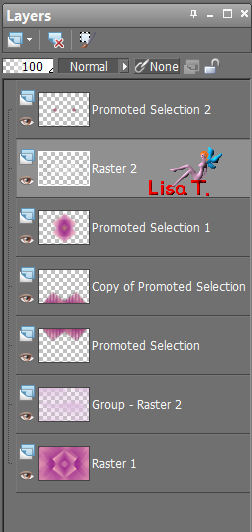
your lauers palette must be like this
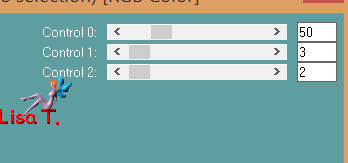
effects/plugins/Eye Candy 5 Impact/Glass/preset Shannah 2
in the layers palette, set the blend mode on “Luminance”
and the opacity on 100%
layers/duplicate
laeyrs/merge/merge all (flatten)
image/add borders/check “symmetric” :
1 pixel color 3
1 pixel white
1 pixel color 3
edit/copy
50 pixels with a contrasting color
select the large border qith the magic wand tool (default settings)
edit/paste into selection
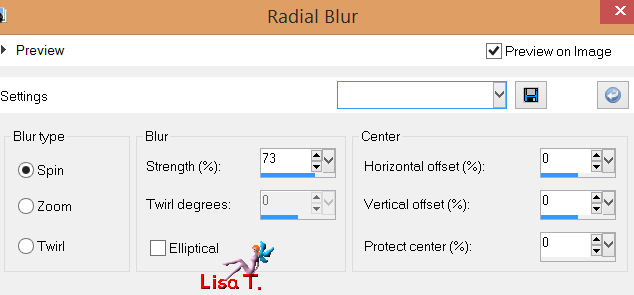
adjust/blur/radial blur
selections/invert
effects/3D effects/drop shadow/ 0 / 0 / 75 / 30 / black
selections/select none
layers/duplicate
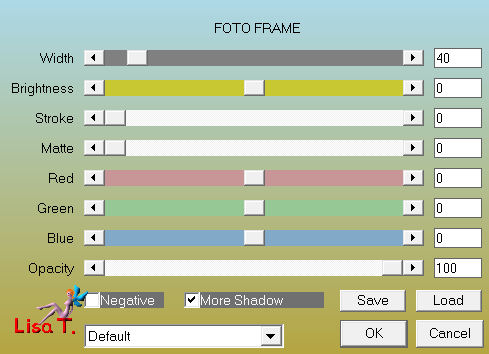
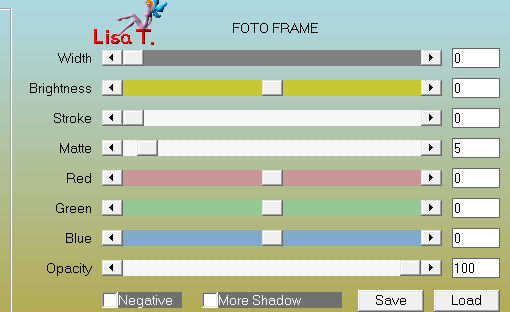
effects/plugins/AAA Frames/FotoFrame (check “more shadow”)
image/resize/85%/uncheck “resize all layers”
effects/image effects/offset

effects/3D effects/drop shadow as before
in the layers palette, activate the layer below
adjust/blur/radial blur as before
effects/plugins/Carolaine & Sensibility/CS BRectangles
effects/image effects/seamless tiling as before
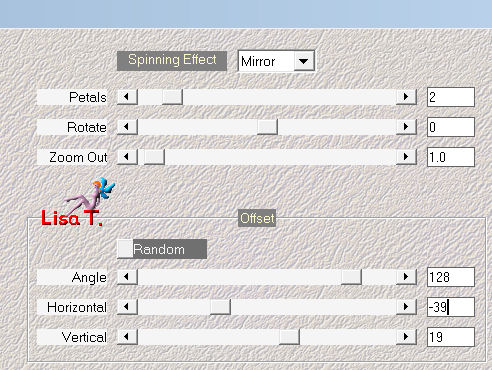
effects/plugins/Simple/Pizza Slice Mirror
effects/plugins/Simple/4 Way Average
layers/merge/merge all (flatten)
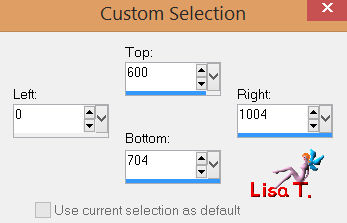
activate the selection tool/custom selection
selections/promote selection to layer
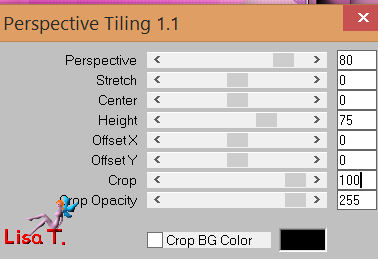
effects/plugins/Mura’s Meister/Perspective Tiling
selections/select none
effects/3D effects/drop shadow as before
activate the tube “Svb Decoratie1”, resize/60%
image/mirror
edit/copy - back to your work - edit paste as a new layer
move it as shown on the final result
effects/3D effects/drop shadow as you wish
adjust/sharpness/sharpen
acitvate the tube ALies Woman 28032013”, resize it to 85%
edit/copy, and move it opposite to the decoration
adjust/sharpness/sharpen
effects/3D effects/as you wish
layers/new raster layer
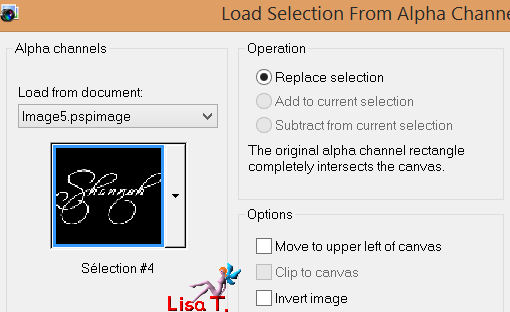
selections/load-save selection/from alpha channel/selection #4
paint black
selections/select none
layers/duplicate
effects/3D effects/drop shadow/ 1 / 1 / 50 / 3 / black
in the layers palette, activate the layer below
effects/distortion effects/wind/from right/100%
image/negative image
add a layer to apply your signature
layers/merge/merge all (flatten)
image/add borders/1 pixel/black
image/add borders/2 pixels/white
effects/plugins/AAA Frame/FotoFrame
resize if necessary, save as... type JPEG
thank you to have realized this tutorial
do not hesitate to write to Vivi to send her your creation
she will be very glad to receive it and present it at the end of her tutorial

Back to the boards of Vivi’s tutorials
board 1  board 2 board 2

|