Sensuality

I am member of TWInc
My translations are protected


Material
1 alpha layer
tubes and masks

Thank you to the tuber Calguis
Filters used
Adjust Variations - VM Natural - VanderLee Unplugged X - Eye Candy 5 Impact
Tramages - Toadies - Mura’s Seamless
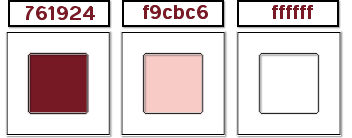
Colors palette
color 1 -> foreground color -> #761924
color 2 -> background color -> #f9cbc6
color 3 -> white #ffffff
Use the paint brush to follow the steps
left click to grab it
 |
Realization
open the alpha layer, duplicate it, close the original and work with the copy
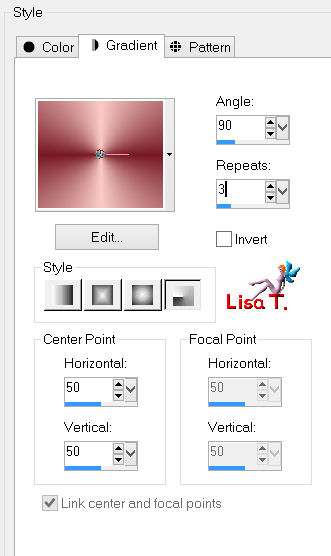
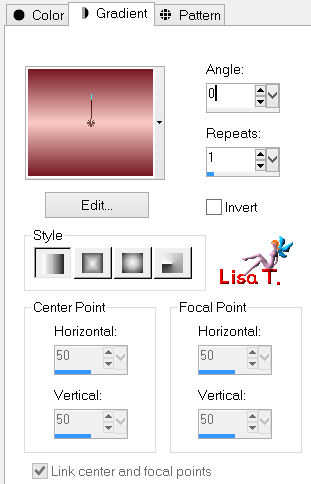
in the materials palette, prepare a radial gradient with 2 colors chosen in your tube
choose a dark color as color 1, and a light color as color 2 (except white)
fill the alpha layer “sensuality” with this gradient
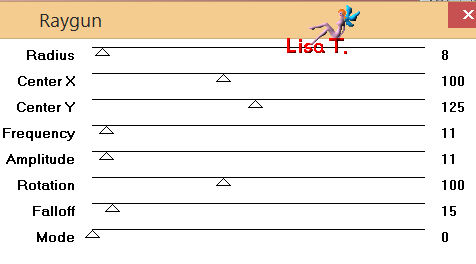
effects/plugins/VM Natural/Raygun
adjust/sharpness/sharpen
selections/load-save selection/from alphpa channel/selection 1

selections/promote selection to layer
selections/select none
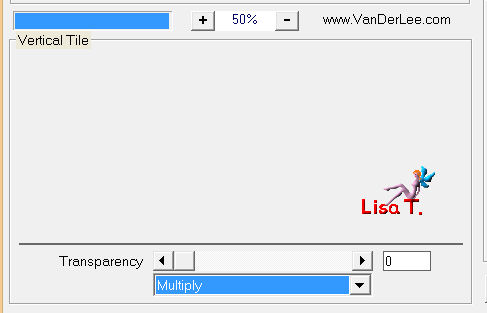
effects/plugins/VanderLee/Unplugged X/Vertical Tile
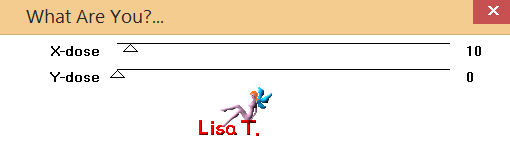
effects/Plugins/Toadies/What Are You?
layers/duplicate
in the layers palette, activate the layer below (promoted selection)
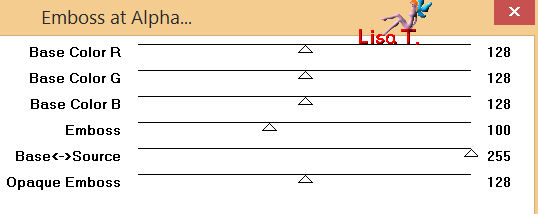
effects/plugins/Mura’s Seamless/Emboss at Alpha
in the layers palettes, activate the top layer
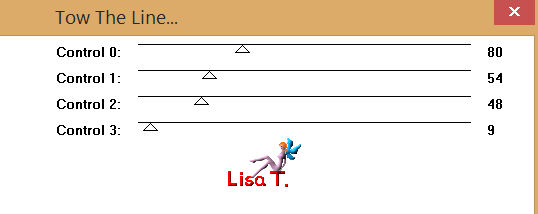
effects/plugins/Tramages/Tow The Line
effects/image effects/seamless tiling/default settings
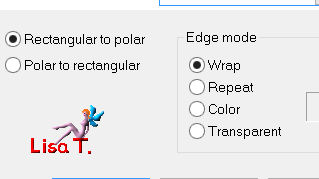
effects/distortions effects/polar coordinates
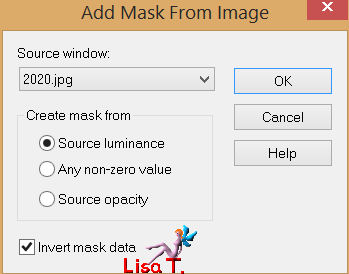
layers/new mask layer/from image/mask 20/20
layers/merge/merge group
in the layers palette, set the blend mode on “overlay” and the opacity on 70%
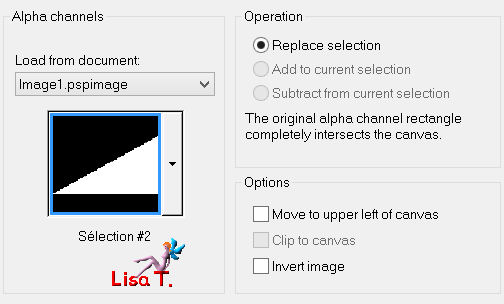
selections/load-save selection/from alphpa channel/selection 2
edit/cut
layers/new raster layer
edit/paste into selection
selections/select none
in the layers palette, set the blend mode on “screen” and the opacity on 100%
adjust/sharpness/sharpen more (2 times)
in the layers palette, activate the bottom layer (raster 1)
layers/new raster layer
paint with color 3 (set the opacity of the flood fill tool on 75%)

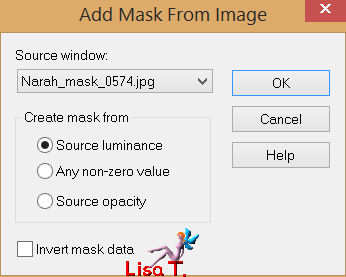
layers/new mask layer/from image/choose “Narah mask 0574”
layers/merge/merge group
in the layers palette, set the blend mode on “screen” and the opacity on 70%
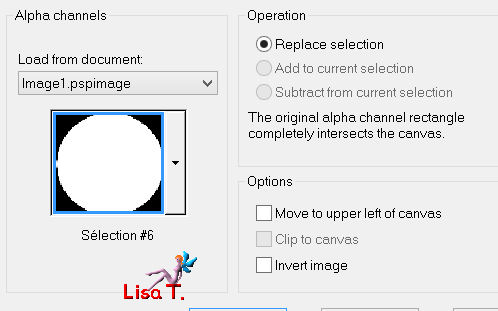
selections/load-save selection/from alphpa channel/selection 6
layers/new raster layer
acitvate the tube “misted calguis poeme flower “
edit/copy - back to your work - edit/paste into selection
selections/select none
in the layers palette, set the blend mode on “burn” (or other) and the opacity on 90%
activate the top layer (raster 2)
layers/new raster layer
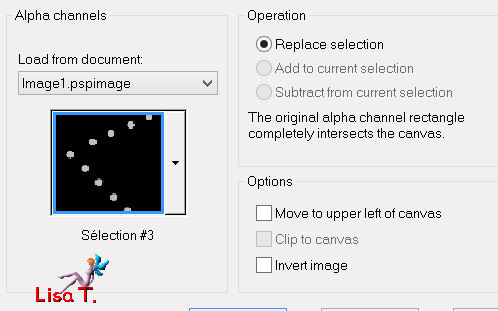
selections/load-save selection/from alphpa channel/selection 3
activate the flood fill tool, reset the opacity on 100%, fill the selection with color 1
effects/plugins/Eye Candy 5 Impact/Glass/preset “Clear”
selections/select none
effects/D effects/drop shadow/ 0 / 0 / 50 / 20 / black
in the layers palette, activate “promoted selection”
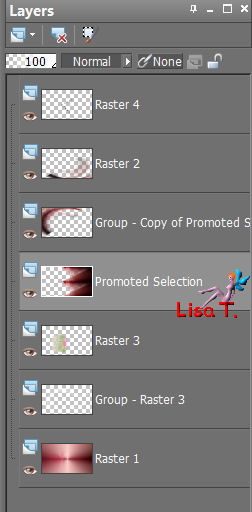
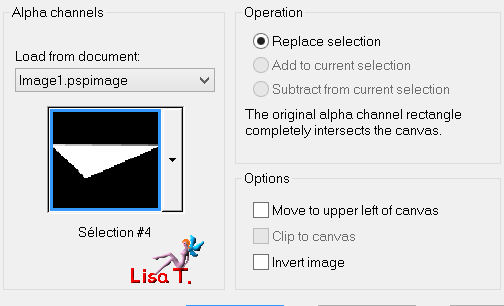
selections/load-save selection/from alphpa channel/selection 4
selections/promote selection to layer
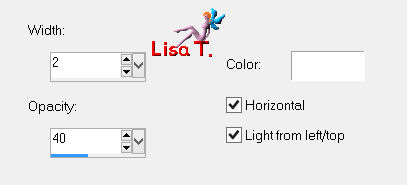
effects/textures effects/blinds (white)
in the layers palette, set the opacity on 70%
selections/select none
in the layers palette, activate “promoted selection” once more
effects/plugins/Adjust/Variations
click once on “original”
then on “lighter” (1, 2 or 3 times, according to your colors)
selections/load-save selection/from alphpa channel/selection 5
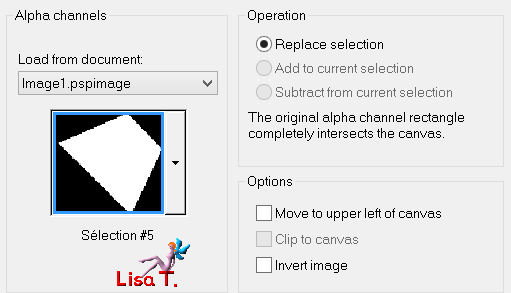
selections/promote selection to layer
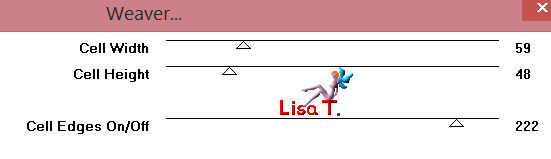
effects/plugins/Toadies/Weaver/default settings
in the layers palette, set the blend mode on “Multiply” and the opacity on 70%
selections/select none
adjust/blur/blur more
layers/merge/merge all (flatten)
image/add borders/check “symmetric” :
2 pixels color 1
2 pixels color 2
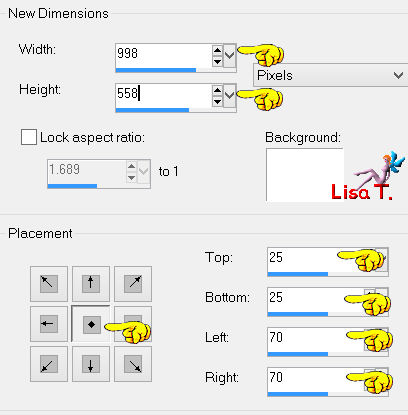
image/canvas size (set white as background color)
activate the magic wand tool (defautl settings) and select the white border
in the materials palette, prepare a linear gradient with colors 1 and 2 and fill the selection
effects/reflection effects/kaleidoscope
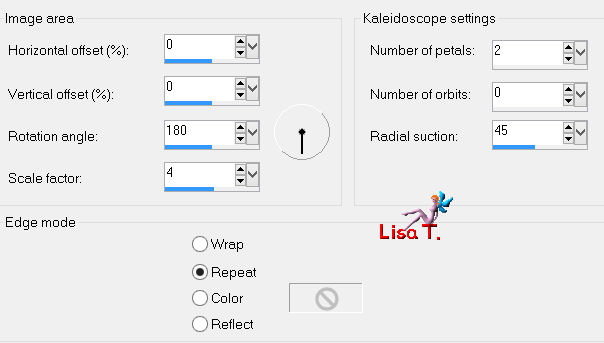
effects/reflection effects/kaleidoscope (change radial suction)

selections/invert
effects/3D effects/drop shadow/ 10 / 10 / 50 / 5 / black
effects/3D effects/drop shadow/ -10 / -10 / 50 / 5 / black
selections/select none
image/add borders/2 pixels/color 1
selections/select all
image/add borders/30 pixels/white
effects/3D effects/drop shadow/ 0 / 0 / 80 / 40 / black
selections/select none
activate the tube “calguis sensuality”
image/resize/622 pixels (height) (your tag’s height)
edit/copy - back to your work - edit/paste as new layer
move it as shown on the final result
adjust/sharpness/sharpen
effects/3D effects/drop shadow/ 10 / 20 / 40 / 25 / black
activate the tube “claguis deco”, resize it to 70%
edit/copy - back to your work - edit/paste as new layer
move it as shown on the final result
adjust/sharpness/sharpen
effects/3D effects/drop shadow/ 10 / 20 / 40 / 25 / black
apply your signature on a new layer
layers/merge/merge alll
image/add borders/2 pixels/black
resize your tag if necessary
save as... type jpeg
thank you to have realized this tutorial
if you want Vivi to see your creation
she will be very glad to receive it and present it at the end of her tutorial

Back to the boards of Vivi’s tutorials
board 1  board 2 board 2

|