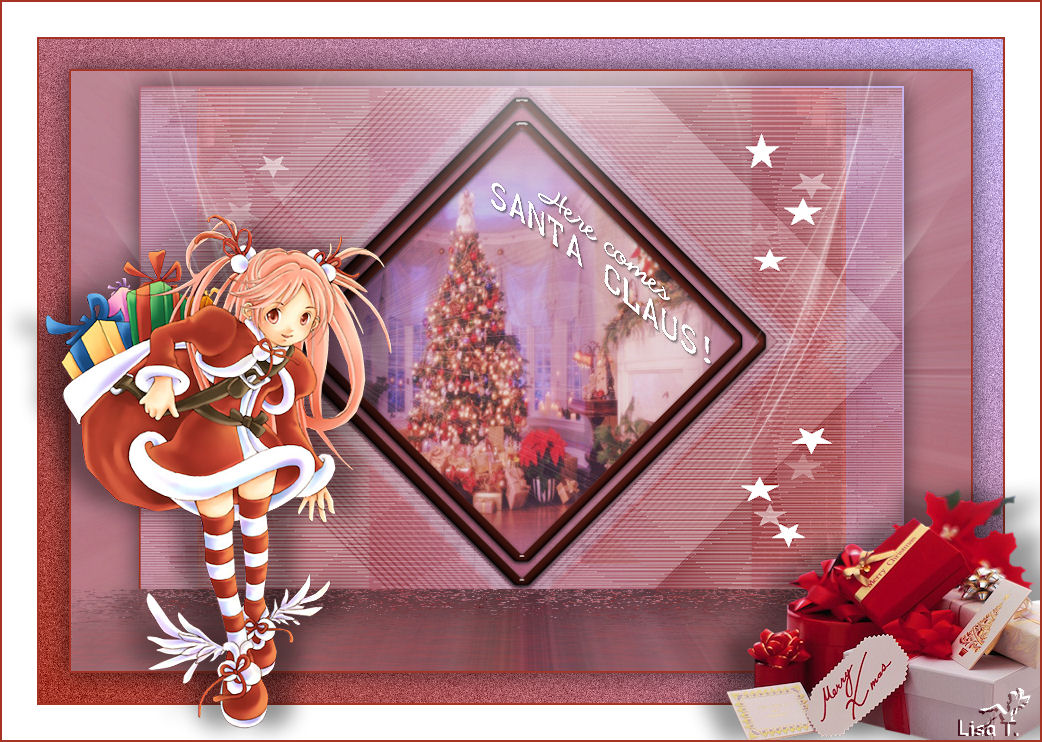
Here Comes Santa Claus
I am member of TWInc
My translations are protected


Material
1 alpha layer (selections) - tubes - mask - 1 preset Eye Candy 5 - 1 preset Flood
doucli click on the preset Eye Candy 5, and it will be installed automatically in the good plugin
place the preset Flood in a folder that you can easily find
other elements must be opened in pSP and minimized
download


Thank you to the tubers : Guismo - LB Tubes - MsGena - Narah (mask)
Filters used
Panopticum (alpha strip) - Mehdi - Eye Candy 5 Impact - Flaming Pear (Flood) - Itamian Editors
BKG Kaleidoscope _ VanDerLee/Unplugged X
Colors palette
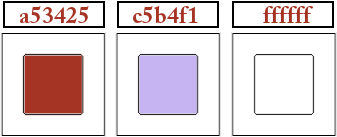
foreground color -> #a53425 -> color 1
background color -> #c5b4f1 -> color 2
#ffffff -> color 3
you can use the paintbrush to follow the steps
left click to grab it

Realization
activate the alpha layer “alpha_santaclaus”
window/duplicate; close the original and work with the copy
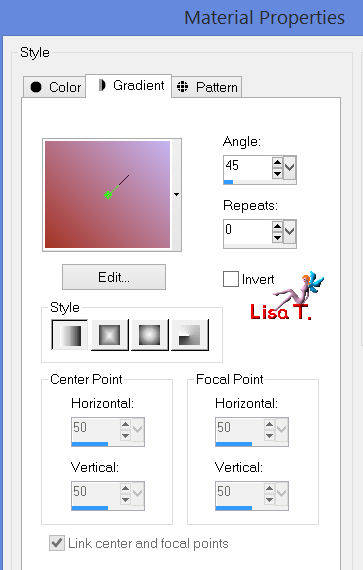
in the materials palette prepare a linear gradient with two color chosen in your main tube
(dark color as foreground and light color as background - don’t choose white)
paint the layer with the gradient
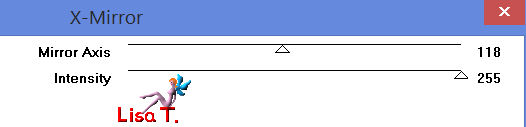
effects/plugins/Visual Manipulation/X mirror
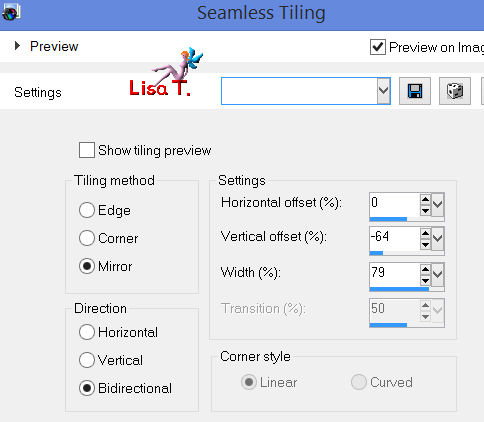
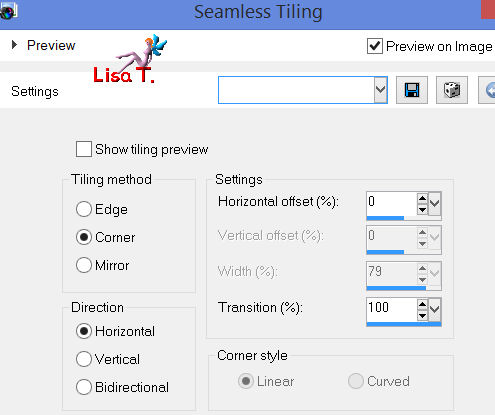
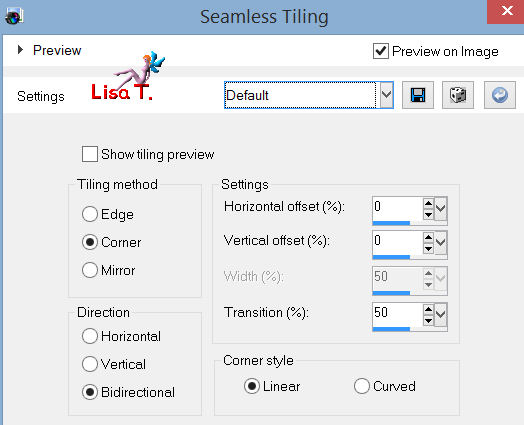
effects/image/effects/seamless tiling
adjust/sharpness/sharpen more
layers/duplicate
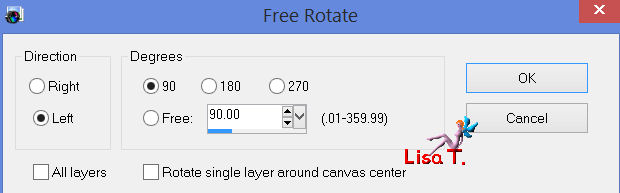
image/free rotate
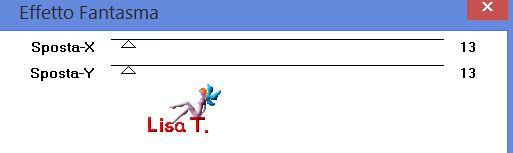
effects/plugins/Italian Editors Effects/Effeto fantasma
effects/3D effects/drop shadow/ 0 / 0 / 50 / 10 / black
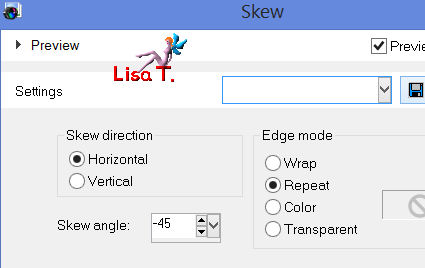
effects/geometric effects/skew
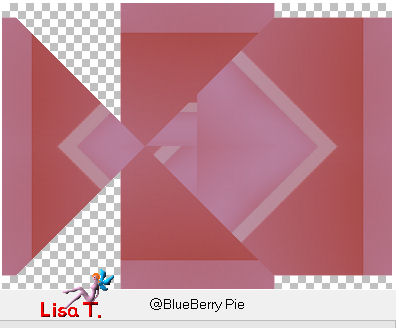
effects/plugins/BKG Kaleidoscope/@Blueberry Pie
layers/merge/merge down (don’t merge visible, the effect would be different)
layers/duplicate
effects/plugins/BKG Kaleidoscope/@Blueberry Pie (once more)
your tag must be like this
effects/image effects/seamless tiling
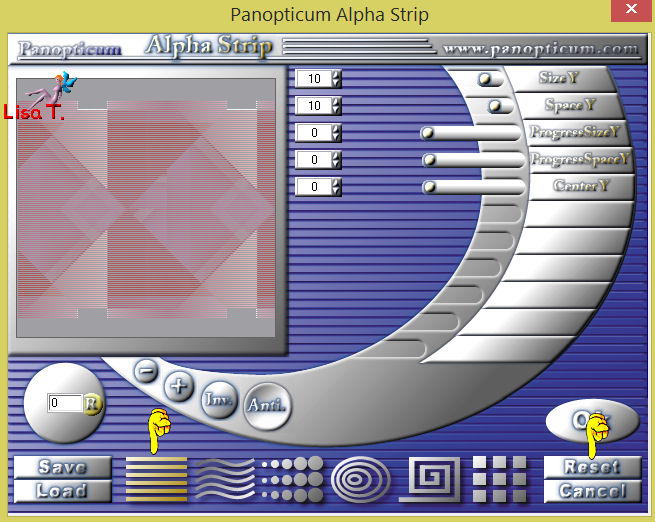
effects/plugins/Panopticum/Alpha Strip
(click on “reset” then on the horizontal bars at the bottom)
effects/3D effects/drop shadow/ 0 / 0 / 50 / 10 / black
in the layers palette, set the blend mode on “lighten” (or other according to your colors)
and the opacity on 100%
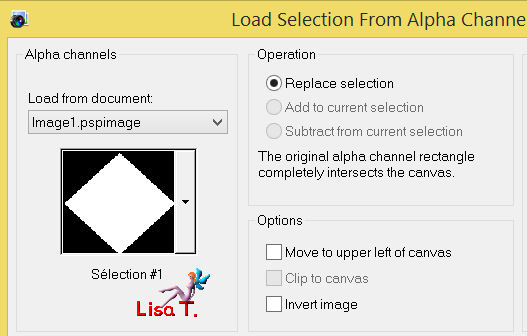
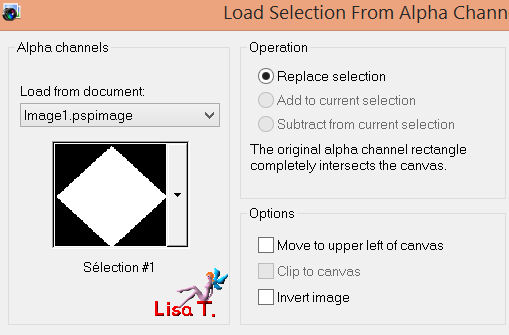
selections/load-save selection/from alpha channel/selection #1
press on the delete key of your keyboard (or edit/cut)
layers/new raster layer
selections/modify/contract/15 pixels
effects/3D effects/chisel (dark color - color 1)
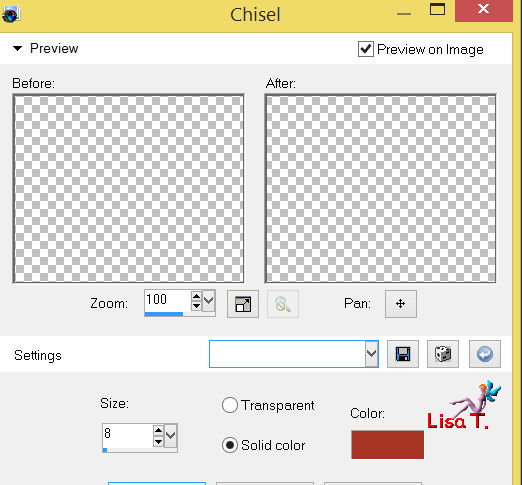
selections/modify/contract/20 pixels
effects/3D effects/chisel (same settings as before)
layers/new raster layer
activate the tube “486Christmas”, edit/copy
back to your work - edit/paste into selection
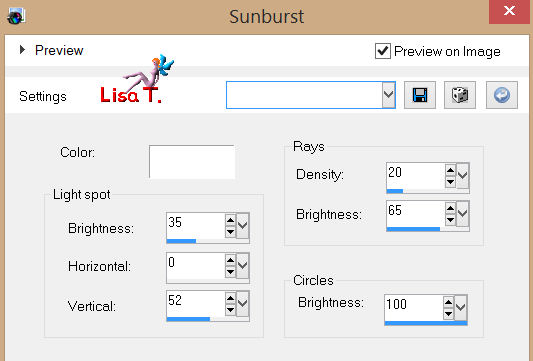
effects/illumination effects/sunburst
selections/select none
in the layers palette, set the blend mode on “hard light” (or other) and the opacity on 70%
layers/arrange/move down
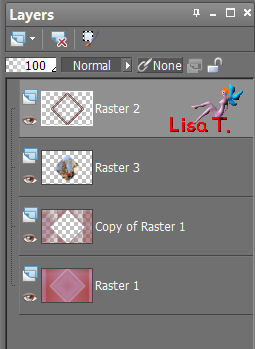
in the layers palette, activate the layer “raster 2” (with the chisel effect) on top of the stack
effects/plugins/Eye Candy 5 Impact Glass
in the “settings” tab, choose “clear”
and in the “basic” tab, the color must be your light color (color 2)
in the layers palette, activate “raster1” (bottom layer) - layers/duplicate
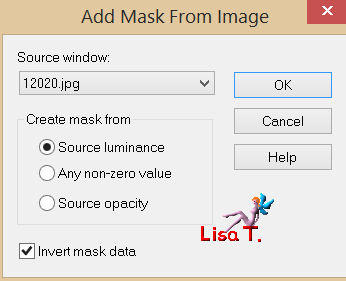
layers/new mask layer/from image/check “invert”/mask 12020
layers/merge/merge group
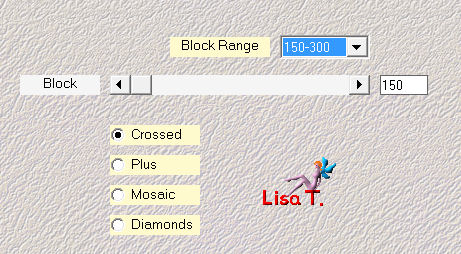
effects/plugins/Mehdi/Sorting Tiles
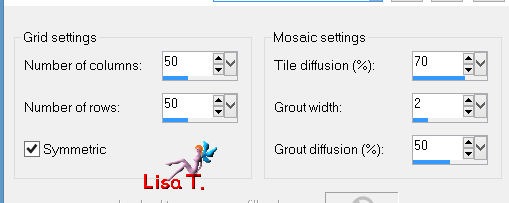
effects/texture effects/mosaic-antique
in the layers palette, set the blend mode on “luminance (Legacy)”
and the opacity between 75% and 85%
layers/merge/merge visible
layers/new raster layer
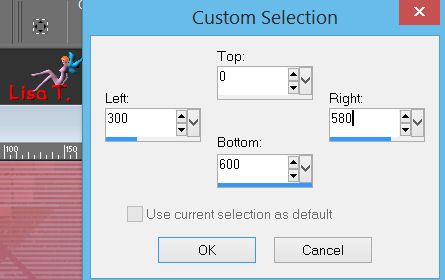
activate the selection tool/rectangle/custom selection
fill with color 3 (white)
selections/modify/contract/1 pixel
edit/cut
layers/new raster layer
edit/paste into selection - selections/select none
in the layers palette, set the opacity on 40%
layers/merge/merge down
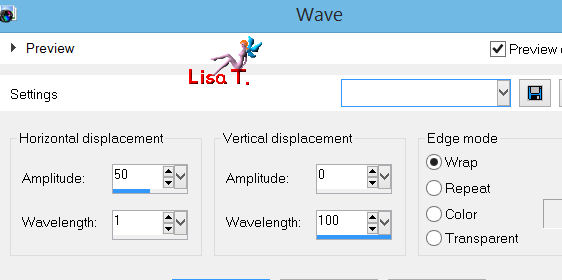
effects/distortion effects/wave
in the layers palette, set the blend mode on “screen” and the opacity on 60%
selections/load-save selection/from alpha channel/selection #1
press the delete key f your keyboard (keep the seletion active)
layers/new raster layer
effects/plugins/Eye Candy 5 Impact/Backlight/preset “vivichristmas”
selections/select none
effects/image effects/seamless tiling/default settings
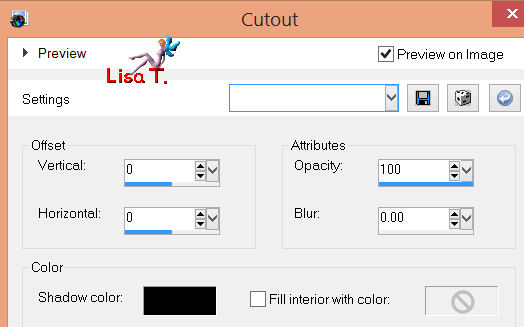
effects/3D effects/cutout (shadow color : black)
in the layers palette, set the blend mode on “overlay” and the opacity on 100%
layers/new raster layer
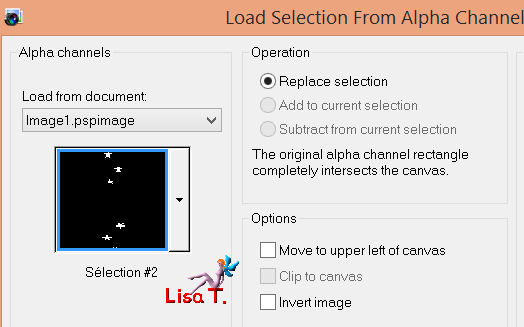
selections/load-save selection/from alpha channel/selection #2
fill with color 3 (white) - selections/select none
layers/duplicate
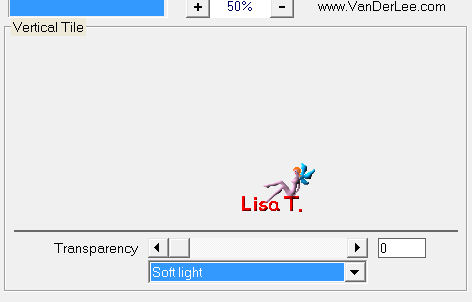
effects/plugins /VanderLee/Unplugged X /Vertical Tile
layers/arrange/move down
layers/duplicate
image/mirror - image/flip - layers/merge/merge down
in the layers palette, set the blend mode on “screen” and the opacity on 100%
effects/3D effects/drop shadow/ 0 / 0 / 100 / 5 / black
layers/merge/merge all
selections/select all
layers/new raster layer
fil with the linear gradient you created at the beginning
selections/modify/contract/2 pixels
edit/cut
selections/select none
layers/merge/merge down
layers/duplicate
image/resize/85% (uncheck “resize all layers”)
effects/image effects/offset

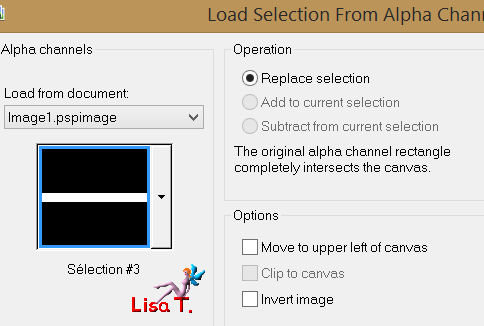
selections/load-save selection/from alpha channel/selection #3
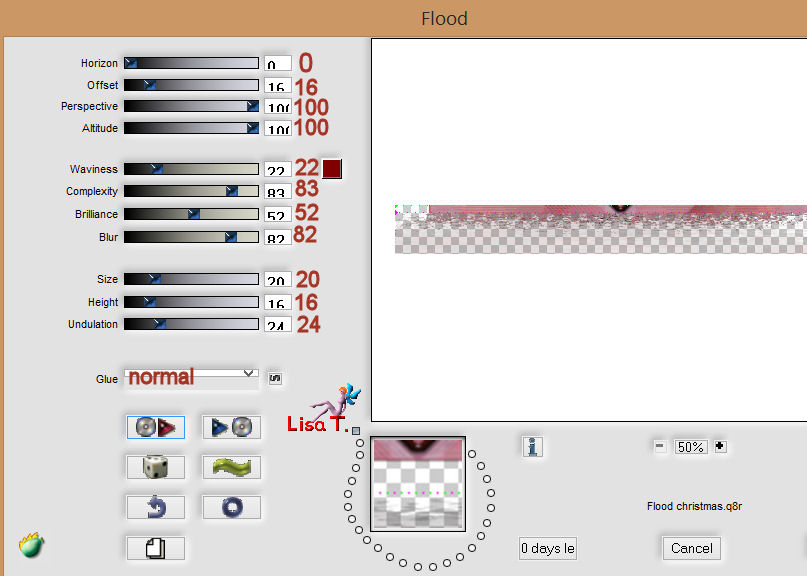
effects/plugins/Flaming Pear/Flood/preset “floodChristmal”
or enter the following settings (choose color 1, dark color)
selections/select none
effects/3D effects/drop shadow/ 0 / 0 / 60 / 35 / black
in the layers palette, activate the bottom layer
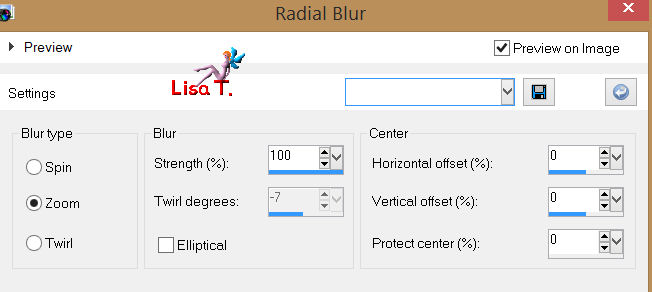
adjust/blur/radial blur
adjust/sharpness/sharpen more (2 times)
in the layers palette, activate the layer on top of the stack
activate the tube “deco_vivi” - edit/copy - back to your work - edit/paste as a new layer
effects/image effects/offset / H : 0 / V : 75 /(check “custom”and “transparent”)
layers/merge/merge visible
image/add borders/check symmetric
2 pixels/color 1
30 pixels color 2
with the magic wand tool (default settings), select this border, and fil with the linear gradient
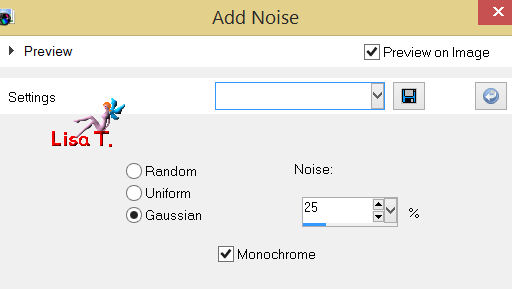
adjust/add-remove noise/add noise
selections/invert
effects/3D effects/drop shadow/ 0 / 0 / 60 / 35 / black
selections/select none
image/add borders
2 pixels color 1
35 pixels color 3
activate the tube “MsGena Christmas”, image/resize/90%
back to your work - edit/paste as a new layer (see example)
and drop shadow as you like (vivi chose 0 / 26 / 40 / 30 / black)
activate the tube “calguischristmas191110”, resize it to 50%
back to your work/paste as a new layer, place it as shown and drop shadow as before
copy the text tube “santa claus” and paste as a new layer where you want
apply your signature
layers/merge/merge all (flatten)
image/add borders/2 pixels color 1
resize if necessary, save as... type JPEG

thank you to have realized this tutorial
if you want Vivi to see your creation
she will be very glad to receive it and present it at the end of her tutorial

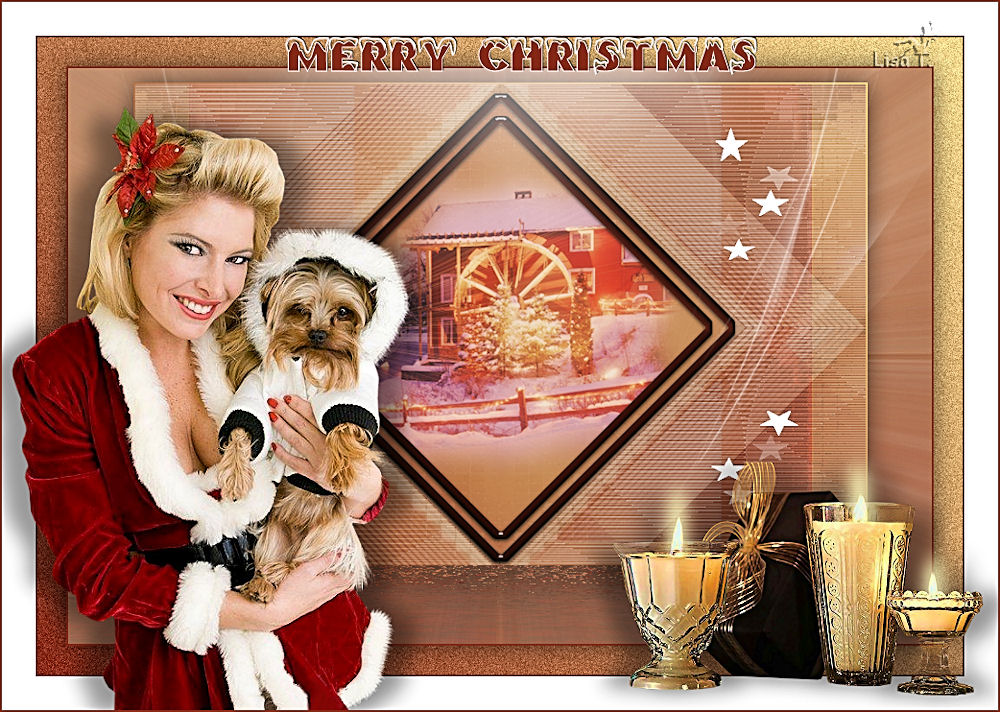
My try with my tubes. The tube of the woman was created by Didier
Back to the boards of Vivi's tutorials
board 1  board 2 board 2

|