Pamela

Material
tubes - mask - alpha layer - preset eye Candy

Thank you to the tubers : Alies - Logane - Narah (mask)
double click on the preset to install it
Filters used
Mehdi - AFS Import - Simple - AP 01[Innovations] - AAA Frames - Toadies - Eye Candy 5 Impact
Picture Man Collection Rubber (the first time you open this plugin, it asks you to choose the graphic software. Don’t do that !! juste leave « unknown »..otherwise, most of the time, PSP closes immediatly)
Colors
color 1 -> foreground color -> #f6e3d0 (light)
color 2 -> background color -> #c04745 (dark)
if you change the colors, don’t choose white as light color

Use the pencil to follow the steps
left click to grab it
 |
Realization
open the alpha layer Pamela
Window/duplicate, close the original and work with the copy
in the materials palette, prepare a sunburst gradient and fill the layer with the gradient

selections/select all
activate the tube of the character
edit/copy - back to your work - edit/paste into selection
selections/select none
effects/image effects//seamless tiling/default settings
adjust/blur/gaussian blur/50
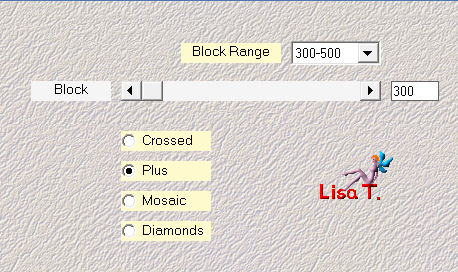
effects/plugins/Mehdi/Sorting Tiles
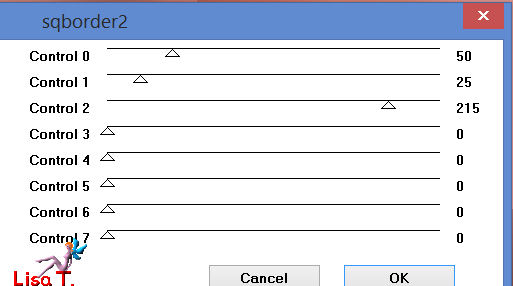
effects/plugins/AFS Import/SQBorder2
effects/plugins/Toadies/What are You ?..

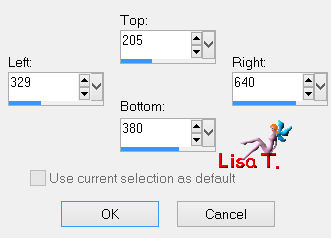
activate the selection tool/rectangle/custom selection
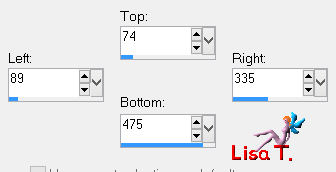
selections/promote seletion to layer
effects/plugins/Simple/Pizza Slice Mirror
selections/select none
layers/duplicate - image/mirror
layers/merge/merge down
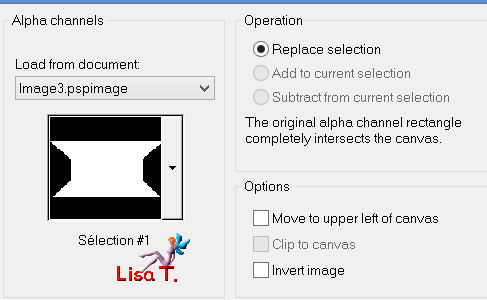
selections/load selection from alpha channel/selection 1
effects/plugins/Toadies/What are You ?..
selections/invert
effects/3D effects/drop shadow/ 0 / 0 / 50 / 35 / black
selections/invert
selections/modify/select selection borders
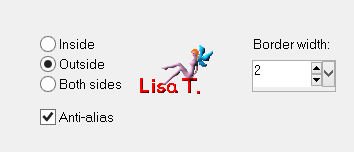
activate the flood fill tool (match mode : none) and fill the selection with color 2
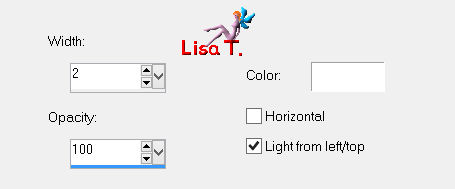
effcts/texture effects/blinds
selections/select none
selections/load selection from alpha channel/selection 2
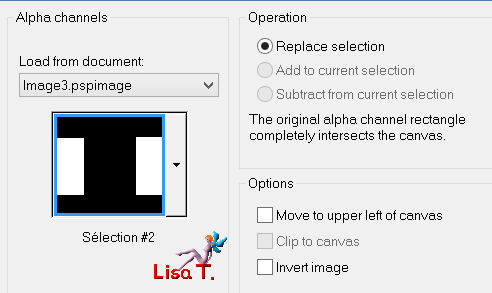
hit the delete key of your keyboard
selections/load selection from alpha channel/selection 1
selections/promote selection to layer
selections/select none
effects/edge effects/enhance more
blend mode of the layer on « overlay » (or other), opacity on 100%
in the layers palette, activate the background layer (Raster 1)
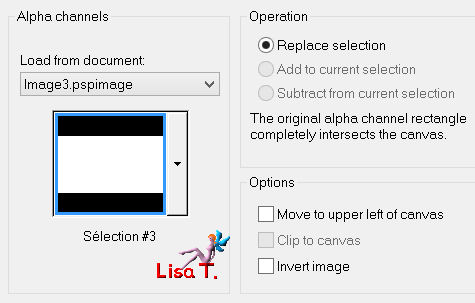
selections/load selection from alpha channel/selection 3
selections/promote selection to layer
layers/arrange/bring to top
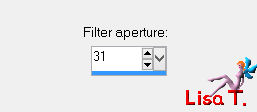
adjust/blur/ average/31
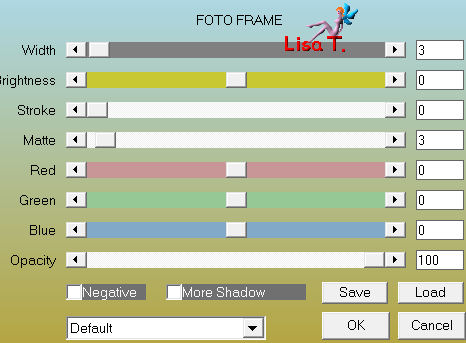
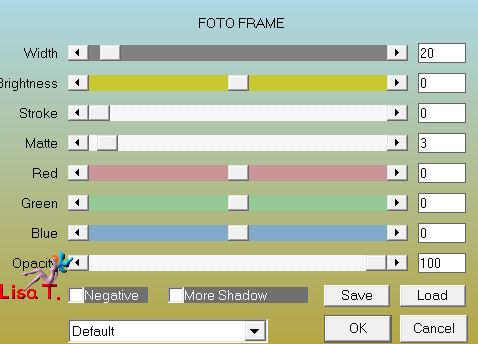
effects/plugins/AAA Frames/Foto Frame
selections/modify/contract/8 pixels
layers/new raster layer
activate the image « abstract 024 » , colorize it eventually
edit/copy - back to your work - edit/paste into selection
selections/select none
blend mode of the layer : « screen », opacity 63%
adjust/sharpness/sharpen more
layers/merge/merge down
effects/plugins/Eye Candy 5 Impact/Gradient Glow/preset « Vivi cadre 0514 »
effects/3D effects/drop shadow/ 0 / 0 / 50 / 20 / white
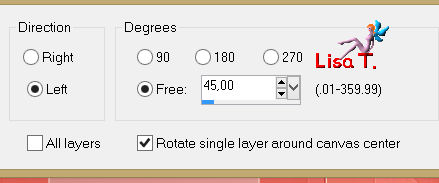
image/free rotate/45°/left
effects/plugins/Simple/Pizza Slice Mirror
layers/duplicate - image/mirror
layers/merge/merge down
effects/plugins/Toadies/What are You ?../ 20 / 20
image/resize/uncheck « resize all layers »/85%
effects/3D effects/drop shadow/ 0 / 0 / 70 / 25 / white
activate the tube « texte »
edit/copy - back to your work - edit/paste as new layer (colorize it eventually)
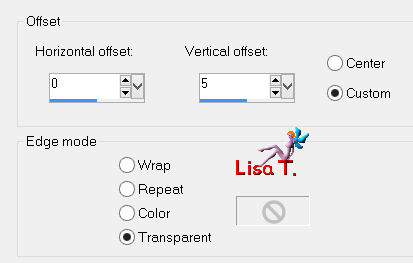
effects/image effects/offset
in the layers palette, activate the background layer
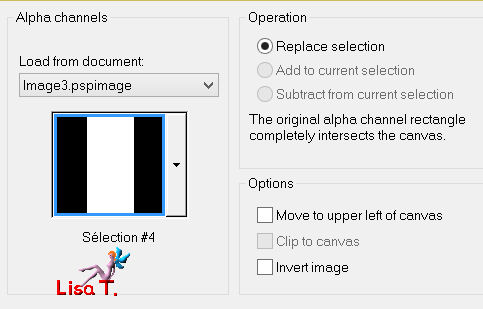
selections/load selection from alpha channel/selection 4
selections/promote selection to layer
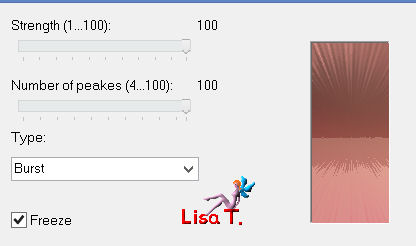
effcts/plugisn/Picture Man Collection Rubber/Explosions
blend mode of the layer : « overlay » (or other), opacity 100%
selections/select none
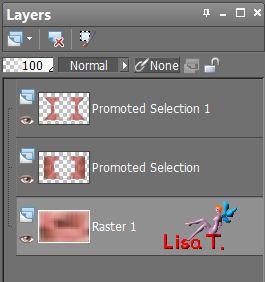
in the layers palette, activate « Promoted selection 1 » (third from the top)
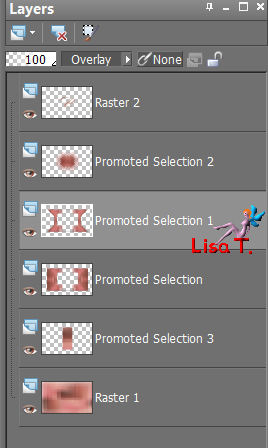
layers/new raster layer
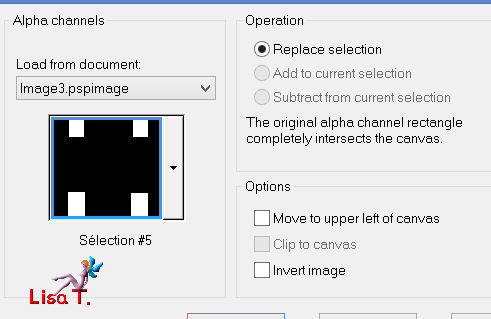
selections/load selection from alpha channel/selection 5
activate the flood fill tool (opacity on 50%)

fill the selection with the gradient you created at the begining
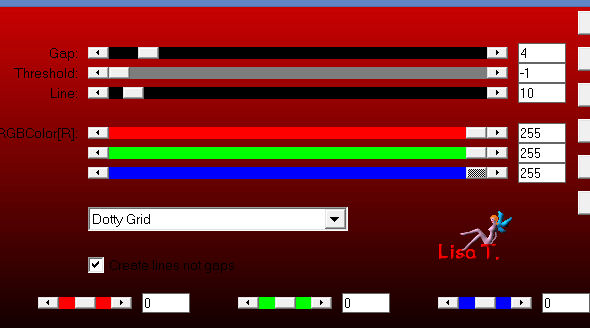
effects/plugins/AP 01[Innovations]/Lines Silverlining/Dotty Grid
selections/select none
layers/merge/merge all (flatten)
layers/duplicate
image/resize/uncheck « resize all layers »/85%
effects/3D effects/drop shadow/ 10 / 10 / 50 / 5 / black
effects/3D effects/drop shadow/ -10 / -10 / 50 / 5 / black
layers/merge/merge all (flatten)
image/add borders/symmetric/2 pixels color 2
image/add borders/symmetric/30 pixels/white
layers/new raster layer/fill with color 1 (opacity of the flood fill tool still on 50%)
(don’t forget to reset the opacity on 100% for later use)
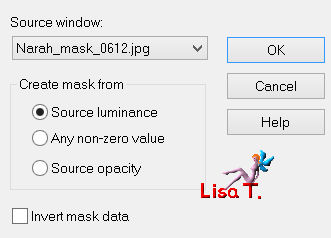
layers/new mask layer/from image/mask Narah 0612
layers/merge/merge group
effects/image effects/seamless tiling/default settings
activate the selection tool/rectangle/custom selection
hit the delete key of your keyboard
selections/select none
activate the tube « Alies 1 VR922 » and resize it to 85%
edit/copy - back to your work - edit/paste as new layer
move it as shown on the final result
adjust/sharpness/sharpen
drop a shadow of your choice
activate the tube « Logane fleur or » and resize it to 45%
edit/copy - back to your work - edit/paste as new layer
move it opposite of the image
adjust/sharpness/sharpen
same shadow as before
layers/merge/merge all (flatten)
image/add borders/2 pixels/color 2
image/add borders/30 pixels/white
effects/plugins/AAA Frames/Foto Frame
apply your signature and resize it eventually
file/save as ... type jpeg

thank you to have followed this tutorial
if you want Vivi to see your creation
she will be very glad to receive it and present it at the end of her tutorial

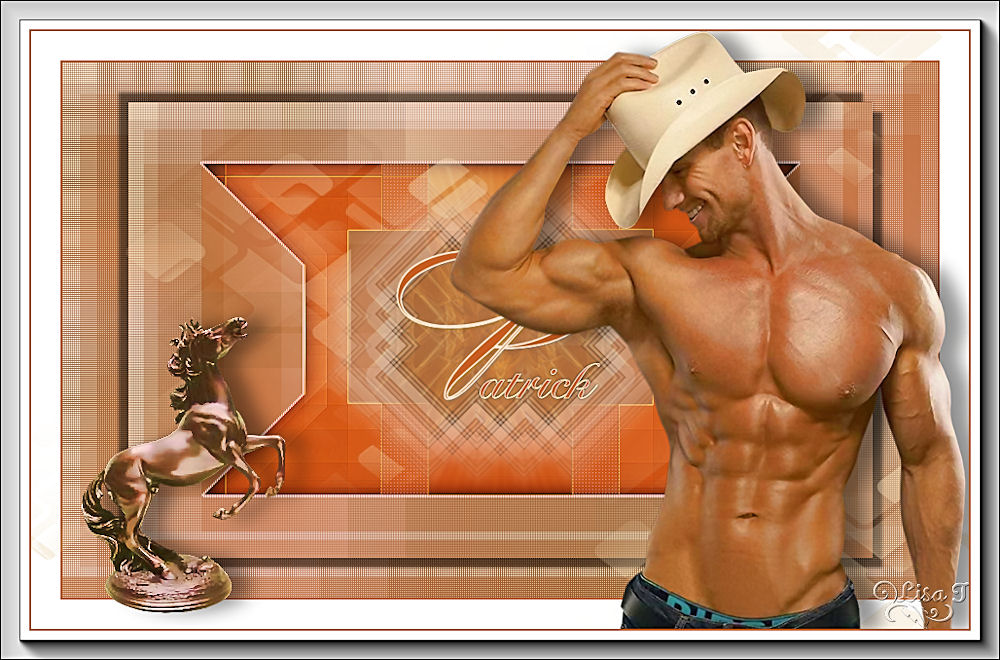
My tag with my tubes
Back to the boards of Vivi’s tutorials
Board 1  Board 2 Board 2

|