Offset

Material
tubes - sélections - presets Eye Candy
copy/paste the selections into the folder « selection » of My PSP Files

Thank you to the tubers – Danimage - Calguis

Filters used
AAA Frames - Simple - Vanderlee Unplugged X - AP 01 Innovations - BKG Kaléidoscope - Eye Candy 5 Impact
AFS Import (SqBorder) - CPK Designs
Colors
color 1 -> foreground color -> #eed6d7 (light color)
color 2 -> background color -> #76010a (dark color)
Use the pencil to follow the steps
left click to grab it

Realization
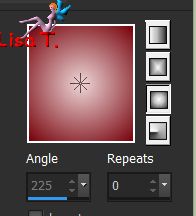
prepare a sunburst gradient in the materials palette
open a new transparent raster layers 900 * 550 pixels and flood fill with the gradient
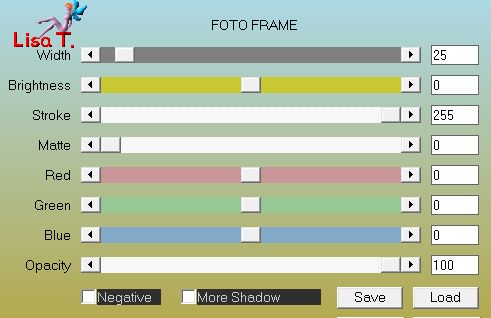
effects/plugins/AAA Frame/FotoFrame
effects/plugins/Simple/Blintz
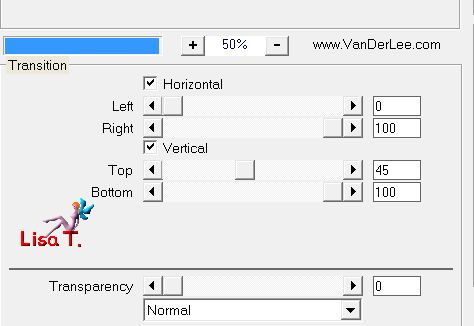
effects/plugins/Vanderlee/Unplugged X/Trransition
effect/image effects/seamless tiling
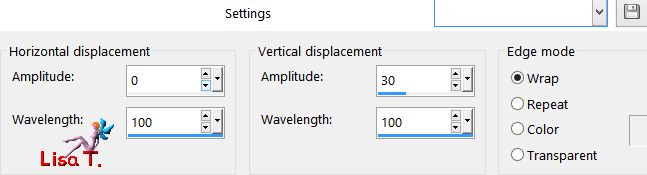
effects/distortion effects/wave
effects/image effects/seamelss tiling as before
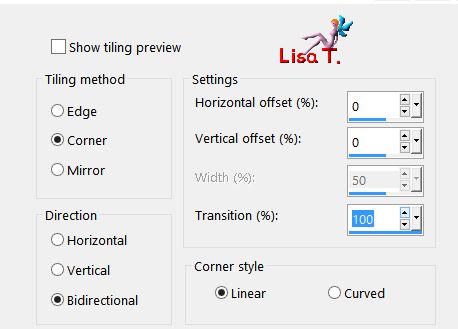
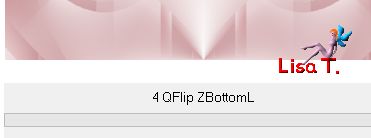
effects/plugins/BKG Kaleidoscope/4QFlipZBottomL
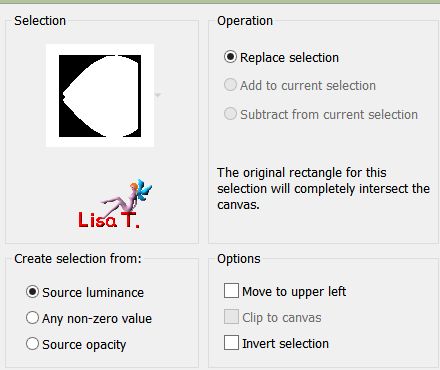
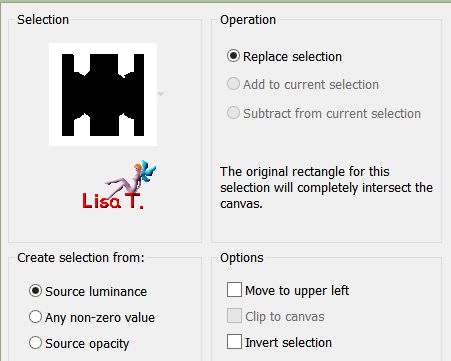
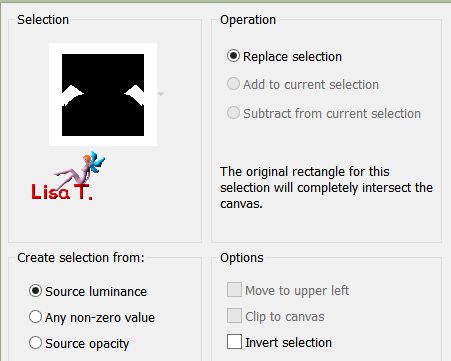
selections/load selection/from disk/ « vivi 372 »
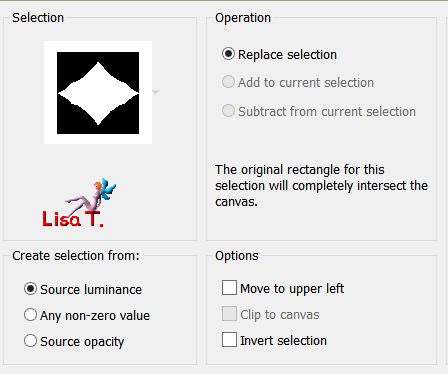
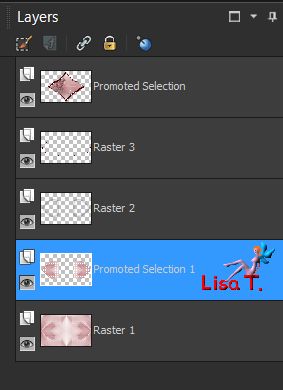
selections/promote selection to layer
layers/new raster layer
copy/paste into selection the tube « calguismistedcolored »
blend mode : Luminance (Legacy) – opacity : 75% (according to your colors)
adjust/sharpness/sharpen
layers/merge/merge down
layers/new raster layer
selections/modify/expand/3 pixels and flood fill the selection with color 2
selections/modify/contract/4 pixels and hit the delete key of your keyboard
selections/select none
effects/plugins/Eye Candy 5 Impact/Extrude/preset « Vivi 0215 »
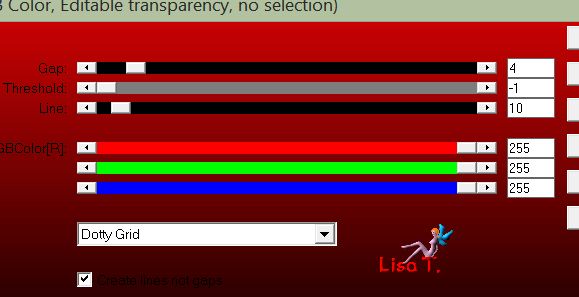
effects/plugins/AP01[Innovations]/Lines Silverlining/Dotty Grid
effects/3D effects/ 0 / 0 / 50 / 15 / black
layers/merge/merge down (the landscape)
effects/3D effects/drop shadow as before
activate the background layer
selections/load selection/from disk/ « vivi 373 »
selections/promote selection to layer
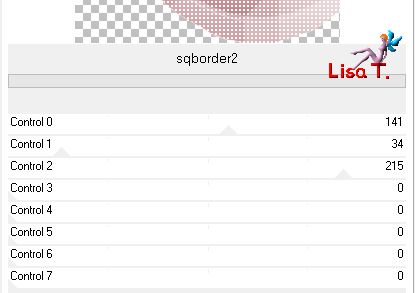
effects/plugins/AFS Import/SQBorder2
selections/select none
layers/duplicate
image/mirror/mirror horizontal
layers/merge/merge down
layers/new raster layer
selections/load selection/from disk/ « vivi 374 »
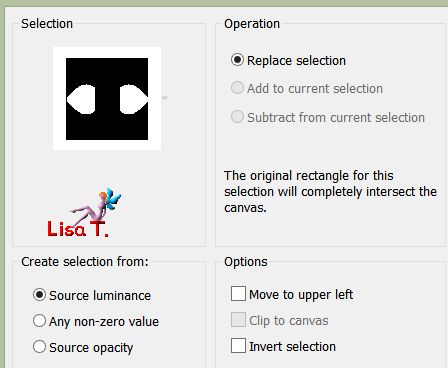
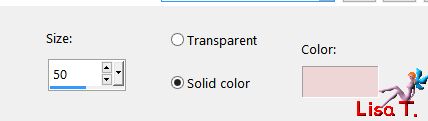
effects/3D effects/cutout
layers/new raster layer and flood fill the selection with color 2
selections/modify/contract/3 pixels and hit the delete key of your keyboard
selections/select none
effects/plugins/AP01[Innovations]/Lines Silverlining/Dotty Grid
activate the layer « promoted selection » (second from the bottom)
selections/load selection/from disk/ « vivi 375 »

selections/promote selection to layer
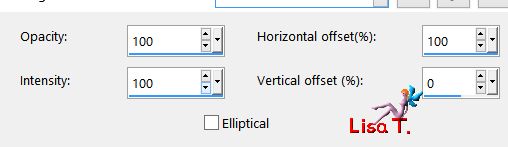
effects/reflection effects/feedback
selections/select none
effects/refelction effects/feedback as before
layers/duplicate
image/mirror/mirror horizontal
layers/merge/merge down
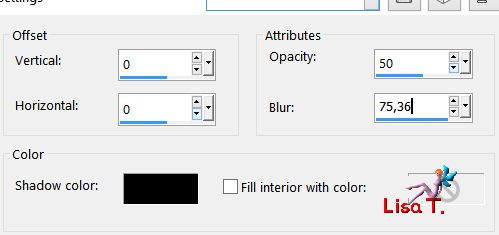
effects/3D effects/drop shadow/ 0 / 0 / 75 / 20 / black
selections/load selection/from disk/ « vivi 376 »
layers/new raster layer
effcts/plugins/Eye Candy 5 Impact/Backlight/preset Backlight Vivi 0215 » and select none
adjust/sharpness/sharpen
opacity of the layer : 55% +/-
activate the background layer
selections/load selection/from disk/ « vivi 377 »
selections/promote selection to layereffects/plugins/CPK Designs/Glass/default settings (19 / 46)
selections/select none
layers/duplicate
image/mirror/mirror vertical
layers/merge/merge down
blend mode : Burn (or other accordidng to your colors) – opacity : 100%
layers/merge/merge all (flatten)
image/add borders/check « symmetric » à
2 pixels color 2
2 pixels color 1
60 pixels color 2
selections/select all
selections/modify/contract/40 pixels
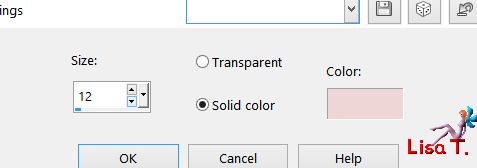
effects/3D effects/chisel/color 1
effects/3D effects/drop shadow/ 0 / 0 / 75 / 20 / black
selections/invert
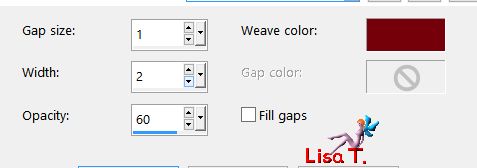
effects/texture effects/weave (color 2)
effects/3D effects/chisel
selections/select none
image/add borders/check « symmetric » à
2 pixels color 1
2 pixels color 2
50 pixels white
copy/paste the character and decoration tubes
drop a shadow on each tube/ -15 / +15 / 75 / 40,50 / black
apply your signature on a new layer and merge all
image/add obrders/2 pixels color 2
resize if necessary and save as/type jpeg
thank you to have followed this tutorial
Vivi will be very glad to receive your creation and present it at the end of her tutorial
don’t hesitate to send it to her

Back to the boards of Vivi’s tutorials
Board 2  Board 3 Board 3
|