Moment to the sea

I am member of TWInc
My translations are protected


Material
tubes and 1 alpha layer


Filters used
Tramges - Mock - Simple - Backround Designers IV - Grahic Plus - AAA Frames - Factory M
Colors palette
color 1 -> foreground color -> #b58689
color 2 -> background color -> #fdfebd
Use the paint brush to follow the steps
left click to grab it
 |
Realization
pick 2 colors in your main tube (dark color as foreground and light color as background, except white)
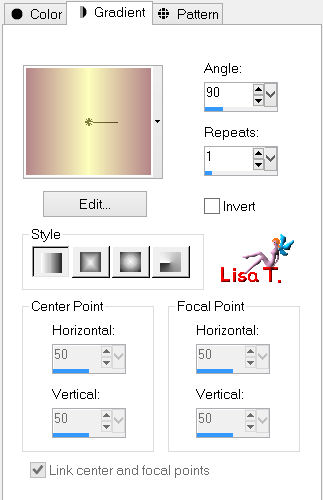
prepare a linear gradient with the following settings
activate the alpha layer “alpha momenttothesea”
window/duplicate
close the original and work with the copy
fill with the gradient
selections/select all
activate the tube “luna paisaje 4542”
edit/copy - back to your work - edit/paste into selection
selections/select none
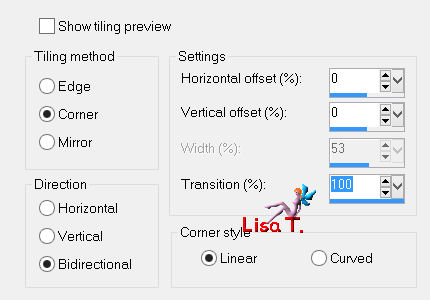
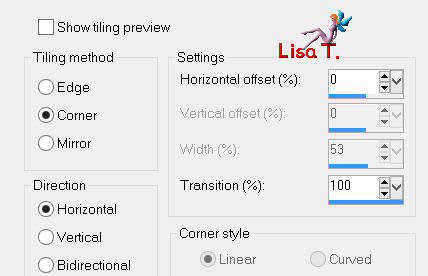
effects/image effects/seamless tiling
adjust/blur/gaussian blur/25
effects/plugins/Background Designers IV/BKG SF 10 Slice N Dice
adjust/sharpness/sharpen more
effects/plugins/Simple/Pizza Slice Mirror
apply this effect once more
effects/image effects/seamless tiling/same settings as before
(still in the plugin memory)
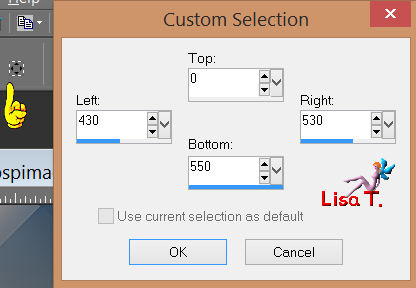
activate the selection tool/rectangle/custom selection
effects/plugins/Simple/4 Way Average
selections/select none
selections/load-save selection/from alpha channel/selection #1
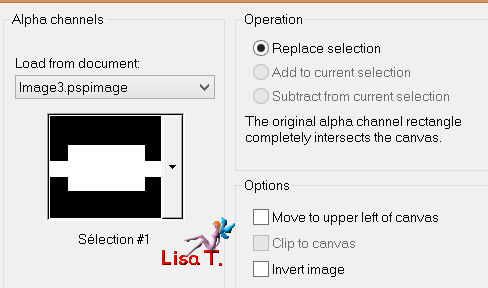
selections/promote selection to layer
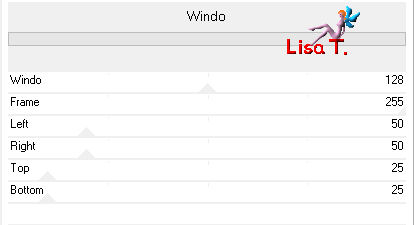
effects/plugins/Mock/Windo
selections/select none
effects/image effects/seamless tiling
effects/3D effects/drop shadow/ 0 / 0 / 60 / 30 / black
layers/new raster layer
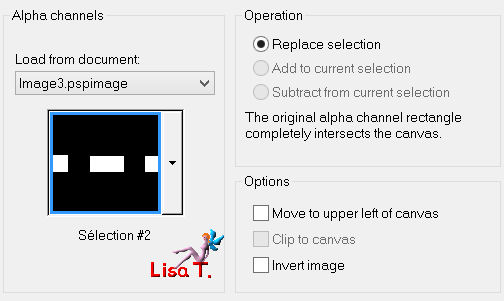
selections/load-save selection/from alpha channel/selection #2
activate the tube “luna paisaje 4542”
edit/copy - back to your work - edit/paste into selection
selections/select none
adjust/sharpness/sharpen
activate the decoration tube
edit/copy - back to your work - edit/paste as new layer
don’t move it
layers/duplicate - image/mirror
layers/merge/merge down
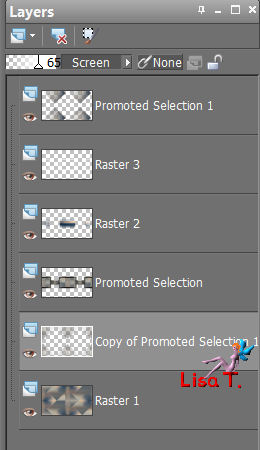
in the layers palette, set the blend mode on “screen” and the opacity on 65% ( + / - )
in the layers palette, activate the bottom layer
selections/load-save selection/from alpha channel/selection #3
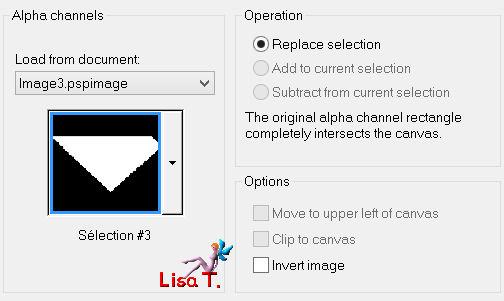
selections/promote selection to layer
selections/select none
layers/arrange/bring to top
layers/duplicate - image/flip
layers/merge/merge down
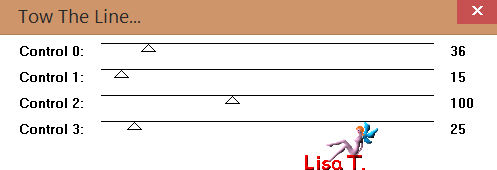
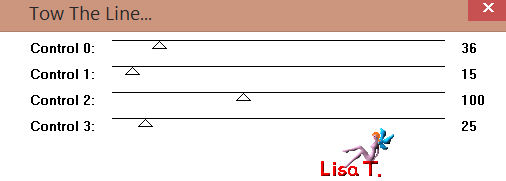
effects/plugins/Tramages/Tow The Line
effects/image effects/seamless tiling
in the layers palette, set the blend mode on “hard light” or “overlay”, and the opacity on 70%
layers/duplicate
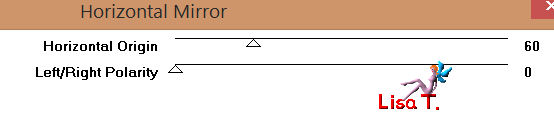
effects/plugins/Graphic Plus/Horizontal Mirror
in the layers palette, set the blend mode on “screen” and the opacity on 65%
layers/arrange/move down (4 times)(just above the background layer)
layers/merge/merge visible
activate the tube « Deco 2 Vivi »
edit/copy - back to your work - edit/paste as new layer
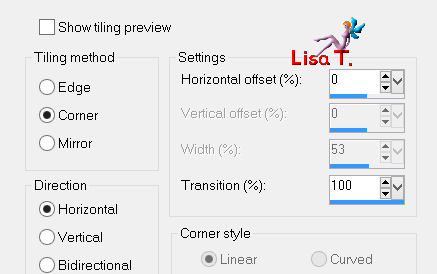
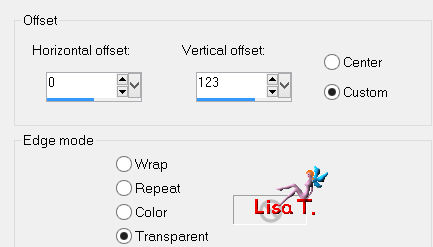
effects/image effects/offset
in the layers palette, set the blend mode on “Luminance” or Luminance Legacy”
and the opacity on 100%
you can also colorize if you wish
layers/merge/merge all (flatten)
selections/select all
selections/modify/select selection borders
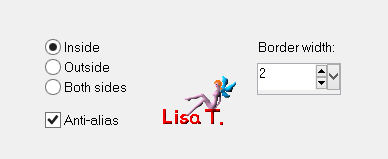
fill with color 2
selections/select none
layers/duplicate
image/resize/uncheck “resize all layers”/85%
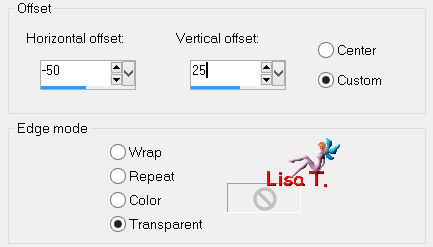
effects/image effects/offset
effects/3D effects/drop shadow/ 0 / 0 / 60 / 25 / black
in the layers palette, activate the background layuer
adjust/blur/gaussian blur/45
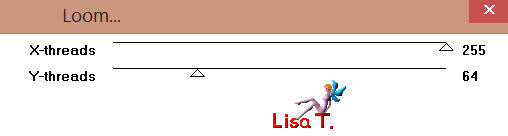
effects/plugins/Filter Factory Gallery M/Loom
layers/merge/merge visible
layers/new raster layer
selections/load-save selection/from alpha channel/selection #4
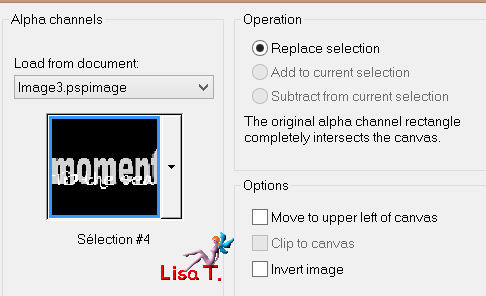
fill with color 2
effects/3D effects/drop shadow/ 1 / 1 / 65 / 2.97 / black
selections/select none
you may change the blend mode if you wish
layers/merge/merge all (flatten)
image/add borders/check “symmetric”
2 pixels color 1
2 pixels color 2
edit/copy
add borders 50 pixels with a contrasting color
activate the magic wand tool (default settings) and select this border
edit/paste into selection
adjust/blur/gaussian blur/45
effects/plugins/Tramages/Tow The Line
effects/3D effects/drop shadow/ 6 / -6 / 60 / 30 / black
effects/3D effects/drop shadow/ -6 / 6 / 60 / 30 / black
activate the tube “Verlaine C56”
image/resize/600 pixels height
eidt/copy - back to your work - edit/paste as new layer
move it to the right (see final result)
adjust/sharpness/sharpen
effects/3D effects/drop shadow/ 0 / -47 / 15 / 30 / black
activate the tube “el mensage por barullo”
image/resize/40%
edit/copy - back to your work - edit/paste as new layer
move it under the text (see final result)
adjust/sharpness/sharpen
effects/3D effects/drop shadow/ 0 / -47 / 15 / 30 / black
layers/merge/merge all (flatten)
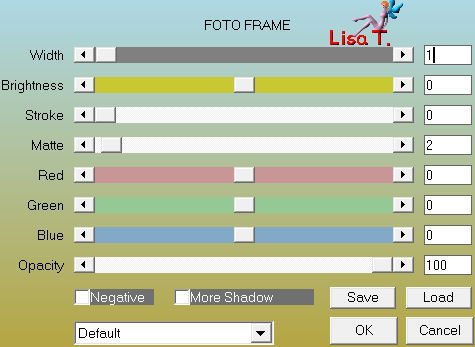
effects/plugins/AAA Frames/Fotoframe
apply your signature
resize if necessary, save as... type JPEG
thank you to have realized this tutorial
if you want Vivi to see your creation
she will be very glad to receive it and present it at the end of her tutorial

Back to the boards of Vivi’s tutorials
Board 1  Board 2 Board 2

|