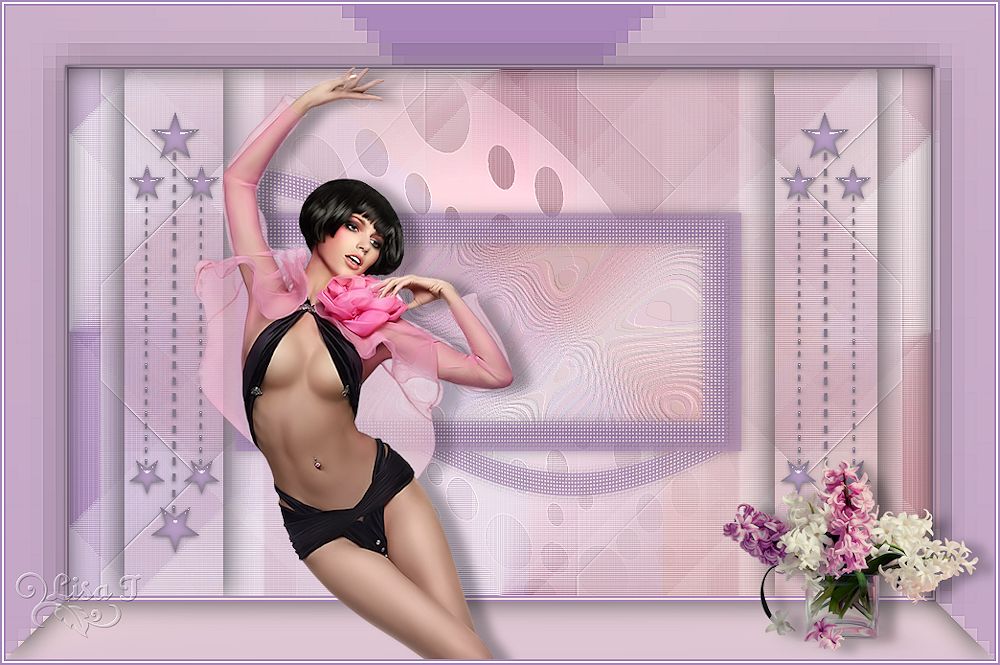
Misty
translator’s note : I use PSP X7, but this tutorial can be realized with other versions
this translation is my property. It is strictly forbidden to copy it, or claim it as yours.

Material
tubes - selections - 1 preset for Eye Candy - Andrews filter 30 zip - Factory J zip
double click on the preset to install it


Filters used
Toadies
Andrews Filters 30 (provided)
Filter Factory J (provided)
Eye Candy 5 Impact (Glass)
Colors
color 1 -> foreground color -> #f3e0dc (light color)
color 2 -> background color -> #ab89ba (dark color)
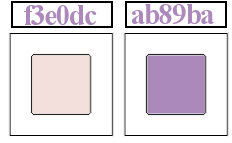
if you change the colors, don’t choose white
Use the pencil to follow the steps
left click to grab it
 |
Realization
in the materials palette, prepare a radial gradient
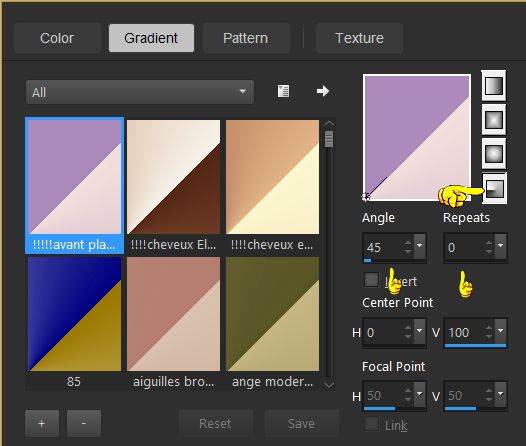
layers/new raster layer, and select the gradient in the color box
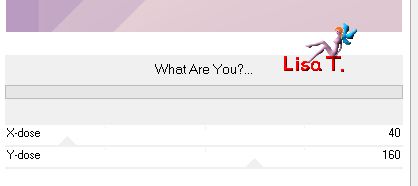
effects/plugins/Toadies/What Are You ?...
layers/duplicate
image/mirror/horizontal
image/flip/vertical
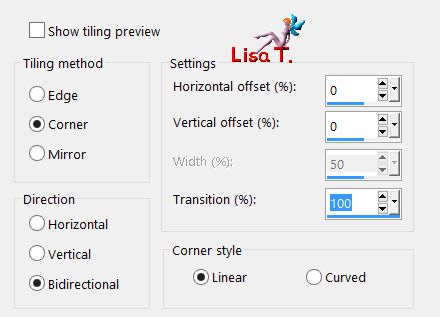
effects/image effects/seamless tiling
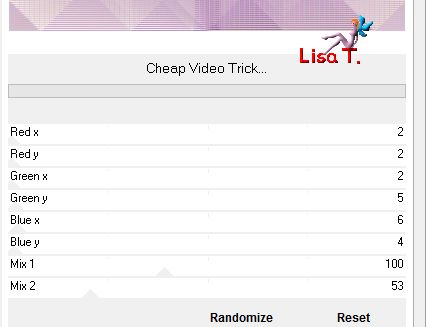
effects/plugins/Andrew’s Filters 30/Cheap Video Trick
blend mode on « Luminance » or « Luminance (Legacy) » (according to your colors)
opacity : 100%
layers/merge/merge visible
image/flip/vertical
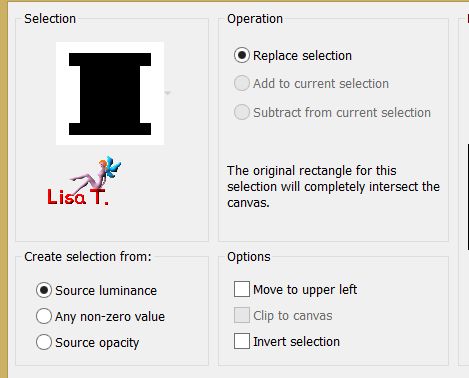
selections/load selection from disk/Vivi 357
selections/promote seletion to layer
selections/select none
effects/3D effects/drop shadow/ 0 / 0 / 50 / 40 / black
layers/duplicate
image/flip/vertical
layers/merge/merge down
effects/plugins/Filter Factory Gallery J/Drink to Me
adjust/sharpness/sharpen more
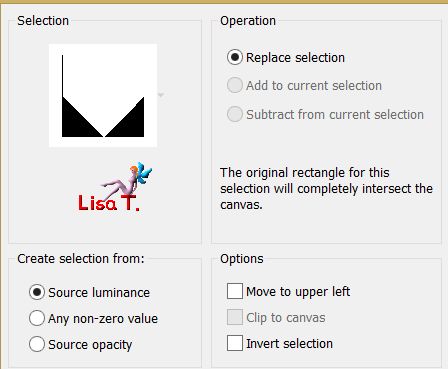
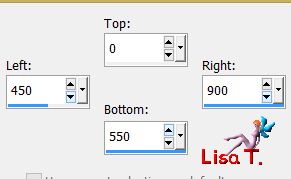
selection tool/custom selection
edit/cut (now the image is in the clipboard)
selections/select none
edit/paste as new layer
image/mirror/horizontal
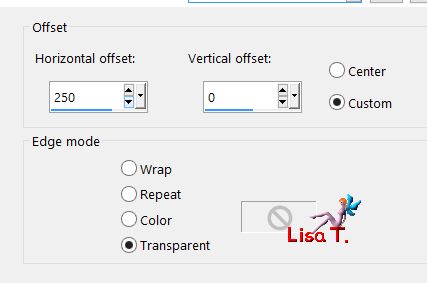
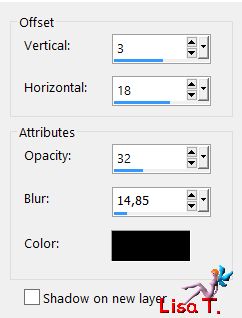
effects/image effects/offset
layers/merge/merge down
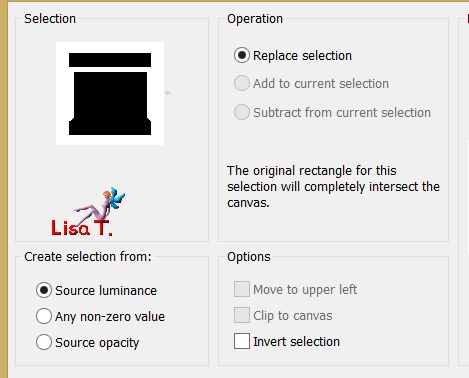
selecitons/load selection/from disk/Vivi 358
hit the delete key of your keyboard
layers/new raster layer
selections/modify/select selection borders
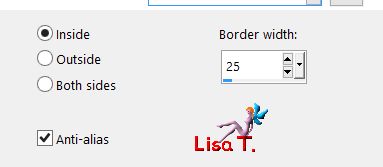
set the opacity ot the flood fill tool on 60%

fill the selection with color 2
selections/select none
effects/3D effects/drop shadow/ 0 / 0 / 50 / 20 / black
layers/duplicate
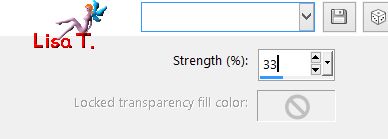
effects/distortion effects/punch
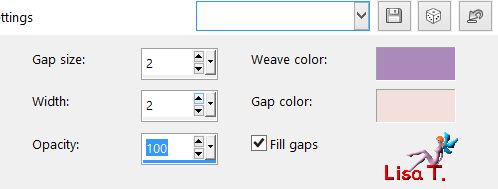
effects/texture effects/Weave
effects/distortion effects/pinch

layers/duplicate
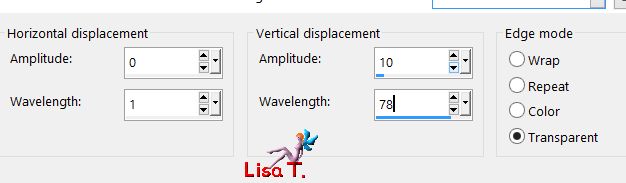
effects/distortion effects/wave
selections/load selection from disk/Vivi 358 again
hit the delete key of your keyboard
layers/merge/merge down twice
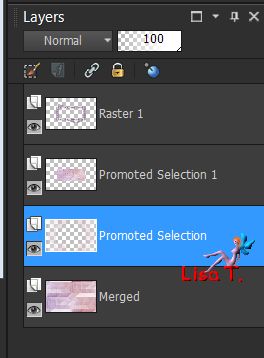
keep the selection active, activate the background layer (Merged)
selections/modify/contract/15 pixels
selections/promote selection to layer
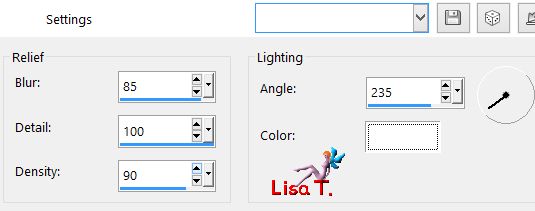
effects/artistics effects/enamel
layers/arrange/move up
selections/select none
activate the layer below (Promoted Selection)
selections/load selection from disk/Vivi 360
selections/promote selection to layer
effects/3D effects/drop shadow/ 0 / 0 / 40 / 45 / black
selections/select none
blend mode on « Multiply » or « Darken » according to your colors / opacity 100%
copy/paste a new layer the tube « déco_vivi »
blend mode on « *Soft Light » or « Luminance (Legacy) », opacity 100%
layers/new raster layer
selections/load selection from disk/Vivi 359

reset the opacity of the flood fill tool on 100% and fill the selection with color 2
selections/select none
effects/plugins/Alien Skin Eye Candy 5 Impact/Glass/preset Viviglass_etoile
layers/duplicate
image/mirror/horizontal
layers/merge/merge all (flatten)
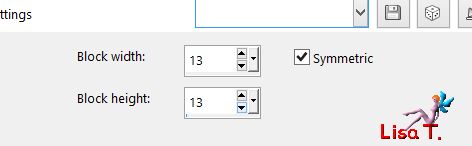
image/add borders/check « symmetric » ->
2 pixels color 2
2 pixels color 1
2 pixels color 2
60 pixels color 1
activate the magic wand tool/defautl settings, and select the large border
fill with the radial gradient prepared at the begining
selections/promote selection to layer
image/mirror/horizontal
selections/defloat
opacity on 50%, and merge down
selections/invert
effects/3D effects/drop shadow/ 0 / 0 / 60 / 40 / black
selections/select none
selections/load selection from disk/Vivi 361
effects/distortion effects/pixelate
adjust/sharpness/sharpen more
effects/3D effects/drop shadow/ 0 / 0 / 70 / 40 / black
selections/select none
acitvate the tube « MR Vaporeuse »
edit/copy - back to your work - edit/paste as new layer
image/resize/80%/uncheck « resize all layers »
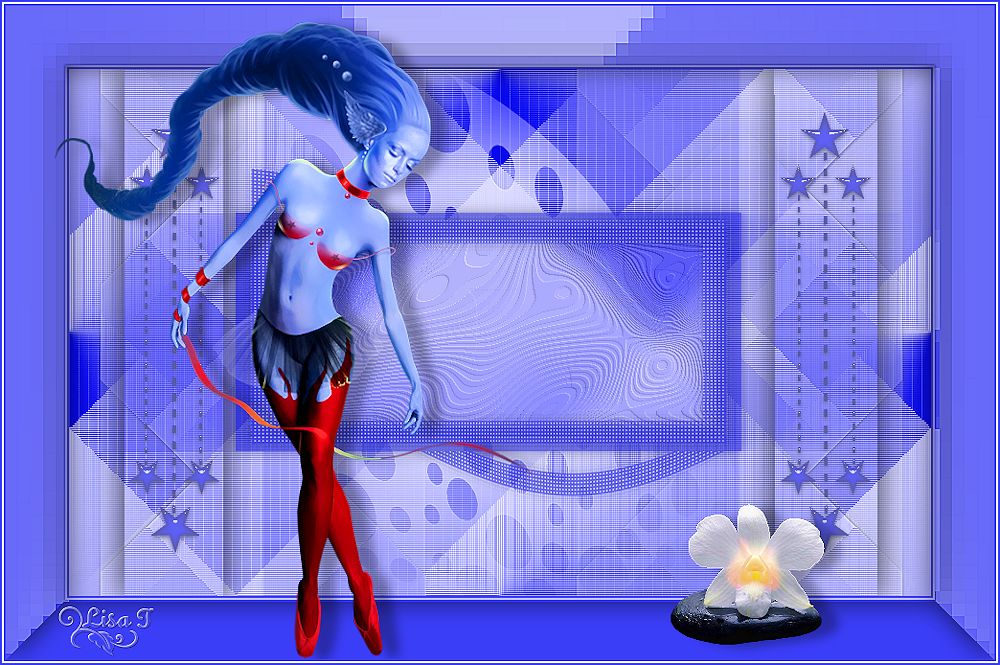
move it as shown on the final result (or elsewhere, as you like !)
effects/3D effects/drop shadow
acitvate the tube « MR Hyacinth »
edit/copy - back to your work - edit/paste as new layer
image/resize/uncheck « resize all layers »/40%
move it opposite to the character
effects/3D effects/drop shadow as before
apply your signature
layers/merge/merge all (flatten)
image/add borders/check « symmetric » ->
2 pixels color 2
2 pixels white
2 pixels color 2
resize eventually, save as ... type jpeg
thank you to have realized this tutorial
if you want Vivi to see your creation
she will be very glad to receive it and present it at the end of her tutorial

My tag with my tubes
Back to the boards of Vivi’s tutorials
Board 1  Board 2 Board 2

|