Masquerade

Material
tubes - calque alpha

Thank you to the tubers : Thafs - Maryse - NP

Filters used
Vanderlee (Unplugged X) - AP01 Innovations - Unlimited - Simple -
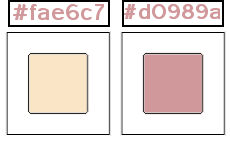
Colors
color 1 -> foreground color -> #fae6c7
color 2 -> background color -> #d0989a
if you change colors, set a light color as foreground (except white) and a darker color as background
Use the paint brush to follow the steps
left click to grab it

Realization
open the alpha layer, duplicate
work with the copy, close the original
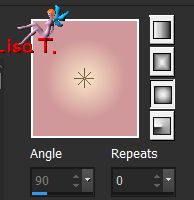
fill the layer with a sunburst gradient
effects/plugins/Simple/Blintz
effects/Simple/Pizza slice Mirror
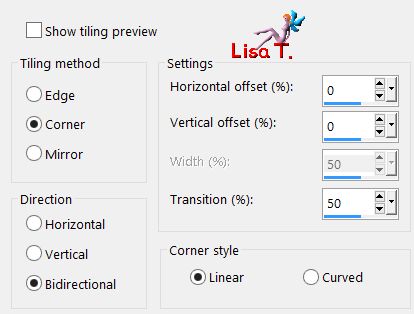
effects/iamge effects/seamless tiling/default settings
layers/duplicate
image/mirror/mirror horizontal
blend mode : darken - opacity : 100%
(don’t hesitate to change the blend mode and the opacity according to your tubes and colors)
layers/merge/merge down
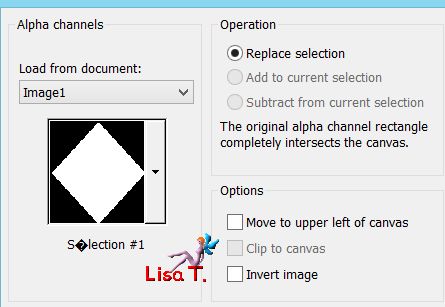
selections/load selection from alpha channel/selection #1
selections/promote selection to layer and select none
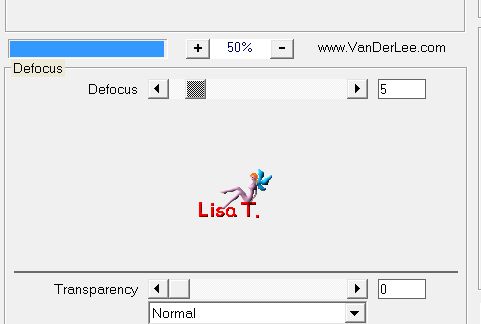
effects/plugins/VanDerLee/Unplugged X/Defocus
effects/3D effects/drop shadow/ 0 / 0 / 100 / 5 / color 2
drop shadow again with the same settings
selections/load selection from alpha channel/selection #1 again
selections/modify/contract/18 pixels
adjust/blur/gaussian blur/6
layers/new raster layer
copy/paste the tube « NP1309 » into selection
blend mode : Luminance or Luminance (Legacy) - opacity : 65 % (or colorize)
adjust/sharpness/sharpen
layers/new raster layer
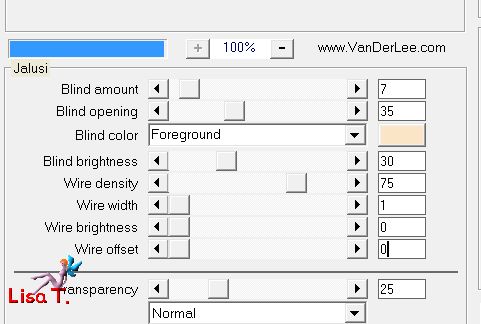
effects/plugins/VanDer> /Unplugges X/Jalusi
selections/select none
effects/3D effects/drop shadow/ 0 / 0 / 80 / 5 / dark color
blend mode : overlay or hard light - opacity : 100%
layers/new raster layer
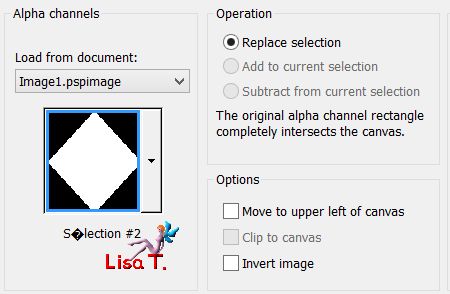
selections/load selection from alpha channel/selection #2
fill with color 2
selections/modify/contract/2 pixels and hit the delete key of your keyboard
selections/select none
layers/merge/merge down 3 times
effects/3D effects/drop shadoq/ 0 / 0 / 80 / 5 / color 2
activate Raster 1
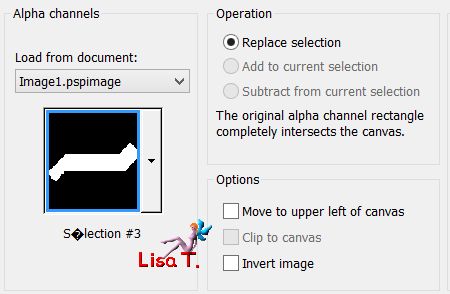
selections/load selection from alpha channel/selection #3
selections/promote selection to layer and select none
effects/plugins/AP01 Innovations/Lines Silverlining/Dotty Grid
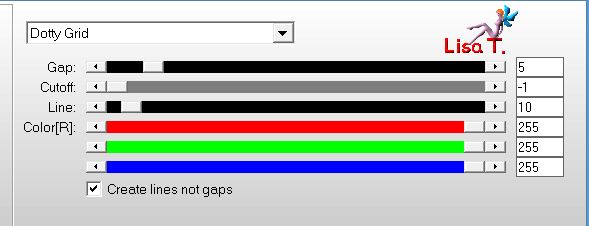
blend mode : Luminance (Legacy) - opacity : 100% (or Luminance)
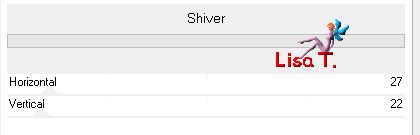
effects/plugins/Unlimited 2/Special effects 1/Shiver
layers/duplicate
image/mirror/mirror horizontal
layers/merge/merge down
layers/duplicate
image/mirror/mirror vertical
blend mode : overlay - opacity : 90%
activate Raster 1
selections/load selection from alpha channel/selection #4
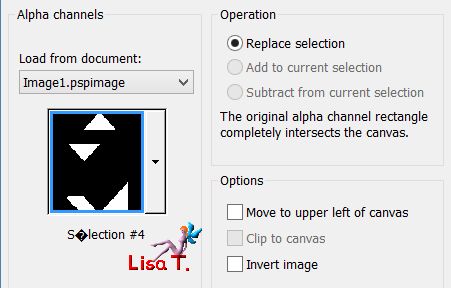
selections/promote selection to layer and select none
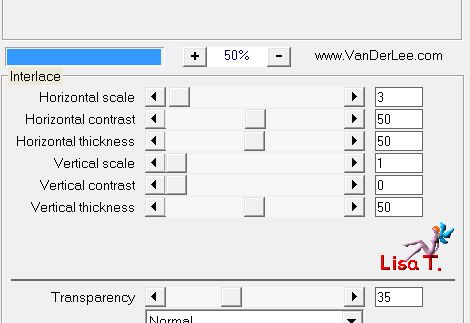
effects/plugins/VanDerLee/Unplugged X/Interlace
layers/duplicate
image/mirror/mirror horizontal
layers/merge/merge down
blend mode : multiply (or other) - opacity : 75%
activate Raster 1
effects/plugins/VanDerLee/Unplugged X/Renaissance
activate the top layer
layers/new raster layer
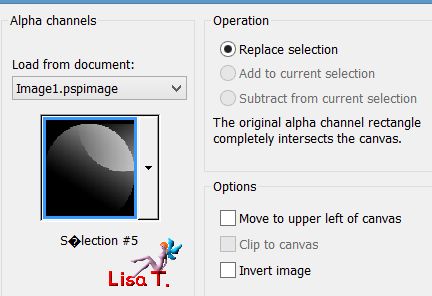
selections/load selection from alpha channel/selection #5
fille the selection with color 1 (click twice to darken a little)
selections/select none
layers/arrange/move down
effects/plugins/VanDerLee/Unplugged X/Snow
blend mode : Luminance - opacity : +/- 75%
layers/new raster layer
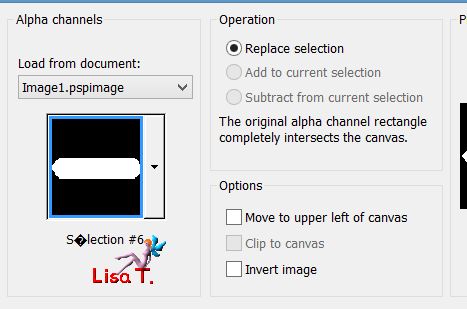
selections/load selection from alpha channel/selection #6
copy/paste the tube « deco masquerade » into selection
selections/select none
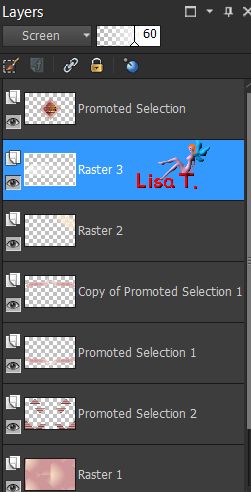
blend mode : Screen - opacity : 60%
your layers palette looks like this
layers/merge/merge all (flatten)
image/add borders/-->
2 pixels color 2
2 pixels color 1
2 pixels color 2
edit/COPY
selections/select all
image/add borders/60 pixels/contrasting color
selections/invert
edit/paste into selection
adjust/blur/gaussian blur/40
effects/plugins/VanDerLee/Unplugged X/Snow
effects/plugins/VanDerLee/Unplugged X/Defocus
selections/invert
effects/3D effects/drop shadow/ 0 / 0 / 80 / 40 / black and select none
image/ad borders/3 pixels color 2
image/add borders/40 pixels white
activate the tube « masquerade by Ophelia » and resize to 75%
image/mirror/mirror horizontal
copy/paste as new layer and move it where you like
adjust/sharpness/sharpen
effects/3D effects/drop shadow/ 18 / -13 / 29 / 38 / black
acitvate the tube « Mr Masquerade », resize it to 55%
copy/paste as new layer, move it opposite to hte character
effects/3D effects/drop shadow as before
apply your signature on a new layer
layers/merge/merge all (flatten)
image/add borders/3 pixels color 2
resize if necessary, save as... type JPEG

thank you to have followed this tutorial
if you want Vivi to see your creationn don’t hesitate to send it to her
she will be very glad to receive it and present it at the end of her tutorial

Back to the boards of Vivi’s tutorials
Board 2  Board 3 Board 3

|