Happy Holidays

Material
tubes - selections - brush tip

copy/paste selections into the special folder in My PSP Files
import the brush tip
thank you to the tubers : Calguis and Claudia Stirner
Filters used
Flaming Pear/Transline - Mehdi - AP01/Innovations
Colors
color 1 -> foreground color -> #e9c49c
color 2 -> background color -> #c03a3a
color 3 -> #ffffff
I use PSP X7, but htis tutorial can be followed with another version

Use the pencil to follow the steps
left click to grab it
 |
Realization
open a new transparent raster layer 900 ** 600 pixels
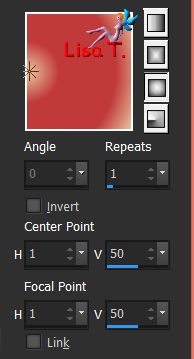
in the materials palette, prepare a sunburst gradient with 2 colors chosen in your main tube
(except white) light color as forground and dark color as background
fill the layer with the gradient and select all
copy/paste the tube « by stirner caixinha » into selection and select none
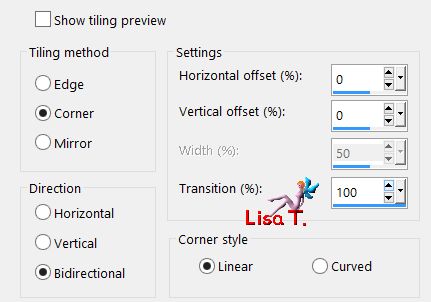
effects/image effects/seamless tiling/default settings
adjust/blur/gaussian blur/25
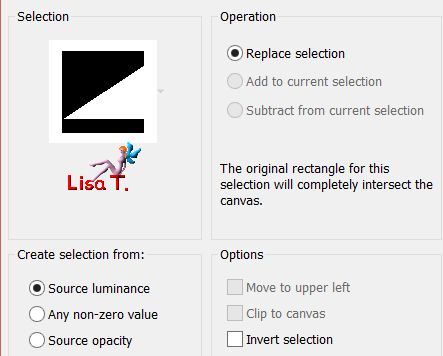
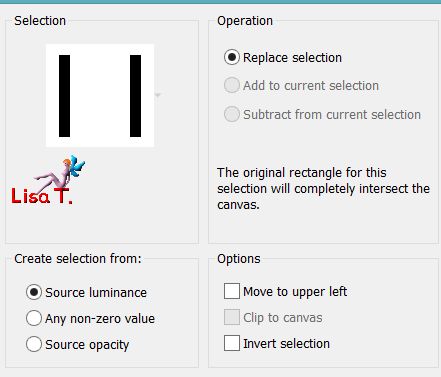
selections/save-load selection/from disk/vivi 367
selections/promote selection to layer and select none
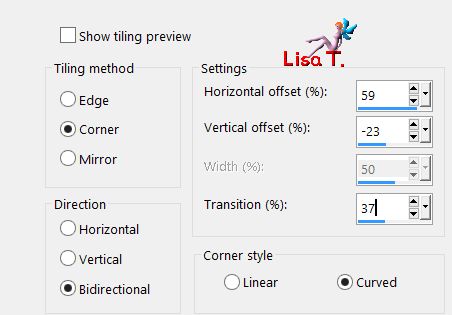
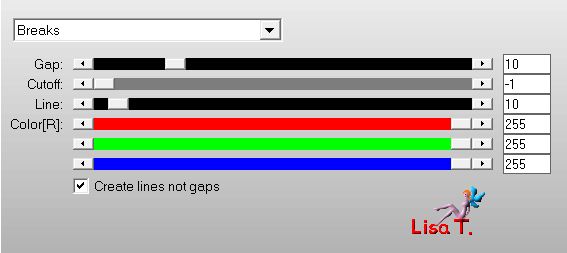
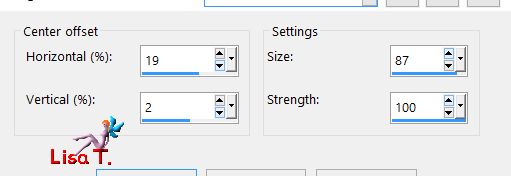
effects/plulgins/Flaming Pear/Transline
edjust/sharpness/sharpen more
effects/distortion effects/wave

effects/image effects/seamless tiling
blend mode : Luminance (or luminance (legacy)) - opacity : 100%
layers/duplicate - image/mirror/vertical mirror
blend mode : hard light (or other) - opacity : 60%
close the eye of the background layer, activate any other layer and merge visible
activate the merged layer (top layer)
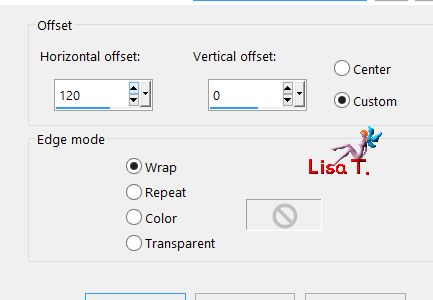
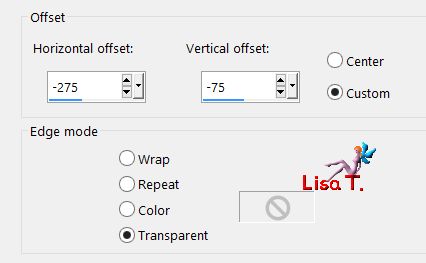
effects/image effects/offset
selections/save-load selection/from disk/vivi 368
layers/new raster layer
edit/paste into selection (image still in the clipboard) and select none
opacity between 60% and 70% (according to your colors)
activate Raster 1
selections/save-load selection/from disk/vivi 369
selections/promote selection to layer and select none
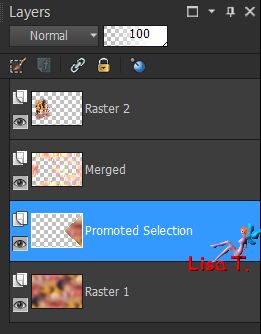
your layers palette look like this
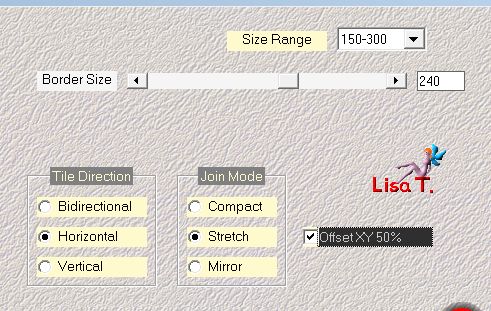
effects/plugins/Mehdi/Seamless Border 2
effects/plugins/AP01 Innovations/Lines Silverlining
image/mirror/horizontal mirror
effects/image effects/seamless tiling
adjust/sharpness/sharpen
blend mode : lighten (or other) - opacity between 70% and 75%
activate the top layer
selections/save-load selection/from disk/vivi 370
in the materials palette, set white as foreground
activate the paint brush tool, load the tip « joyeuses fetes » provided

apply into the selection with the foreground color and select none
effects/distortion effects/twirl
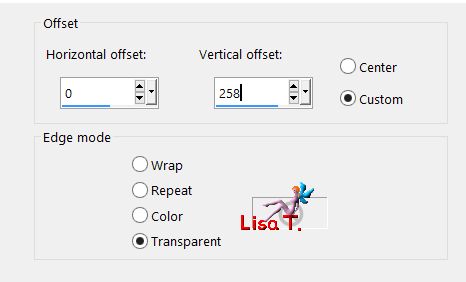
effects/image effects/offset
effects/3D effects/drop shadow/color 2 (dark color)/ 1 / 1 / 80 / 1
copy/paste as new layer the tube « deco vivi »
don’t move it
blend mode : screen - opacity : 70%
layers/merge/merge all (flatten)
image/add borders/check « symmetric » -->
1 pixel color 1
1 pixel color 2
1 pixel color 1
edit/copy
add borders/60 pixels with a contrasting color
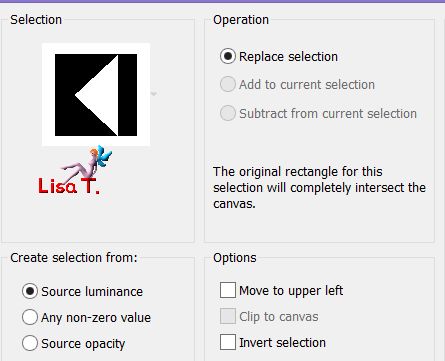
select this border with the magic wand tool (default settings) and paste into selection the image in the clipboard
adjust/blur/gaussian blur/25
selections/promote selection to layer and select none
effects/plugins/Flaming Pear/Transline
blend mode : screen - opacity : 100%
layers/duplicate
effects/distortion effects/warp
layers/duplicate - image/mirror/horizontal mirror
layers/merge/merge down
effects/3D effects/drop shadow/ 0 / 0 / 90 / 25 / color 2
blend mode : normal - opacity : 100%
layers/merge/merge all (flatten)
selections/select all
image/add borders/60 pixels white
effects/3D effects/drop shadow/ 0 / 0 / 75 / 30 / black
selections/modify/contract/60 pixels
effects/3D effects/drop shadow/ 5 / 5 / 50 / 5 / black & -5 / -5 / 50 / 5 / black
selections/select none
copy/paste as new layer the tube « Neige »
effects/image effects/offset
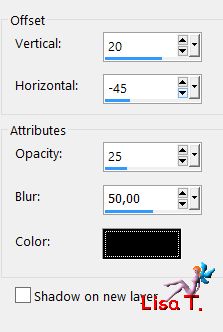
effects/3D effects/drop shadow/ 20 / -45 / 25 / 50 / white
copy/paste as new layer the tube « Calguisportraitnoel » and resize to 85%
move it as shown on the final result
adjust/sharpness/sharpen
effects/3D effects/drop shadow/black
apply your signature on a new layer
layers/merge/merge all (flatten)
image/add borders/2 pixels color 2
resize if necessary and save as... type jpeg

thank you to have realized this tutorial
if you want Vivi to see your creation
she will be very glad to receive it and present it at the end of her tutorial

Back to the boards of Vivi’s tutorials
Board 1  Board 2 Board 2

|