
Material
alpha layer - tubes
Thank you to the tubers : Luna - Ana Ridzi

Translator’s note : I use PSPX7, but this tutorial can be realized with another version of PSP

Filters used
AAA Frames - Mehdi - VandDerLee/Unplugged X - BKG Kaleidoscope - L&K/Katharina - Sybia/Tremorsc
Colors
color 1 -> foreground color -> #cedae9 -> or a light color of your tube
color 2 -> background color -> #2b5e89 -> or a dark color of your tube
Use the pencil to follow the steps
left click to grab it
 |
Realization
in the matierials palette, prepare a radial gradient

open the alpha layer « Ashley », duplicate and close the original
work with the copy
fill this layer with the gradient
effects/iamge effects/seamless tiling
effects/plugins/&Bkg Kaleidoscope/Kaleidoscope 5
adjust/sharpness/sharpen more
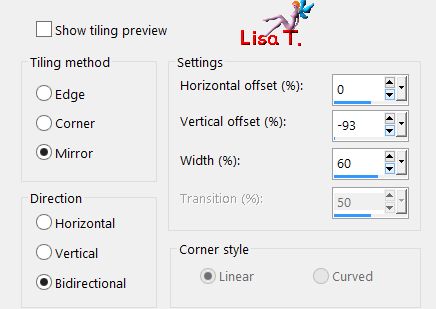
effects/image effects/seamless tiling/default settings/transition : 100
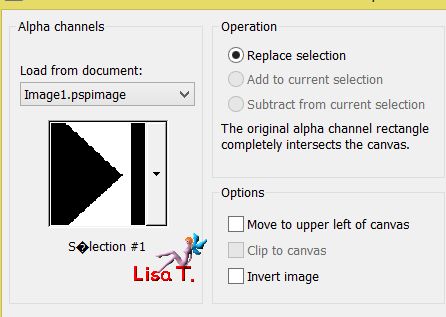
selections/load selection from alpha channel/selection 1
selections/promote selection to layer
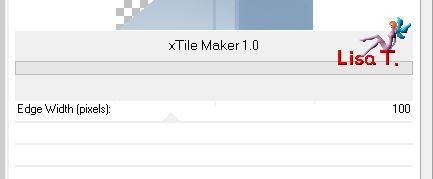
effects/plugins/&BKG Kaleidoscope/Xtile Maker 1.0
selections/select none
layers/duplicate
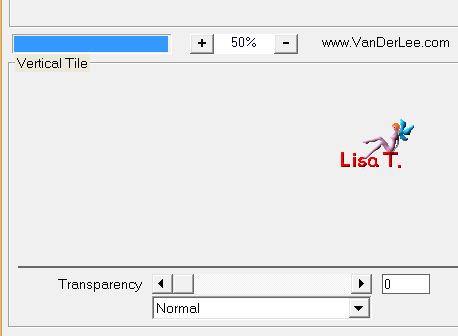
effects/plugins/VanDerLee/Unplugged X/Vertical Tile
image/mirror/horizontal mirror
blend mode : dissolve / opacity 100%
activate the layer underneath
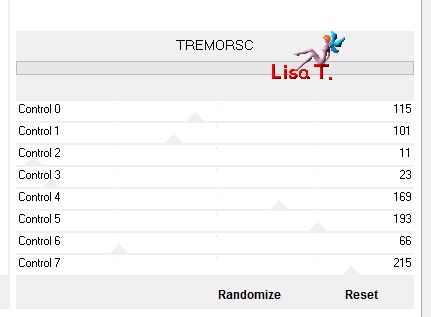
effects/plugins/Sybia/Tremorsc
effects/edge effects/enhance
blend mode : overlay/ opacity 75%
effects/3D effects/drop shadow/ 0 / 0 / 25 / 25 / black
layers/duplicate
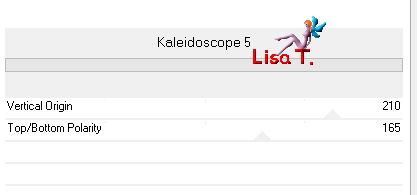
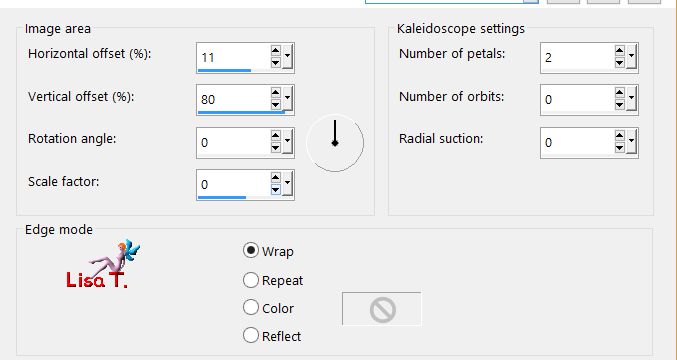
effects/reflection effects/Kaleidoscope
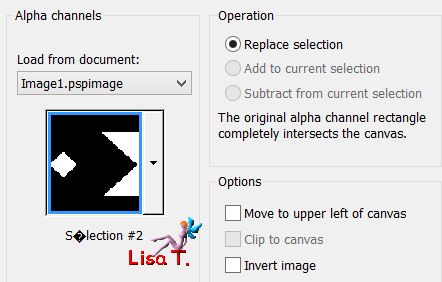
selections/load selection from alpha channel/selection 2
hit the delete key of your keyboard and select none
blend mode : overlay / opacity : 55%
activate the background layer (Raster 1)
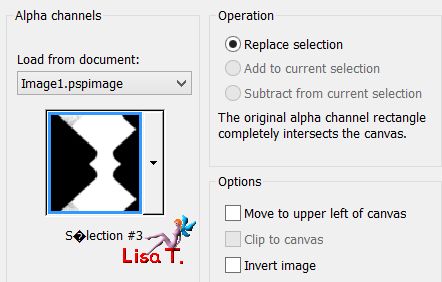
selections/load selection from alpha channel/selection 3
selections/promote selection to layer and select none
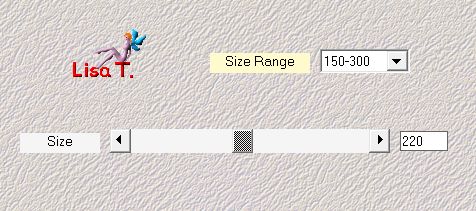
effects/plugins/Mehdi/Weaver
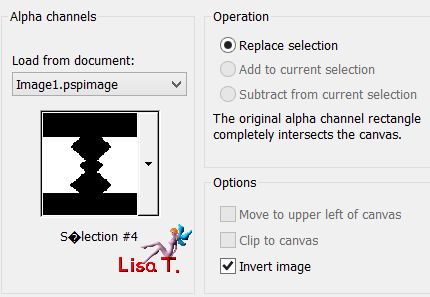
selections/load selection from alpha channel/selection 4 (make sure to check « invert »)
effects/plugins/L&K/Katharina
adjust/sharpness/sharpen more and select none
activate the top layer
layers/new raster layer
selections/load selection from alpha channel/selection 5 (make sure to uncheck « invert »)
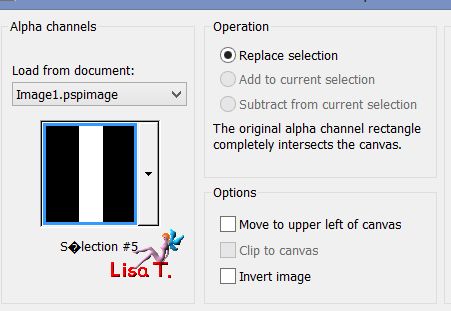
fill with the dark color
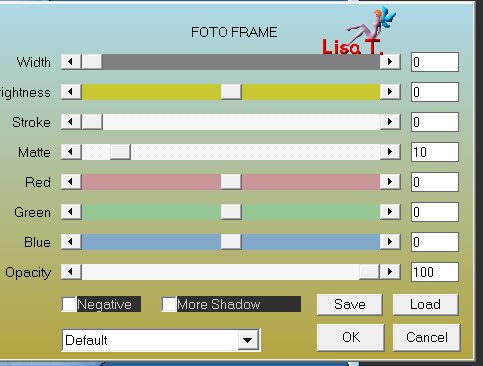
effects/plugins/AAA Frames/Fotoframe
selections/select none
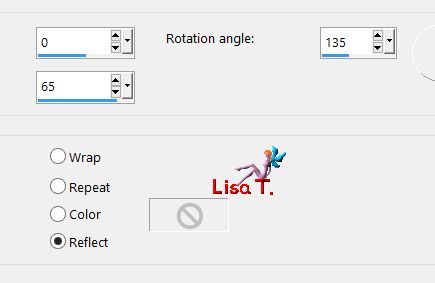
effects/reflection effects/rotating mirror
selections/load selection from alpha channel/selection 6
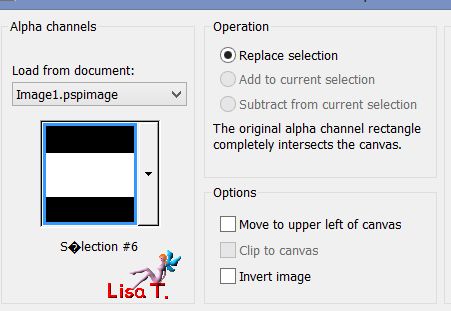
hit the delete key of your keyboard and select none
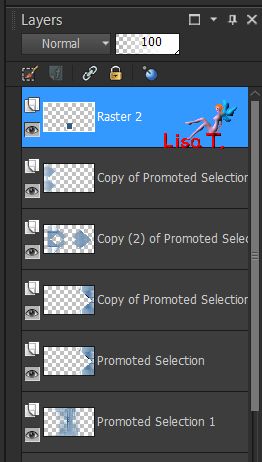
your layers palette looks like this
layers/duplicate - image/mirror/vertical mirror
layers/duplicate - image/resize/ 70% (uncheck « resize all layers »)
effectx/image effects/offset

layers/merge/merge down (twice, the 3 frames must be on the same layer)
with the magic wand, select inside the 3 frames
copy/paste as new layer the tube « Luna Flore »
resize to 130% (uncehck « resize all layers »)
move it to see the parts of the image you want to keep inside the selections
selections/invert ans hit the delete key of your keyboard
effects/3D effects/drop shadow/ 0 / 0 / 65 / 10 / black and select none
layers/merge/merge down
effects/3D effects as before
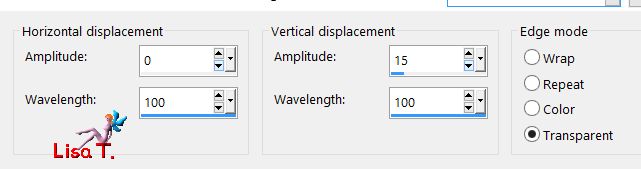
effects/distortion effects/wave
layers/merge/merge visible
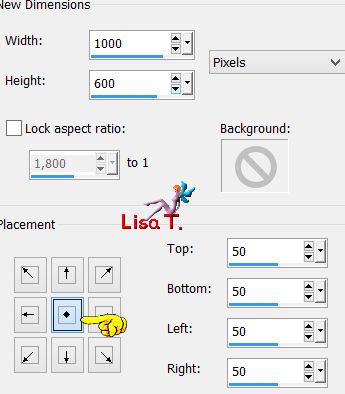
image/canvas size/ 1000 / 600
select the transparent part with the magic wand and fill the selection with the radial gradient of the begining
selections/modify/contract/5 pixels
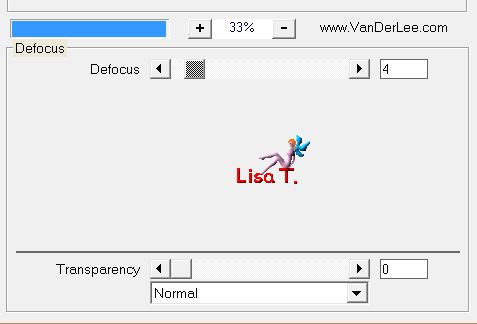
effects/plugins/VanDerLee/Unplugged X/Defocus
adjust/sharpness/sharpen
selections/select all
selections/modify/contract/45 pixels
effects/3D effects/drop shadow/ 0 / 0 / 70 / 30 / black
selections/select all
image/add borders/30 pixels white
effects/3D effects as before and select none
image/add borders/1 pixel black
image/add borders/20 pixels white
activate the tube « Ana Rodzi 1199 » and resize to 90%
copy/paste as new layer and move it as shown on the final result
adjust/sharpness/sharpen
effects/3D effects/drop shadow/ 14 / -12 / 19 / 27 / black
copy/paste as new layer the tube « titre Ashley » and move it as shown on the final result
colorize it or set the blend mode on « Luminance » or « Luminance (Legacy) »
new layer to apply your signature
layers/merge/merge all (flatten)
image/add borders/1 pixel/black
resize if necessary, save as... type JPEG
thank you to have followed this tutorial
if you want Vivi to see your creation
she will be very glad to receive it and present it at the end of her tutorial

My tag with my tube

Back to the boards of Vivi’s tutorials
Board 1  Board 2 Board 2

|