Anemone

I am member of TWInc
My translations are protected


Material
1 alpha layer
tubes
thank you to the tubers : Ingeborg, and Narah for the mask

Filters used
AAA Frames - Toadies - Filter Factory Gallery T - Filter Factory Gallery N - Simple
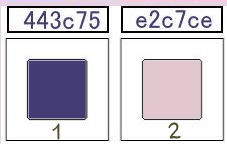
Colors palette
color 1 -> foreground color -> #
color 2 -> background color -> #
Use the paint brush to follow the steps
left click to grab it
 |
Realization
open the alpha layer, window/duplicate
close the original and work with the copy
in the materials palette, prepare a radial gradient with 2 colors chosen in your tubes
(dark color as foreground and light color as background)
with the following settings
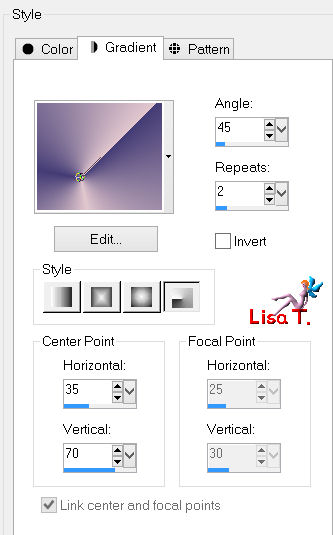
paint your layer with this gradient
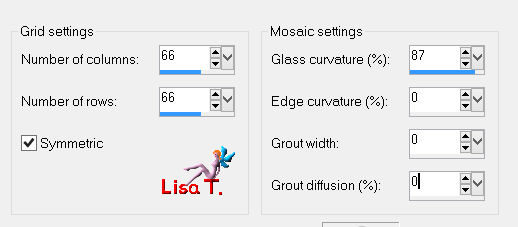
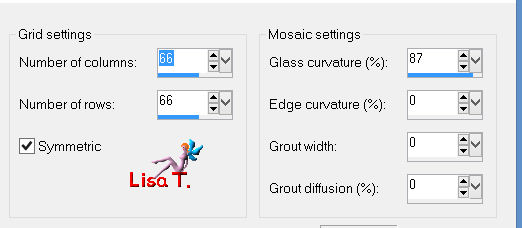
effects/texture effets/mosaic-glass
effects/plugins/Simple/Blintz
image/flip
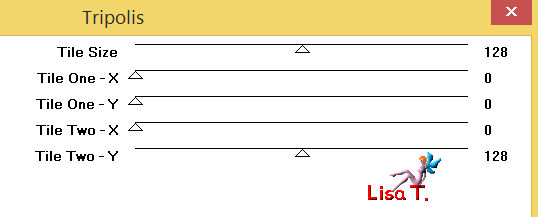
effects/plugins/Factory Gallery T/Tripolis
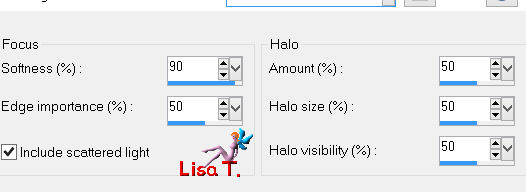
adjust/softness/soft focus
selections/load-save selection/from alpha channel/selection #1

selections/promote selection to layer/selections/select none
effects/3D effects/drop shadow/ 0 / 0 / 50 / 40 / black
effects/plugins/Simple/Blintz
adjust/sharpness/sharpen
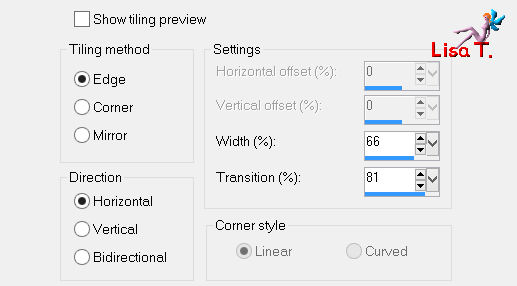
effects/image effects/seamless tiling
layers/duplicate - image/mirror
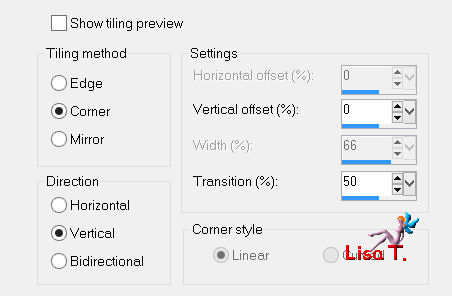
effects/image effects/offset

layers/merge/merge down
in the layers palette, set the blend mode on “overlay” and the opacity on 100%
layers/duplicate - image/flip
in the layers palette, set the belnd mode on “hard light” (or “darken”) and the oapcity on 100%
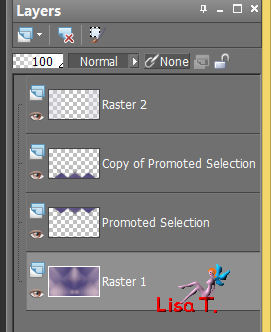
layers/new raster layer
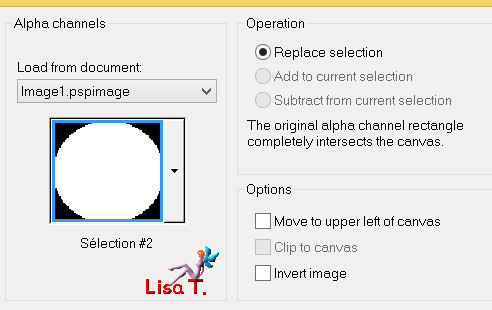
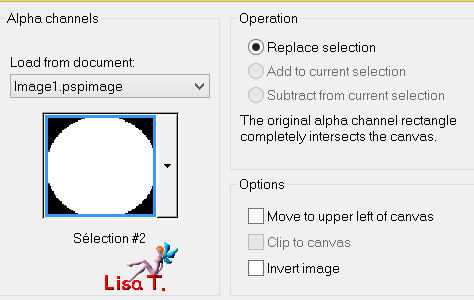
selections/load-save selection/from alpha channel/selection #2
fill the selection with color 2
selections/select none
effects/plugins/Factory Gallery N/Circulator

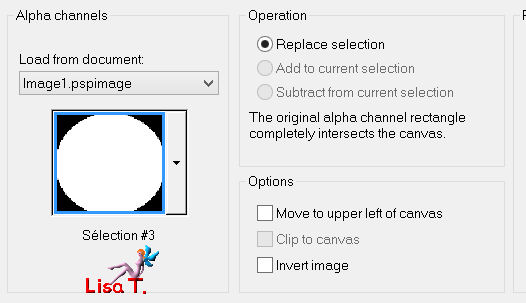
selections/load-save selection/from alpha channel/selection #3
press the Delete key of your keyboard
selections/select none
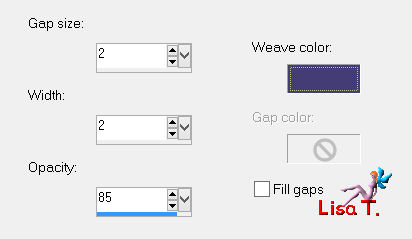
effects/texture effects/weave (weave color n°1)
effects/image effects/seamless tiling
set the blend mode of the layer on “overlay” or “screen”, and the opacity between 80 and 100%
adjust/sharpness/sharpen
in the layers palette, activate the background layer (raster 1)
selections/load-save selection/from alpha channel/selection #2
selections/promote selection to layer
selections/select none
effects/plugins/Toadies/What Are You?
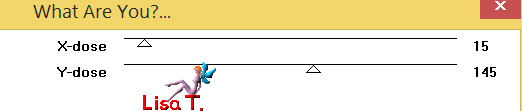
set the blend mode of the layer on “screen”, and the opacity on 80% (more or less)
adjust/sharpness/sharpen
layers/merge/merge all (flatten)
image/add borders/check “symmetric” :
1 pixel color 2
1 pixels colr 1
layers/duplicate
image/resize/uncheck “resize all layers”/85%
effects/3D effects/drop shadow/ 0 / 0 / 50 / 40 / black
in the layers palette, activate the bottom layer
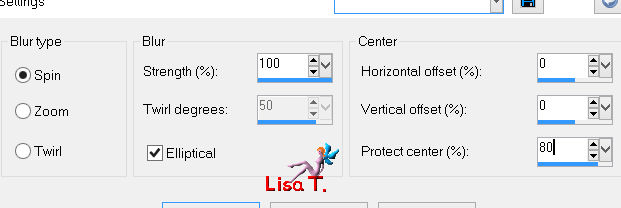
adjust/blur/radial blur
effects/texture effects/mosaic-glass
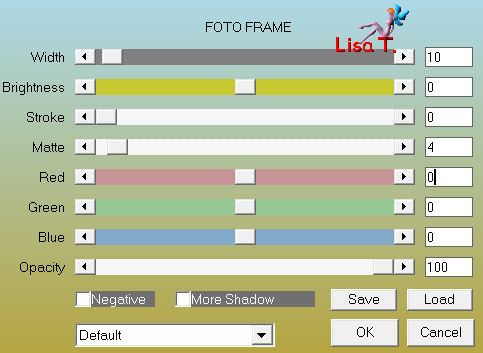
effects/plugins/AAA Frames/Foto Frame
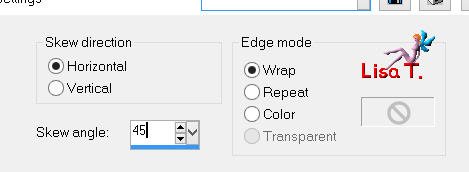
effects/geometric effects/skew
effects/plugins/Simple/4 Way Average
in the layers palette, activate the top layer
acitvate the tube “decovivi anemone”
edit/copy - back to your work - edit/paste as new layer
don’t move it
in the layers palette, set the opacity on 85%
activate the tube “Fun 56”
edit/copy - back to your work - edit/paste as new layer
image/resize/uncheck “resize all layers”/69%
image/mirror
move it to the right, above the white frame (see final result)
set the blend mode of the layer on “soft light”, opacity 10%
layers/merge/merge all (flatten)
selections/select all
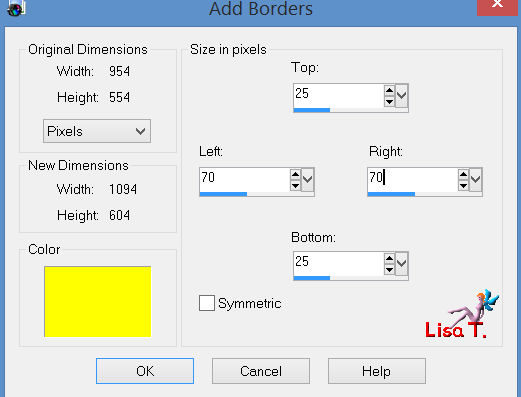
image/add borders/uncheck “symmetric”/contrasting color
selections/invert
fill with the gradient prepared at the beginning
effects/plugis/Toadies/What are You?/default settings (20 / 20)
apply the same plugin with the same settings once more
selections/invert
effects/3D effects/drop shadow/ 0 / 0 / 80 / 40 / black
selections/select none
activate the tube “Fun 56”
edit/copy - back to your work - edit/paste as new layer
image/resize/uncheck “resize all layers”/80%
move to the left (see final result)
adjust/sharpness/sharpen
effects/3D effects/drop shadow/ 12 / -20 / 38 / 28 / black
activate the tube “purpluanemone”
edit/copy - back to your work - edit/paste as a new layer
image/resize/uncheck “resize all layers”/choose the size you like best
place it as you wish in the right part of the tag
effects/3D effects/drop shadow as before
layers/merge/merge all (flatten)
selections/select all
image/add borders/check “symmetric”/white/25 pixels
effects/3D effects/drop shadow/ 0 / 0 / 80 / 40 / black
selections/select noneimage/add borders/check “symmetric”/1 pixel/balck
apply you signature
layers/merge/merge all (flatten)
save as … type jpeg
resize if necessary, save as... type JPEG
thank you to have realized this tutorial
if you want Vivi to see your creation
she will be very glad to receive it and present it at the end of her tutorial
mail  Vivi Vivi

Back to the board of Vivi’s tutorials
board 1  board 2 board 2

|