Summer and Sun

you wil find the orignal tutorial here


This tutorial is a personal creation.
Virginia works with PSP12
I work with PSP17
but you can follow this tutorial with any other version of PSP

Any resemblance with another one would be pure coincidence.
It is stricly forbidden to modify images, to change their name or take off the matermarks,
To present them on your sites or blog,
To share them in groups,
to make a bank of images, or to use them on lucrative purposes.

Thank you to respect Virginia’ work and the tubers work.
Don’t hesitate to warn her if you have any trouble with this tutorial.


Material
tubes – decoration tubes – 1 mask – 1 animated file
1 texture (copy/paste into the folder « Textures » of My PSP Files
tubes have been created by Cajoline
and Guismo
scrap elements by Béa (kit « summerfun »)
thank you to the tubers for their great work


Filters used
to download the filters, click on the banner below
Thank you very much to Janaly and Gigi for their kind permission

* Filters Unlimited 2.0
* Graphics Plus
* Simple
animation created with « Animation Shop »

Colors used
Virginia chose 2 « summer » colors
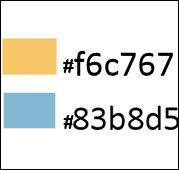
Don't hesitate to change the colors and the blend mode of the layers, and the shadows,
according to your tubes and images
in the materials palette, set color 1 as foreground color, and color 2 as background color
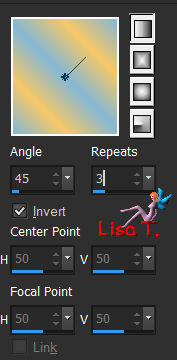
then, prepare a linear gradient / angle 45 / repeat 3 /check « invert »

Important
Open all images in PSP, duplicate them and close the originals. (shift + key D)
always work with the copies
some tubes provided are not « visible » (in order to reduce the weight of the material file)
click on visibility toggle of the layer to make it visible again

use the pencil to follow the steps
left click to grab it


prepare your material
Realization
Step 1
open a new transparent raster layer 700 * 700 pixels, flood fill white
layers/new raster layer
flood fill with the gradient
Step 2
open the mask, and minimize it to tray
layers/load-save mask/from image
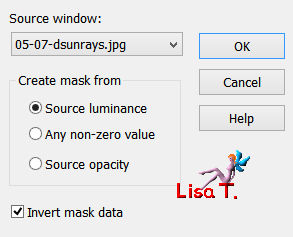
layers/merge/merge group
your work looks like this
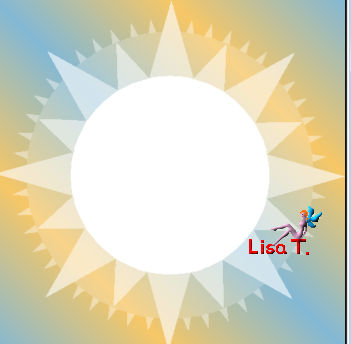
effects/3D effects/drop shadow/ 1 / 1 / 50 / 15 / color 1
Step 3
activate the magic wand tool with the following settings

select the white center of the mask
selections/modify/expand/10 pixels
activate the tube « DaisyWeb_Marrocco_FiveO'Clock.psp » (landscape)
image/resize/120%
copy – back to your work - paste as new layer
effects/3D effects/drop shadow/ 1 / 1 / 50 / 15 / black
keep the selection active
Step 4
layers/new raster layer
effects/3D effects/cutout
V (-2) / H 2 / opacity 80 / blur 15 / color 2
layers/new raster layer
apply the same effect changing Vertical by (2) and Horizontal by (-2)
selections/select none
layers/merge/merge down twice
layers/arrange/move down
your work looks like this
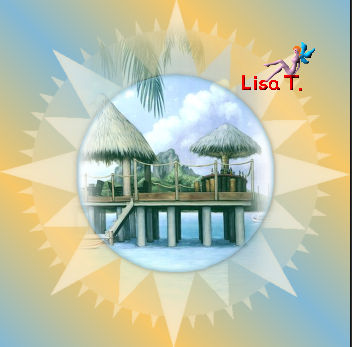
note : if you chose another landscape, you might have to erase the part coming out the frame
Step 5
activate the top layer
effects/texture efects/texture
find the texture provided « ®Blaze_cheqsil.bmp » --> size 100% / 1 – 1 – 1 – 315 – 50 – 30 / white
Step 6
activate the tube «am_xfrdoodad12.psp » (gold corner)
image/mirror/mirror horizontal
copy/paste as new layer
move this corner in the upper left corner
effects/plugins/Simple/Top Left Mirror/default settings
effects/3D effects/drop shadow/ 2 / 2 / 50 / 15 / black
layers/merge/merge visible
save your work and minimize it to tray for a later use
your work looks like this
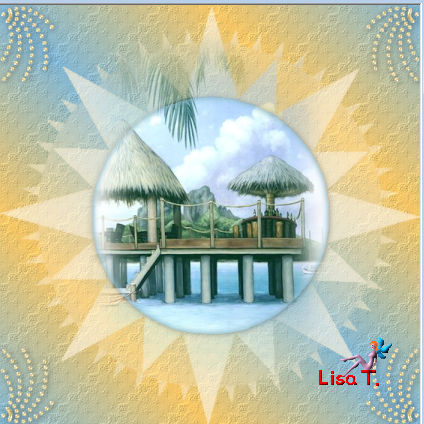
Step 7
in the materials palette, prepare a linear gradient / 0 / 1 / check « invert »
open a new transparent raster layer 1000 * 700 pixels (to be resized later)
flood fill with the gradient
effects/edge effects/enhance
effects/plugins/Unlimited 2/Distortion filters/Surface Tension/default settings
effects/edge effects/enhance more
Step 8
activate the image set aside in step 6
copy – back to your work – paste as new layer
move it to the left of the tag
effects/3D effects/drop shadow/ 2 / 2 / 50 / 15 / black
Step 9
copy/paste as new layer the tube « ldavi-lolly-border13.png » (border)
colorize it if necessary according to your own colors
image/free rotate/check « right »/90°/uncheck both boxes at the bottom of the window
adjust/sharpness/sharpen
move it to the right of the landscape layer
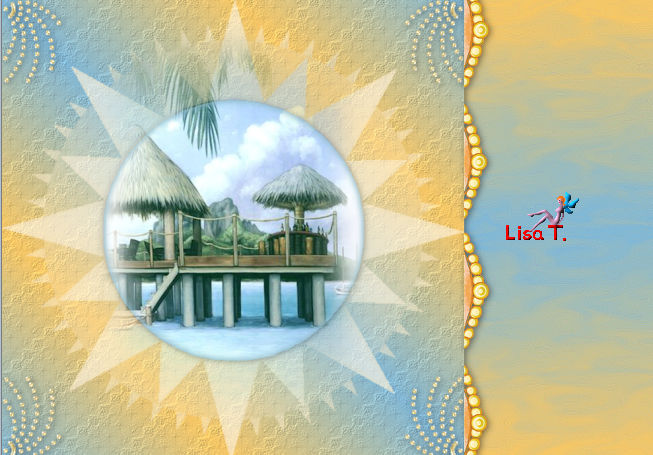
effects/3D effects/drop shadow/ 2 / 2 / 50 / 15 / black
if you are satisfied with the result --> merge/merge visible
Step 10
activate the tube «cal_guis_24_08_2008_jo_1.pspimage » (woman)
image/resize/750 pixels height
copy/paste as new layer
move it to the right of the tag
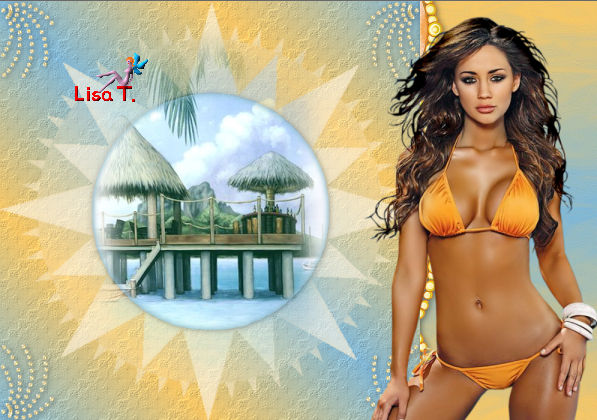
effects/3D effects/drop shadow/ 2 / 3 / 60 / 20 / black
Step 11
activate the tue « CAJ.SCR.FR SEA-LIFE 15.png » (shells)
image/resize/80%
copy/paste as new layer
move it as shown on the final result
effects/3D effects/drop shadow/ 2 / 3 / 50 / 15 / black
Step 12
copy/paste as new layer the tube « BC_Summerfun_Bea_sf_Bead_2.png » (yellow button)
move it on top of the landscape frame (see final result)
effects/3D effects/drop shadow/ 1 / -1 / 50 / 15 / black
Step 13
apply your signature
layers/merge/merge visible
Step 14
image/resize/650 pixels height
layers/duplicate
in the layers palette, close the visibility of the top layer and activate the bottom layer
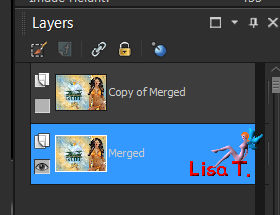
effects/distortion effects/wind/from right/100
effects/plugins/Unlimited 2/Distortion Filters/Swirl/default settings
effects/plugins/Unlimited 2/Distortion Filters/Whirl/default settings
Step 15
in the layers palette, open the visibility and activate the top layer
image/resize/uncheck « all layers »/90%
effects/3D effects/drop shadow/ 1 / 2 / 80 / 35 / black
Step 16
image/add obrders/check « symmetric » -->
1 pixel black
3 pixels color 2
1 pixel blak
5 pixels white
with the magic wand tool, select the white border and flood fill with the gradient
effects/plugins/Graphic Plus/Cross Shadow/default settings
selections/select none
image/add borders/1 pixel/black
Step 17
copy/paste as new layer the tube «Clip_summer_sun.pspimage »
move it as shown below
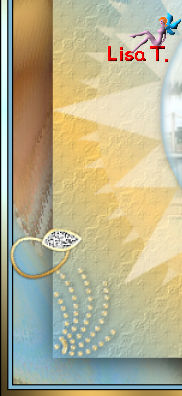
effects/3
d effects/drop shadow/ 1 / 1 / 80 / 10 / black
layers/duplicate – image/mirror/mirror horizontal
move it as shown on the final result
layers/merge/merge visible
your tag is finished !
  
if you don’t want to animate it, resize it if necessary
file/save as... type jpeg
ANIMATION
Step 18
image/resize/600 pixels width
edit/copy
open Animation Shop (AS)
edit/paste as new animation
open the animation provided « sea-stars »
this animation is composed of 3 frames
Your tag and your animation must always have the same number of frames
activate you tag – edit/paste after current frame twice
your tag is composed of 3 frames now
edit/select all
edit/propagate paste
Step 19
activate the animation « sea-stars »
edit/select all
animation/flip
(note : if you want to colorize this animation, you must export it in PSP
file/export frames/to paint shop pro
select one star and colorize, using adjust/colorize/hue and saturation
if you can’t export frames, select the 3 frames --> edit/copy
back in PSP --> edit/paste as new image and colorize)
edit/copy
back to your tag
make sure you are working frame 1 is the active frame of your tag
edit/paste into selected frame
the animation seems to be suspended at the end of your mouse cursor
click where you want to place the animation
you can choose another place than the one chosen by Virginia of course !!
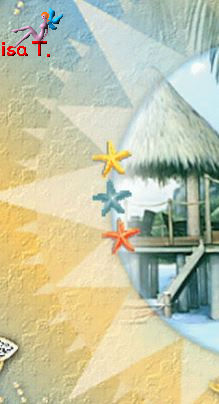
view animation
if you want to modify the result, choose edit/undo
Step 20
back to the animation « sea-stars »
animation/flip
edit/copy
back to your tag
edit/paste into selected frame
move it opposite to the fist one
animation/frame properties/18
your animation is finished
file/save as... type .gif / optimized octree
Virginia hopes you liked her tutorial

Don't hesitate to write to Virginia if you have any trouble with her tutorial


Gallery
création ▼ Solange
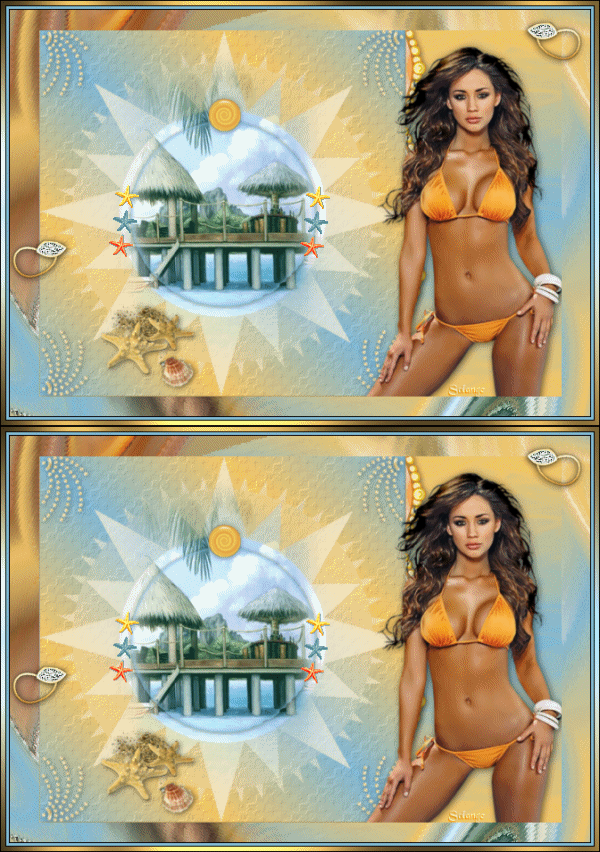
created by ▼ Birte

Back to the board of Virginia’s tutorials


|