Say it with flowers
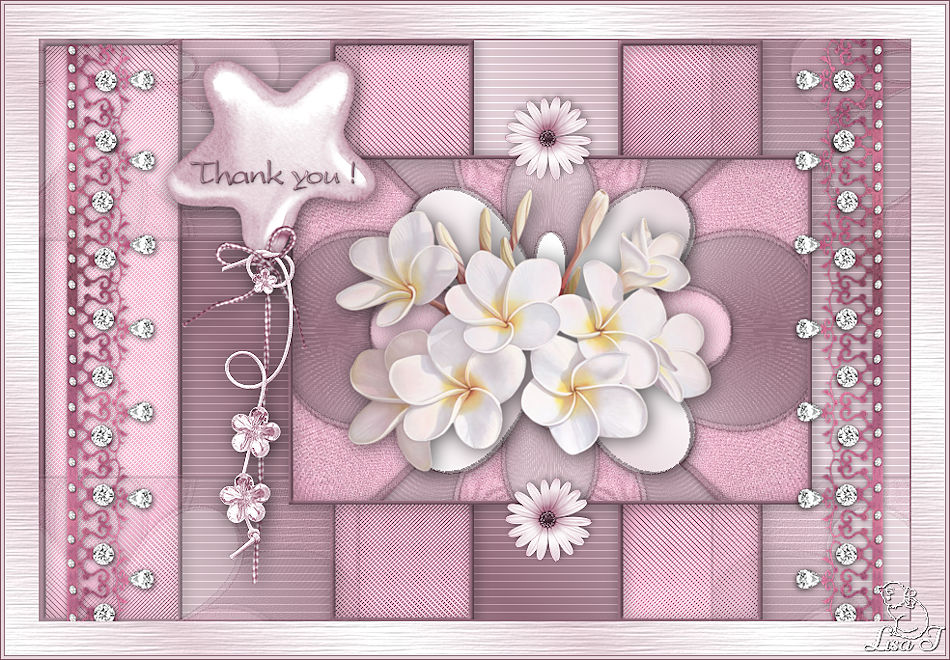
you wil find the orignal tutorial here

This tutorial is a personal creation.
Virginia works with PSP13
I work with PSP18
but you can follow this tutorial with any other version of PSP

Any resemblance with another one would be pure coincidence.
It is strictly forbidden to modify images, to change their name or take off the matermarks,
To present them on your sites or blog,
To share them in groups,
to make a bank of images, or to use them on lucrative purposes.

Thank you to respect Virginia’ work and the tubers work.
Don’t hesitate to warn her if you have any trouble with this tutorial.
some tubes were received in sharing groups
if one of them is yours, or not copyright free, please let Virginia know
and a link to your site will be added
either she will delete it from the material provided if you prefer


Material
tubes - selection - 1 font (Windows original font. In case you don’t have it yet)


Filters used
*Adjust - Variations
* Andrew Filter 52
* Bkg Kaléidoscope (import into filters Unlimited 2)
*Carolaine and Sensibiliy - Cs texture
* Filters Unlimited 2
* FM Tile Tools
* Mura's Seamless to download the filters, click on the banner below
Thank you very much to Janaly and Gigi for their kind permission

If you don’t know how to install filters into Unlimited 2, just click on the banner below


Colors used
Virginia used these colors
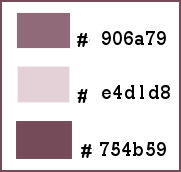
Don't hesitate to change the colors and the blend mode of the layers, and the shadows,
according to your tubes and images.

Important
Open all images in PSP, duplicate them and close the originals. (shift + key D)
always work with the copies
some tubes provided are not « visible » (in order to reduce the weight of the material file)
click on visibility toggle (eye) of the layer to make it visible again
copy/paste selections into the special folder « selections » of your Corel PSP folder

use the pencil to follow the steps
left click to grab it


prepare your material
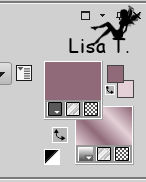
foreground color -> FG -> choose a dark color of your main tube
background color -> BG -> choose a very light color of your main tube
Virginia chose these colors
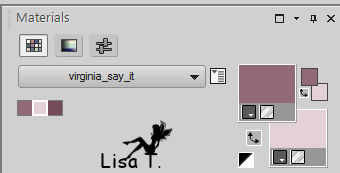
note the values of « Hue » and « Saturation » of FG color
in the materials palette, prepare a linear gradient
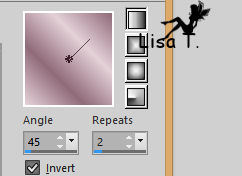
don’t forget to save your work very often
Realization
1
open a new transparent image 900 * 600 pixels
flood fill with the gradient
adjust -> blur -> gaussian blur / 10
2
in the materials palette, set color 1 as FG color
layers -> new raster layer
selections -> load-save selection -> from disk -> selection « vir_sel_dites_le.PspSelection »
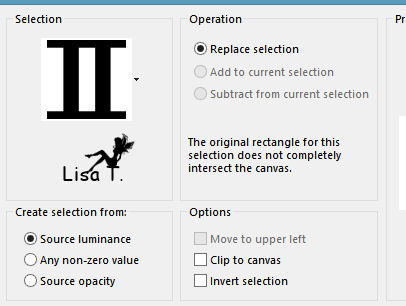
flood fill tool

flood fill selection with FG color
effects -> plugins -> Andrew Filter 52 / Wiremeshing Unlimited
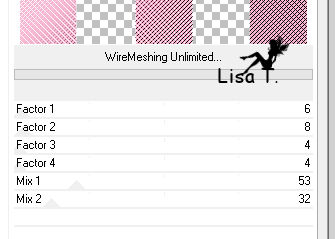
keep selection active
3
highlight Raster 1
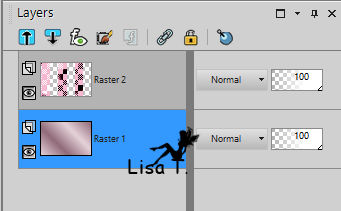
selections -> invert
effects -> plugins -> Carolaine and Sensibility / cs TExture
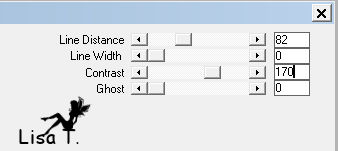
4
highlight Raster 2
selections -> invert
selections -> modify -> select selection borders
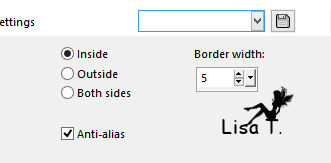
flood fill selection with FG color
effects -> 3D effects -> inner bevel
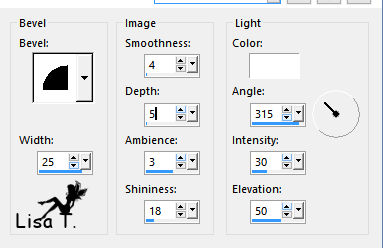
effects -> 3D effects -> drop shadow -> 2 / 2 / 50 / 20 / black
selections -> select none
your work looks like this
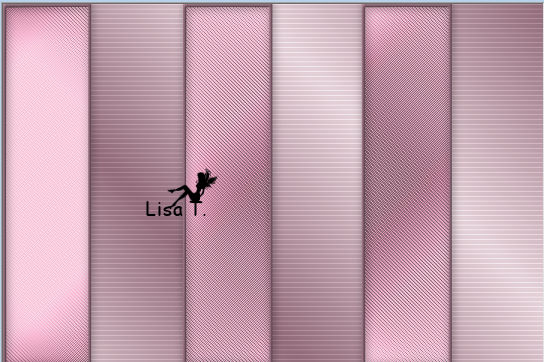
image -> add borders -> 2 pixels FG color
5
in the materials palette, set White as BG color
layers -> duplicate
image -> resize -> uncheck « resize all layers » -> 60%
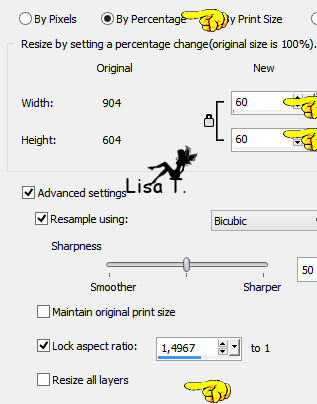
name this new layer « flower »
effects -> plugins -> Unlimited 2 -> Bkg Kaleidoscope / Kaleidoscope Butterfly
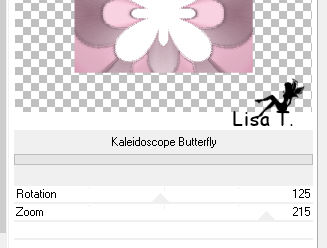
6
selections -> select all
selections -> float
selections -> modify -> select selection borders / inside / anti-alias checked / width : 4
activate flood fill tool (don’t change the settings)
flood fill selection with FG color
effects -> 3D effects -> inner bevel - don’t change the settings
effects -> 3D effects -> drop shadow -> 2 / 2 / 50 / 20 / black
selections -> select none
7
effects -> image effects -> offset
NOTE : if you use PSPX2 -> don’t apply the Offset settings.
This might « block » PSP (very annoying ! and a waste of time...)
just use the Move Tool and place the layer as shown on the final result
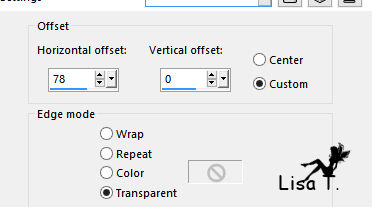
8
layers -> duplicate
effects -> plugins -> Mura’s Seamless / Duplicate
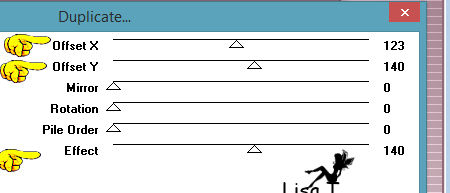
layers -> arrange -> move down
opacity of the layer : 40%
effects -> plugins -> FM Tile Tools / Blend Emboss / default settings
your work looks like this
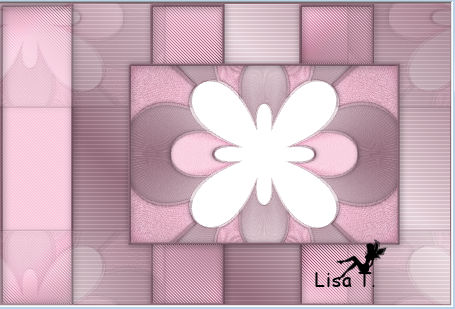
9
in the materials palette, set color 2 as FG and white as BG colors as following
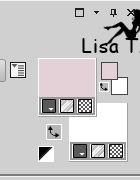
prepare a linear gradient as in the begining of this tutorial
in the layers palette, highlight top layer (flower)
activate Magic Wand tool

select white part of the flower
flood fill selection with the gradient
effects -> 3D effects -> drop shadow -> 3 / 2 / 60 / 30 / black
selections -> select none
10
copy / paste as new layer « Heavens scent-manon.pspimage » (middle flowers)
move it as shown below
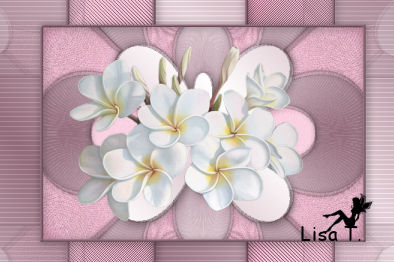
effects -> plugins -> Adjust -> Variations
1 clic on « original »
1 click on « more red »
1 click on « lighter »
effects -> 3D effects -> drop shadow -> 2 / 3 / 60 / 30 / black
11
activate the tube « lace22.png » (lace)
image -> rotate right

edit -> copy - back to your work - edit -> paste as new layer
adjust -> sharpness -> sharpen
effects -> image effects -> offset -> H : 375 / V : -16 / custom / transparent
layers -> duplicate
image -> mirror -> mirror horizontal
acitvate selection tool -> rectangle / tolerance : 0 / feather : 0
select the part of the lace which overflows on the pink border (top / left)
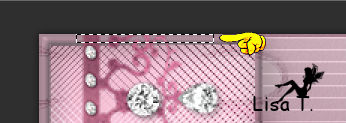
DELETE
selections -> select none
layers -> merge -> merge down
effects -> 3D effects -> drop shadow -> 1 / 1 / 40 / 10 / black
12
activate « DBS_el24.png » (daisy)
adjust -> hue and saturation -> colorize
use FG values to colorize
Virginia used these values

image -> resize -> 15%
copy / paste as new layer on your work
move it as shown
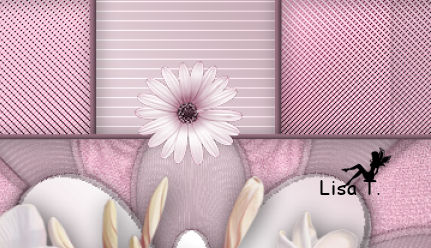
layers -> duplicate
effects -> image effects -> offset -> H : 0 / V : -395

layers -> merge -> merge down
effects -> 3D effects -> drop shadow -> -2 / 2 / 40 / 10 / black
13
activate « alana_balloon_whitestar.png »
image -> resize -> 70%
copy / paste as new layer
adjust -> hue and saturation as before
move it as shown
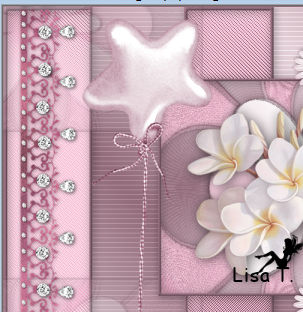
effects -> 3D effects -> drop shadow -> 3/ 2 / 60 / 30 / black
14
activate « DBS_el41.png »
image -> resize -> 50%
copy / paste as new layer
move it as shown

adjust -> hue and saturation as before
effects -> 3D effects -> drop shadow -> 3 / 2 / 60 / 30 / black
15
in the materials palette, click on the double arrow to set FG as BG color
set color 1 as FG color
activate Text tool

write the words you like
click on the green check (top menu of PSP) to confirm
layers -> convert to raster layer
move it on the baloon
effects -> 3D effects -> inner bevel as before
effects -> 3D effects -> drop shadow -> 1 / 1 / 25 / 5 / black
16
in the materials palette, set colors as in step 9

prepare a linear gradient
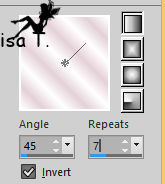
image -> add borders -> 35 pixels white
select this border
flood fill selection with the gradient
effects -> texture effects -> Texture -> « grain long » (Corel_15_017)
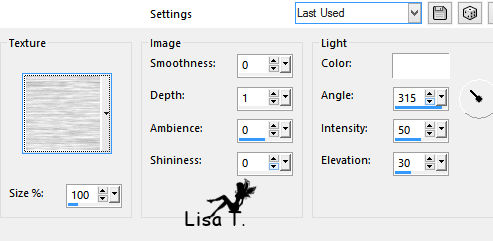
selections -> select none
image -> add borders ->
1 pixels color 1
3 pixels color 2
1 pixels color 3 (darker than color 1)
17
apply your watermark
resize if necessary
file -> save as... type .jpeg
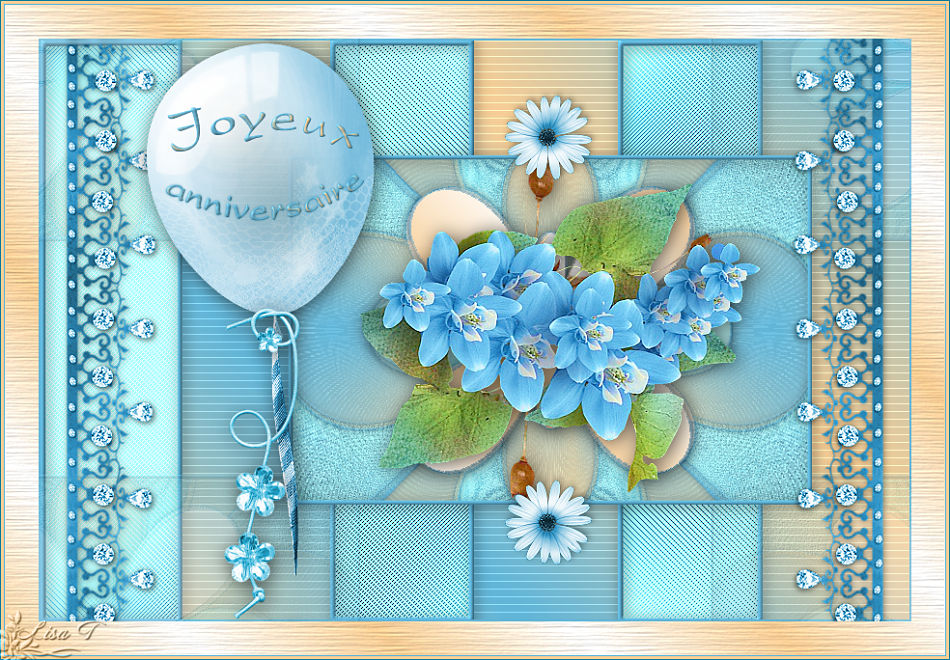
your tag is finished

Don't hesitate to write to Virginia if you have any trouble with her tutorial


My tag with my tube
Back to the board of Virginia’s tutorials


|