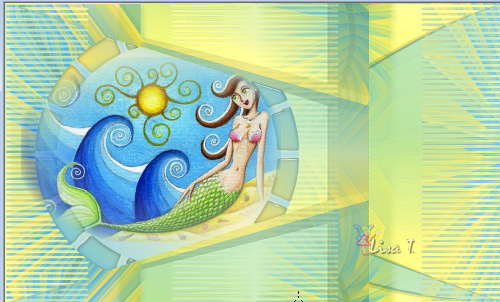
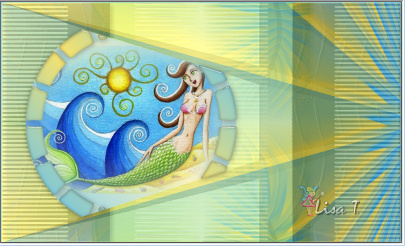
In
the hollow of the wave

you wil find the orignal tutorial here

This tutorial is a personal creation.
Virginia works with PSP17
I work with PSP19
but you can follow this tutorial with any other version of
PSP. Depending on the version of PSP you use, the results
might be slightly different

Any resemblance with another one would be pure coincidence.
It is strictly forbidden to modify images, to change their
name or take off the matermarks,
To present them on your sites or blog,
To share them in groups,
to offer them in a bank of images, or to use them on lucrative
purposes.
Thank you to respect Virginia’ work and the tubers’ work.
Don’t hesitate to warn her if you have any trouble
with this tutorial.
some tubes were received in sharing groups
if you think one of them is yours, or not copyright free,
please let Virginia know
and a link to your site will be added
either she will delete it from the material provided if you
prefer

if you use PSP 14 / 15 or 16 (or an earlier version of PSP)
the function image -> mirror has become image
-> mirror -> mirror horizontal
and the function image -> flip has become image
-> mirror -> mirror vertical
Material
tubes - mask - texture - alpha selections
copy / paste mask into the folder « masks » of
Corel PSP general folder
copy / paste texture into the folder « textures » of
Corel PSP general folder
open all tubes and duplicate them. Close the originals and
work with the copies
the alpha layer contains all the selections but they are
invisible
woman tube was created by Katrina - mask by Edith

Filters used
* Alien Skin - Eye Candy 5
* Filters Unlimited
* Mura'sMeister
* Penta Com (import into Filters Unlimited 2)
* Toadies (import into Filters Unlimited 2)
* Unplugged Tools (import into Filters Unlimited 2)
to download the filters, click on the banner below
Thank you very much to Janaly and Gigi for their kind permission

If you don’t know how to install filters into Unlimited
2, just click on the link below

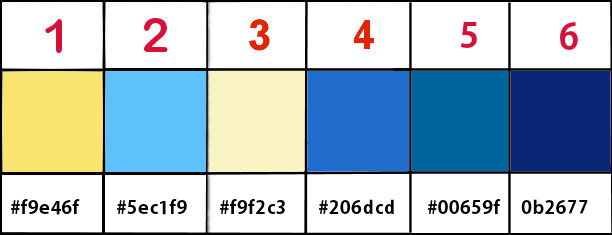
Colors used
Virginia these colors

prepare a radial gradient into FG box

Don't hesitate to change the colors and the blend mode of
the layers, and the shadows,
according to your tubes and images.
Important
Open all images in PSP, duplicate them and close the originals.
(shift + key D)
always work with the copies
some tubes provided are not « visible » (in
order to reduce the weight of the material file)
click on visibility toggle of the layer to make it visible
again
don’t forget to save your work often in case of Crash
of PSP
use the pencil to follow the steps
hold down left click to grab it and move it

Realization
1
open the alpha layer « alpha_acdlv »
activate the flood fill tool with the following settings

flood till layer with the gradient
effects -> plugins -> Unlimited 2 -> Unplulgged
Tools / Wavemaker / default settings
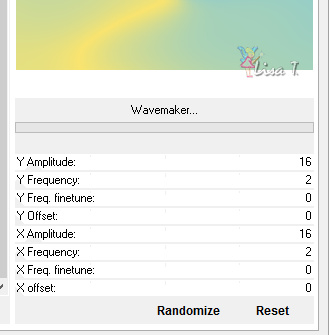
apply the same effect once more
2
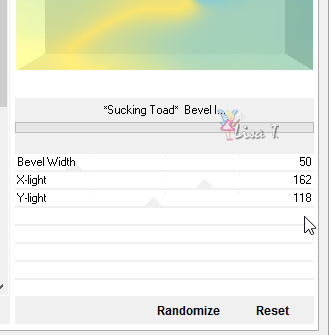
effects -> plugins -> Unlimited 2 -> Unplugged
Tools / Toadies / Sucking Toad Bevel 1
adjust -> sharpness -> sharpen
effects -> geometric effects -> Perspective Horizontal
your work looks like this

3
layers -> duplicate
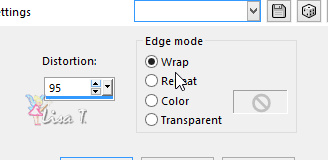
effects -> distortion effects -> warp

image -> mirror -> mirror horizontal
your work looks like this
4
layers -> load-save mask -> from disk -> mask « mask_edith13 » (be
careful to check « invert transparency »)

effects -> edge effects -> enhance
layers -> merge -> merge group
5
layers -> duplicate
rename this layer « borders »
effects -> image effects -> seamless tiling
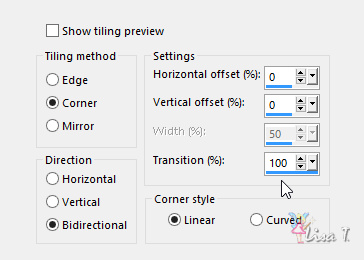
adjust -> sharpness -> sharpen
blend mode of the layer : Multiply - opacity :
75%
your work looks like this

6
in the materials palette, set color 1 as FG color
prepare a linear gradient as following

layers -> new raster layer
selections -> load-save selection -> from alpha channel
-> selection « 1 »

flood fill selection with the gradient
keep selection active
effects -> plugins -> Unlimited 2 -> Buttons & Frames
/ Kaleidoscope Frame (Round) / default settings
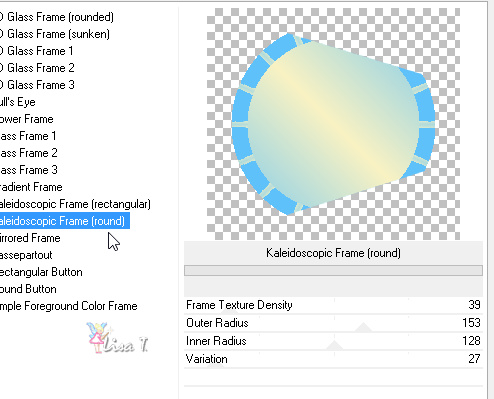
selections -> select none
your work looks like this

7
in the materials palette, reset color 1 as FG color, but
don’t change the values of the linear gradient
layers -> new raster layer
selections -> load-save selection -> from alpha channel
-> « selection 2 »

flood fill selection with the gradient
effects -> plugins -> Alien Skin Eye Candy 5-Impact
/ Glass
settings tab
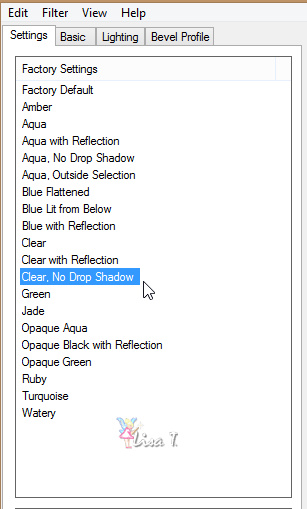
basic tab

selections -> select none
8
copy / paste as new layer « petite_sirène_vir »
image -> resize -> uncheck « resize all
layers » -> 80%
move the tube as showed below
selections -> load-save selection -> from alpha channel
-> « selection 3 »

selections -> invert
DELETE of your keyboard
selections -> select none
9
in the layers palette, highlight « Raster 2 » (the
frame)

effects -> 3D effects -> drop shadow -> 2 / 1
/ 40 / 20 / black
10
in the layers palette, highlight second layer from bottom

blend mode of the layer : Difference - opacity :
27%
effects -> texture effects -> texture / texture « fs-304 »

layers -> merge -> merge all (flatten)
image -> add borders -> « symmetric » checked
-> 1 pixel color 2
your work looks like this
11
in the material palette, set white as FG color
prepare a linear gradient
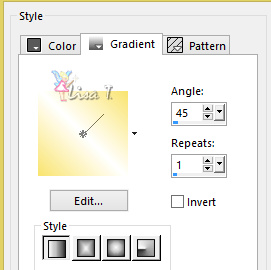
image -> add borders -> « symmetric » checked
-> 25 pixels white
select this borders with the magic wand tool
flood fill selection with the gradient
selections -> select none
image -> add borders -> « symmetric » checked
-> 2 pixels color 2
note : right click in the white box to see recent
colors, to find color 2 quickly

12
reset materials palette with color 3 and 4 as FG and BG
colors
prepare a new linear gradient
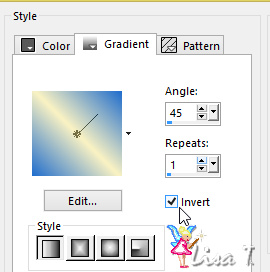
image -> add borders -> « symmetric » checked
-> 50 pixels white
select htis border
flood fill selection with the gradient
selections -> invert
effects -> 3D effects -> drop shadow -> 2 / 2
/ 60 / 30 / black
selections -> select none
image -> add borders -> « symmetric » checked
-> 2 pixels color 3
13
layres -> new raster layer
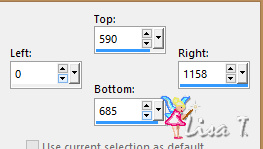
activate selection tool -> rectangle -> custom selection

set flood fill tool opacity to 50%
flood fill selection with color 3

(note : reset flood fill tool’s opacity to 100%
for a later use)
effects -> plugins -> Unlimited 2 -> Penta.com
/ Dot and Cross

effects -> edge effects -> enhance
selections -> select none
your work looks like this
14
effects -> distortion effects -> wave

layers -> merge -> merge visible
15
layers -> duplicate
image -> resize -> uncheck « resize all
layers » -> 85%
highlight « merged » layer
adjust -> blur -> radial blur

effects -> edge effects -> enhance more
16
highlight top layer
effects -> 3D effects -> drop shadow -> 5 / 10
/ 50 / 30 / black * -5 /
-10 / 50 / 30 / black
17
highlight bottom layer (background)
layers -> duplicate
layers -> arrange -> bring to top
effects -> plugins -> Mura’s Meister / Perspective
Tiling

effects -> distortion effects -> wave (as before)
image -> mirror -> mirror horizontal
blend mode of the layer : Luminance (Legacy) - opacity :
91%
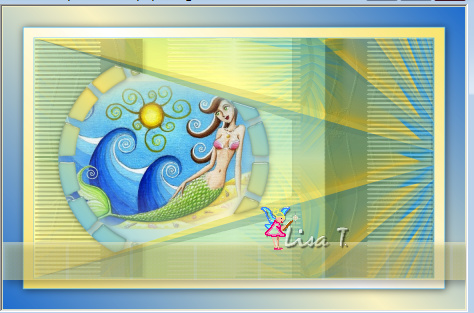
your work looks like this
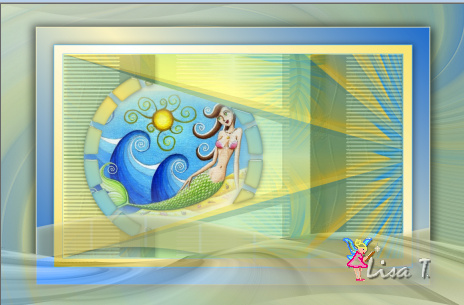
image -> add borders -> « symmetric » checked
-> 2 pixels color 4
18
effects -> illumination effects -> sunburst / color
3

19
copy / paste as new layer « DBK AA MODEL 502 »
image -> mirror -> mirror horizontal
image -> resize -> 85%
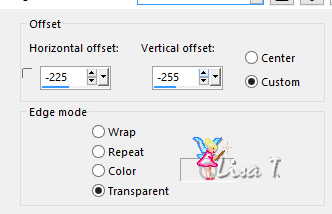
effects -> image effects -> offset

effects -> 3D effects -> drop shadow -> -5 / 10
/ 50 / 30 / color 6 * 10
/ 10 / 50 / 30 / color 6
20
copy / paste as new layer « fish 5 »
image -> resize -> 60%
effects -> image effects -> offset
effects -> 3D effects -> drop shadow -> -4 / -6
/ 40 / 20 / black
21
copy / paste as new layer « Starfish 03 »
move it on top of your work
22
apply your watermark on a new layer
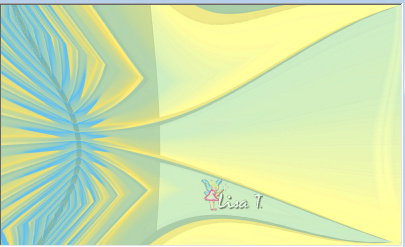
your tag is finished
resize if necessary
save as... type .jpeg
Don't hesitate to write to Virginia if you have any trouble
with her tutorial
My tag with my tubes and Animabelle's tubes

Back to the boards of Virginia’s tutorials
board 1  board 2 board 2

|