
you wil find the orignal tutorial here
This tutorial is a personal creation.
Virginia works with PSP17
I work with PSP19
but you can follow this tutorial with any other version
of PSP. Depending on the version of PSP you use, the results
might be slightly different

Any resemblance with another one would be pure coincidence.
It is strictly forbidden to modify images, to change their
name or take off the matermarks,
To present them on your sites or blog,
To share them in groups,
to offer them in a bank of images, or to use them on lucrative
purposes.
Thank you to respect Virginia’ work and the tubers’ work.
Don’t hesitate to warn her if you have any trouble
with this tutorial.
some tubes were received in sharing groups
if you think one of them is yours, or not copyright free,
please let Virginia know
and a link to your site will be added
either she will delete it from the material provided if
you prefer

Hints & Tips
TIP 1 -> if you don’t want to
install a font -->
open it in a software as « Nexus Font » (or
other font viewer software of you choice)
as long as both windows are opened (software and font),
your font will be available in your PSP
TIP 2 -> from PSPX4, in the later versions
of PSP the functions « Mirror » and « Flip » have
been replaced by -->
« Mirror » --> image --> mirror -> mirror horizontal
« Flip » --> image --> mirror -> mirror vertical
Material
selections - tubes - word art - palette - texture

copy / paste selections and texture into the dedicated
folders of Corel PSP general folder
Filters used
* Alien Skin - Eye Candy 5 Impact
* Bkg Designer sf10I (Balloons) - import into Filters
Unlimited
* Bkg Kaleidoscope - import into Filters Unlimited
* Buttons&Frames - Base IC.NET Filters Unlimited
* Filters Unlimited
* Photo Aging Kit - import into Filters Unlimited
* Plugins AB 01 - import into Filters Unlimited
to download the filters, click on the banner below
Thank you very much to Janaly and Gigi for their kind permission

If you don’t know how to install filters into Unlimited
2, just click on the link below

the
woman tube Virginia used to creat her tag was created by
Lily
the word art was created by Ktou Art Design
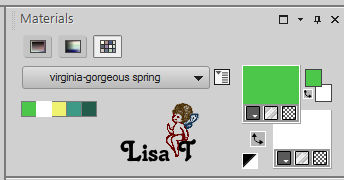
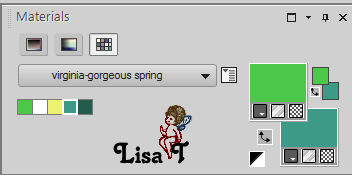
Colors used
Virginia these colors
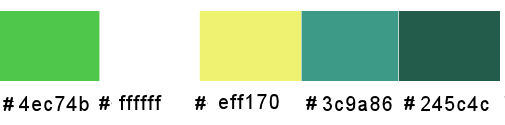
Don't hesitate to change the colors and the blend
mode of the layers, and the shadows,
according to your tubes and images.
Important
Open all images in PSP, duplicate them and close
the originals. (shift + key D)
always work with the copies
some tubes provided are not « visible » (in
order to reduce the weight of the material file)
click on visibility toggle of the layer to make it visible
again
prepare the materials palette wsith color 1 and 2
save your work often in case you have to redo
Use the pencil to follow the steps
hold down left click to grab it and move it
 |
Realization
1
open a new transparent image 900 * 600 pixels
flod fill with color 1
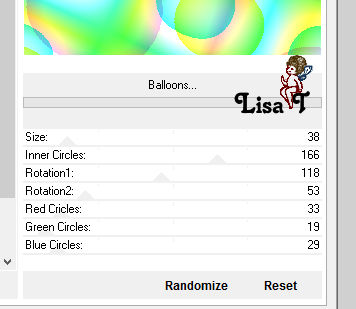
effects -> plugins -> Unlimited 2 -> Bkg Designers
ssf10I / Balloons / default settings
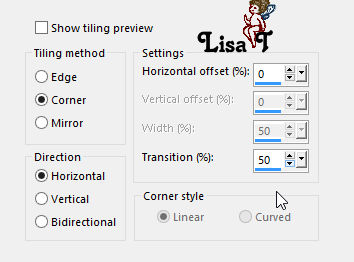
effects -> image effects -> seamless tiling
2
layers -> duplicate
image -> free rotate
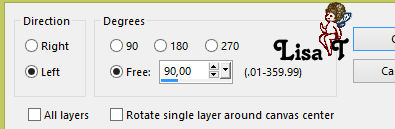
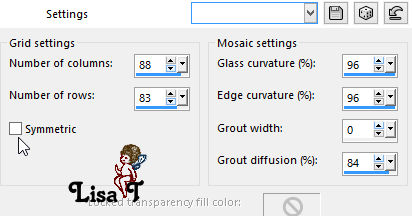
effects -> texture effects -> mosaic glass
adjust -> sharpness -> sharpen more
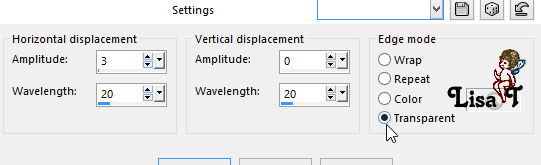
effects -> distortion effects -> wave
effects -> 3D effects -> drop shadow -> 1 / 1
/ 50 / 30 / black
blend mode of the layer -> Dodge
3
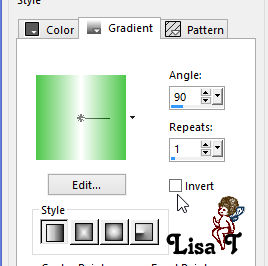
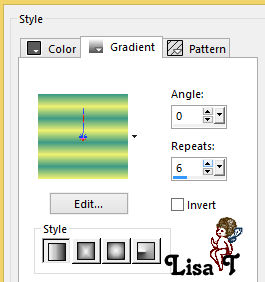
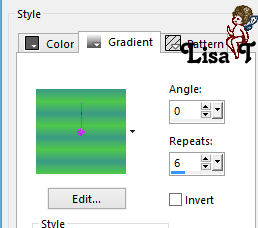
prepare a linear gradient in the materials palette
layers -> new raster layer (Raster 2)
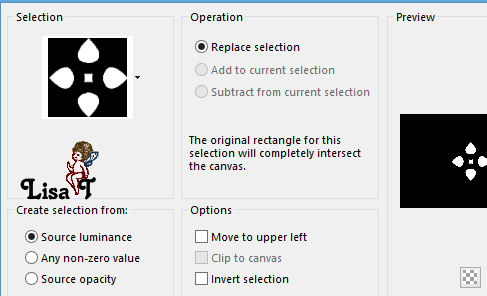
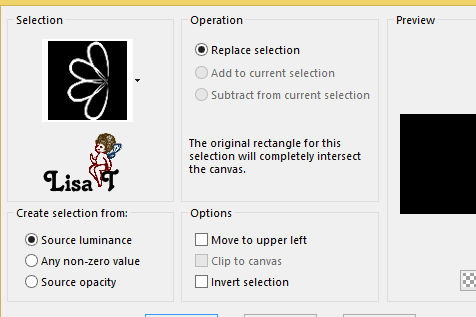
selections -> load-save selection -> from disk -> selection « sel_01-JP_vir.PspSelection »
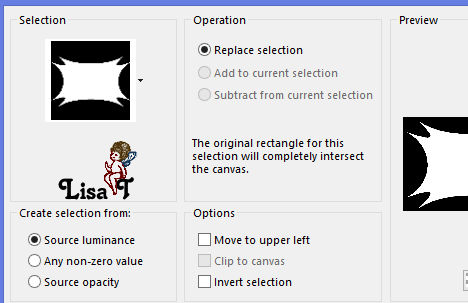
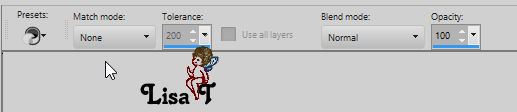
enable the flood fill tool
flood fill selection with color 2 (right click)
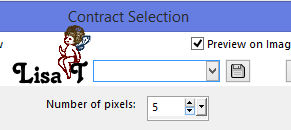
seelectioons -> modify -> contract / 5 pixels
flood fill selection with the gradient
selections -> select none
4
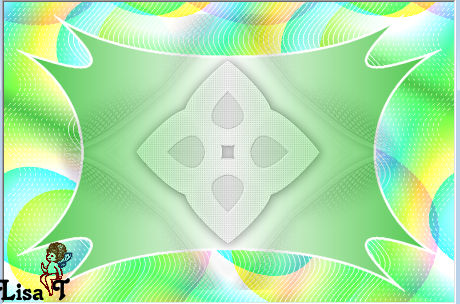
copy / paste the decoration tube « Deco01 » as
new layer
blend mode of the layer : Luminance Legacy - opacity :
50%
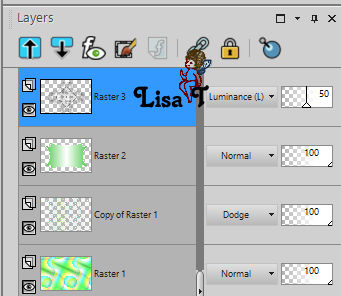
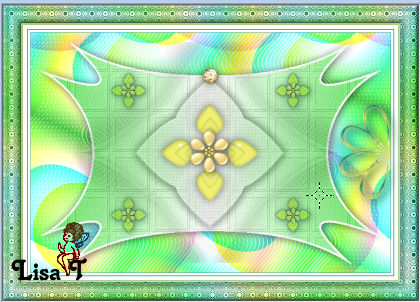
your work looks like this
your layers palette looks like this
5
in the materials palett, set color as FG color
layers -> new raster layer (Raster 4)
selections -> load-save selection -> from disk -> selection « sel_02-JP_vir.PspSelection»
flood fill selection with color 3
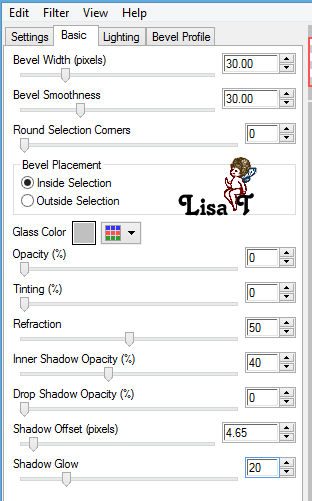
effects -> plugins -> Alien Skin Eye Candy 5-Impact
/ Glass
settings -> Clear, No Drop Shadow
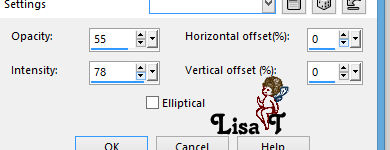
effects -> reflection effects -> feedback
selections -> select none
adjust -> sharpness -> sharpen
effects -> 3D effects -> drop shadow -> 0 / 0
/ 50 / 30 / black
6
highlight Raster 3
selections -> load-save selection -> from disk -> selection « sel_03-JP_vir.PspSelection»
effects -> 3D effects -> drop shadow -> 0 / 0
/ 100 / 30 / color 5
selections -> select none
7
highlight top layer
copy / paste as new layer the yellow flower « cm_el122 »
image -> resize -> untick « resize all
layers » -> 75%
effects -> 3D effects -> drop shadow -> 2 / 30
/ 60 / 30 / black
layers -> merge -> merge down
edit -> copy / paste as new image -> rename this
image « flower »
save this image and minimize it to tray for a later use
8
highlight Raster 2 (third from bottom)
layers -> duplicate
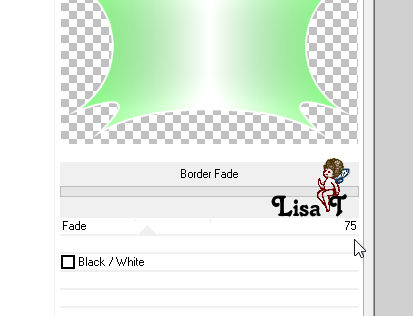
effects -> plugins -> Unlimited 2 -> Photo Aging
Kit / Border Fade
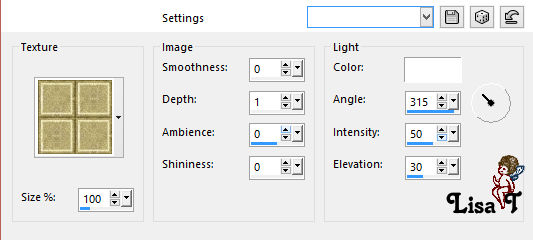
effects -> texture effects -> Texture -> use
the texture provided
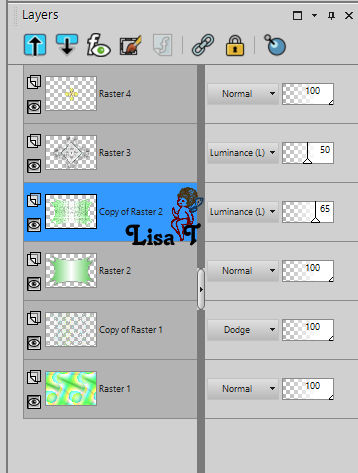
blend mode of the layer : Luminance Legacy - opacity
: 65%
your layers palette looks like this
9
highlight layer underneath (Raster 2)
effects -> 3D effects -> drop shadow -> 2 / 3
/ 60 / 30 / black
10
highlight bottom layer
edit -> copy
layers -> merge -> merge all (flatten)
11
set color 4 as FG color in the materials palette
image -> add borders -> tick « symmetric » -> ...
1 pixel color 4
6 pixels white
2 pixels color 4
10 pixels white
1 pixel color 4
3 pixels color 3
1 pixel color 4
selections -> select all
image -> add borders -> tick « symmetric » -> 45
pixels white
selections -> invert
edit -> paste into selection
adjust -> blur -> gaussian blur / 30
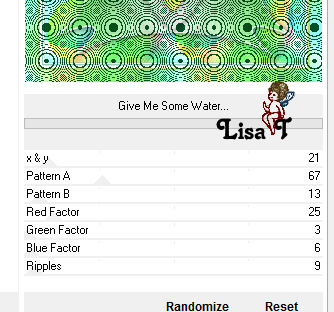
effects -> plugins -> Unlimited 2 -> Plugins AB01
/ Give Me Some Water / default settings
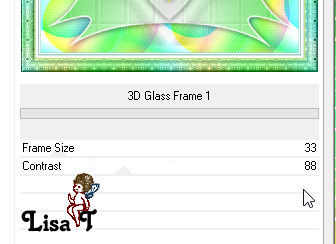
effects -> plugins -> Unlimited 2 -> Buttons & Frames
/ 3D Glass Frame 1
selections -> invert
effects -> 3D effects -> drop shadow -> 0 / 0
/ 60 / 30 / black
selections -> select none
12
open the image you set aside in step 7
image -> resize -> 35%
copy / paste as new layer on your work
enable the Pick Tool and change the positions X and Y
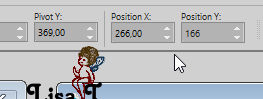
press the « M » key to disable the
tool
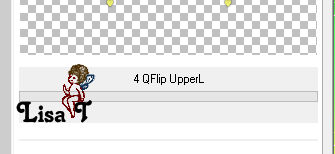
effects -> plugins -> Unlimited 2 -> Bkg Kaleidoscope
/ 4QFlip Upper L
adjust -> sharpness -> sharpen
blend mode of the layer : Multiply - opacity
: 85%
effects -> 3D effects -> drop shadow -> 2 / 30
/ 50 / 30 / color 5
13
copy / paste as new layer « blushbutter-blue
faery-ee1 » (button)
effects -> image effects -> offset
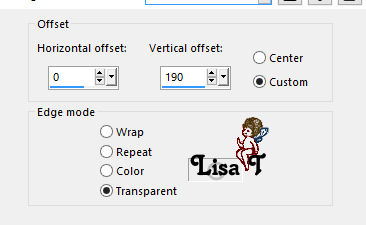
effects -> 3D effects -> drop shadow -> 0 / 0
/ 50 / 35 / black
14
in the materials palette, set color 3 as FG color
and color 4 as BG color
prepare a linear gradient
layers -> new raster layer (Raster 4)
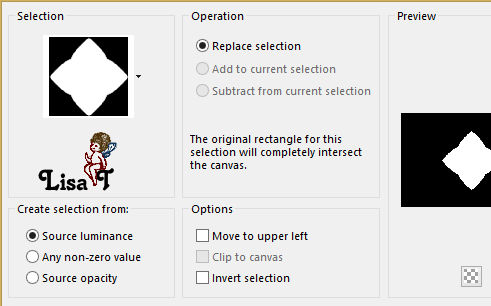
selections -> load-save selection -> from disk -> selection « sel_04-JP_vir.PspSelection»
flood fill the selection with the gradient
effects -> plugins -> Alien Skin Eye Candy 5-Impact
/ Glass -> same settings as before
effects -> edge effects -> enhance
selections -> select none
effects -> 3D effects -> drop shadow -> 5 / 10
/ 100 / 30 / color 5
your work looks like this
15
copy / paste as new layer the yellow flower « cm_el122 »
image -> resize -> untick « resize all layers » -> 35%
effects -> 3D effects -> drop shadow -> 0 / 0
/ 100 / 30 / color 5
16
layers -> duplicate
image -> resize -> untick « resize all layers » -> 85%
effects -> image effects -> offset

17
copy / paste as new layer « Deco02_JP » (white
flowers)
effects -> image effects -> offset -> 385 / -15
18
copy / paste the character tube (tube-femme-321-by-Lily )
(virginia colorized the flowers)
effects -> image effects -> offset -> -285 / -20
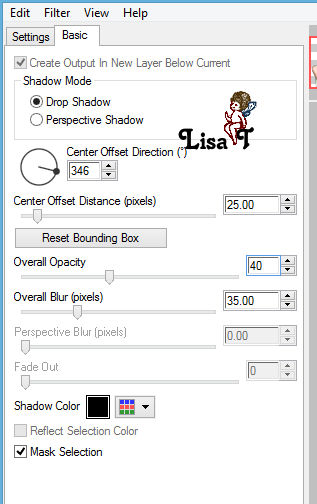
effects -> plugins -> Alien Skin Eye Candy 5-Impact
/ Perspectuve Shadow
settings tab -> Drop Shadow Blurry
19
in the materials palette set color 1 as FG color and color
4 as BG color
prepare a linear gradient
copy / paste as new layer the text tube « texte
printemps_JP.pspimage »
effects -> image effects -> offset -> 105 / -14
selections -> select all -> selections / float - selections
-> defloat
layers -> new raster layer
flood fill selection with the gradient
selections -> select none
effects -> 3D effects -> drop shadow -> -10 /
1 / 50 / 10 / color 5
alyers -> merge -> merge all (flatten)
20
image -> add borders -> tick « symmetric » -> 1
pixel color 5
apply your watermark
resize your tag
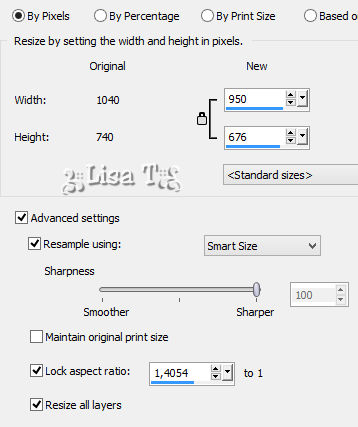
adjust -> sharpness -> sharpen
layers -> merge -> merge all (flatten)
file -> save as... type .jpeg
ANIMATION
you will find the animated gif into the materials provided
I added this material type .gif and type.psd
the .gif is to be used with Animation Shop
the .psd is tu be used with Ulead Gif Animator
With Animation
shop
open your tag with AS -> edit -> copy
duplicate 20 times (Ctrl + Shift key + L)
now your animation has 21 identical frames
edit -> select all (Ctrl + A)
open the gif « poudre_etoiles.gif » -> this
animation has 21 frames -> select all
holding down the left click of your mouse, catch the first
frame,
and drop it in the first frame of your creation
release the mouse click when the cursor is in the
right place
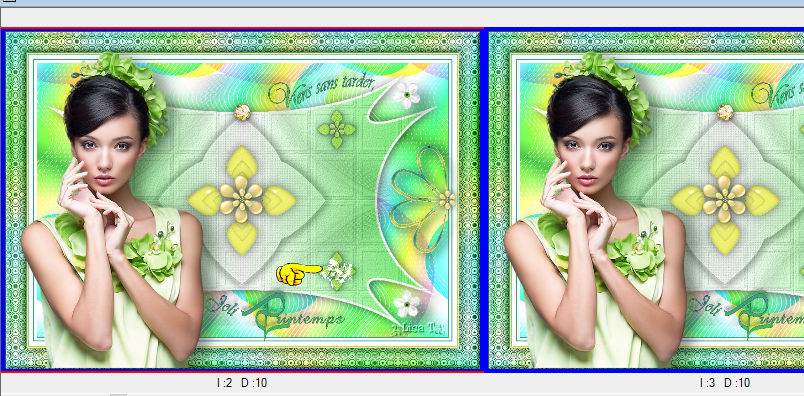
image property -> 10
file -> save as type .gif
My version with a tube created by Colybrix - Animation
Simone (site closed)

Don't hesitate to write to Virginia if you have any trouble
with her tutorial
Back to the boards of Virginia’s tutorials
board 1  board 2 board 2

|