Allison
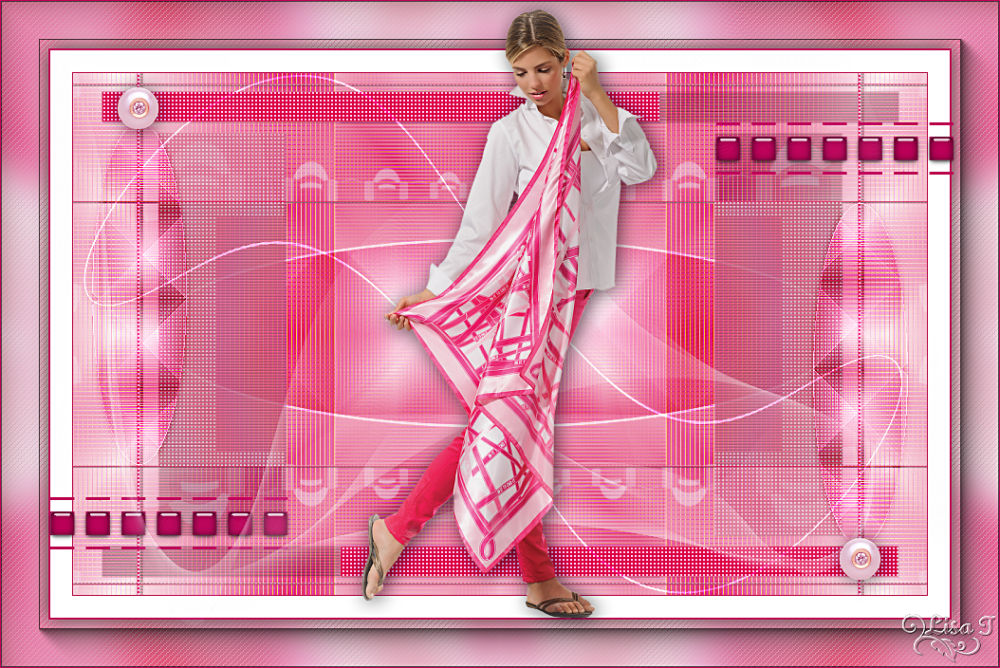
you wil find the orignal tutorial here

This tutorial is a personal creation.
Virginia works with PSP12
I work with PSP17
but you can follow this tutorial with any other version of PSP

Any resemblance with another one would be pure coincidence.
It is stricly forbidden to modify images, to change their name or take off the matermarks,
To present them on your sites or blog,
To share them in groups,
to make a bank of images, or to use them on lucrative purposes.

Thank you to respect Virginia’ work and the tubers work.
Don’t hesitate to warn her if you have any trouble with this tutorial.


Material
Tubes – decoration tubes - Sélections - Mask – color Palette
woman tube by Tony : Thank you:
Tochas Quality Tubers

Masques Creagraph : merci Lula !
Leny

some tubes or scraps elements were received in sharing groups
If one of them is not copyright free, thanks to tell it to Virginia

Filters used
Alien Skin - Eye candy5
* AAA Frames
* AFS Import - SquareBorder2 (import into « Filters Unlimited 2 »)
* Bkg Designers - (import into « Filters Unlimited 2 »)
* Filters Unlimited
* Sapphire Filters -(import into « Filters Unlimited 2 »)
* VM Extravaganza

to download the filters, click on the banner below
Thank you very much to Sylvie for the kind permission she gave me

to import plugins into Unlimited 2, click on Sylvie’s banner below
and look at « hints et tips »


Colors used
Virginia chose 2 « summer » colors

Don't hesitate to change the colors and the blend mode or opacity of the layers, and the shadows,
according to your tubes and images.

Important
Open all images in PSP, duplicate them and close the originals. (shift + key D)
always work with the copies
some tubes provided are not « visible » (in order to reduce the weight of the material file)
click on visibility toggle of the layer to make it visible again
copy/paste the selections into the folder « selection » of My PSP File

Materials palette
foreground color : white
with the dropper tool, choose an accent color in your main tube and set this color as background color
Virginia chose color 2 --> #dd084a
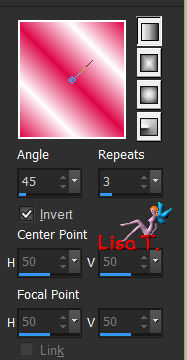
open the foreground color window, prepare a linear gradient
(corel_06_029 in the recent versions of PSP)
angle 45 / repeat 3 / « invert » checked
don’t forget to save your work as often as possible

use the pencil to follow the steps
left click to grab it


prepare your material
Realization
Step 1
open a new transparent raster layer 900 * 550 pixels
flood fill with the gradient
Step 2
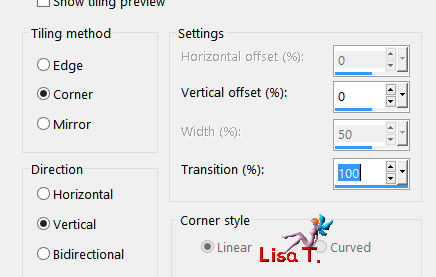
effects/image effects/seamless tiling
effects/edge effects/enhance
effects/plugins/Unlimited 2/Sapphire Filters 03/Sapphire Plugin 238/default settings
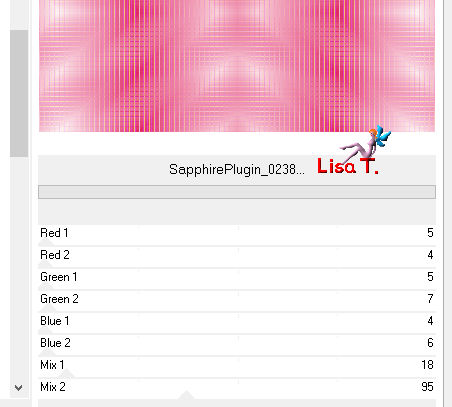
Step 3
open the mask and minimize it to tray – back to your work
layers/new raster layer
flood fill with the background color
layers/new mask layer/from image
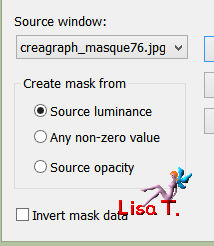
layers/merge/merge group
you can close the mask, you will not need it anymore
Step 4
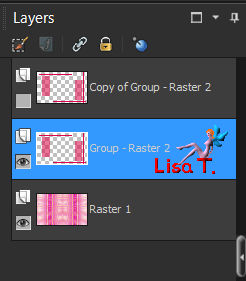
layers/duplicate
in the layers palette, close the visiblity of the top layer
activate the bottom layer (Group Raster 2)
effects/plugins/Unlimited 2/Sapphire Filters 03/Sapphire Plugin 215/default settings
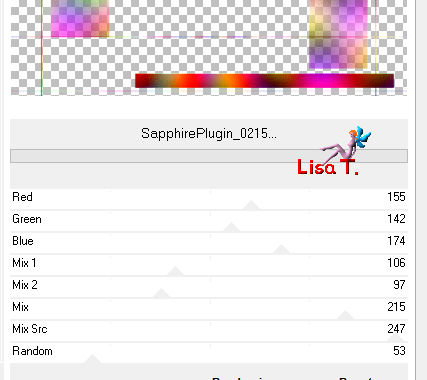
Step 5
selections/select all
selections/float – selections/defloat
effects/distortion effects/polar coordinates/rectangular to polar/background color
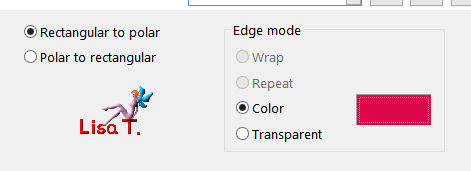
selections/select none
Step 6
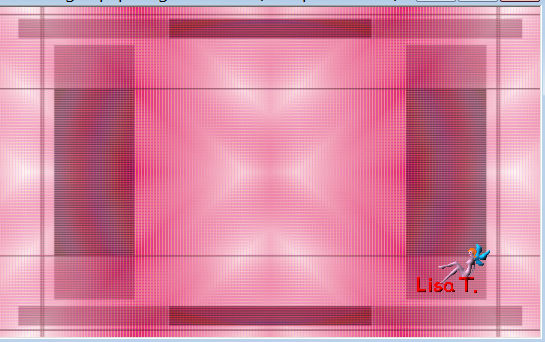
effects/plugins/Simple/4 Way Average
effects/texture effects/blinds

opacity of the layer 65%
your work looks like this
Step 7
activate the top layer and open the visibility (copy of Group Raster 2)
effects/plugins/Unlimited 2/[AFS IMPORT]/sqborder2/defualt settings
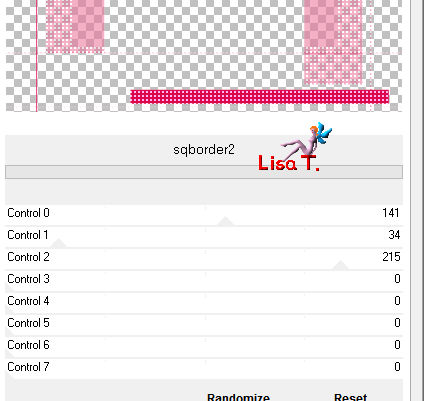
Step 8
activate the bottom layer (Raster 1)
selections/load-save selection/from disk/selection «vir_sel_al_01.PspSelection »
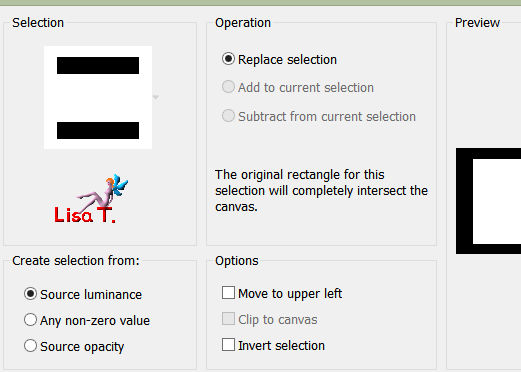
selections/promote selection to layer
selections/select none
Step 9
image/resize/uncheck « all layers »/80%
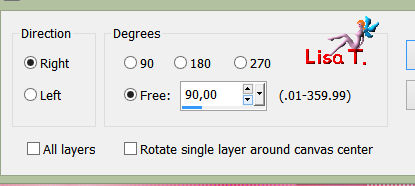
iamge/free rotate
adjust/sharpness/sharpen
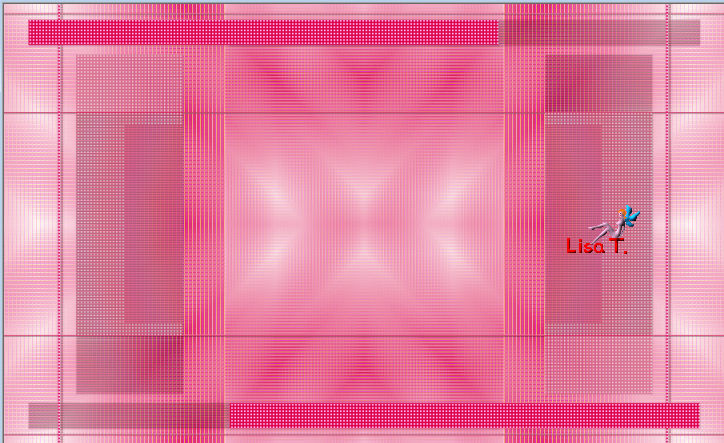
your work looks like this
Step 10
copy/paste as new layer the tube « decor_allison.pspimage »
effects/3D effects/drop shadow/ 2 / 2 / 100 / 30 / black
Step 11
activate the bottom layer
selections/load-save selection/from disk/selection «vir_sel_al_02.PspSelection »
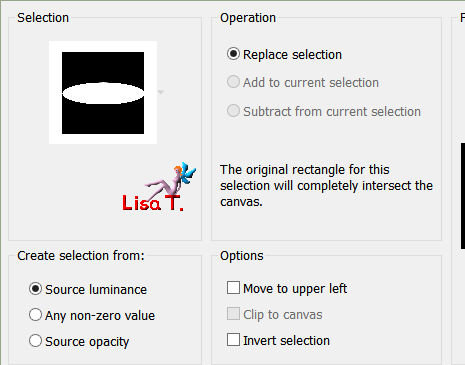
selections/promote selection to layer
effects/plugins/VM Extravaganza/Holidays in Egypt/ 66 / 145

selections/select none
rename this layer « ellipse »
(don’t forget to confirm your entry by pressing the « enter » button on your keyboard)
layers/arrange/bring to top
Step 12
layers/duplicate
image/resize/50% (uncheck « all layers »)
image/free rotate
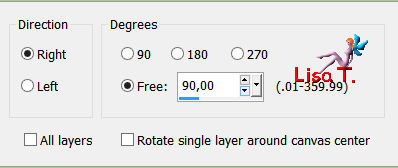
move this layer to the left of the tag
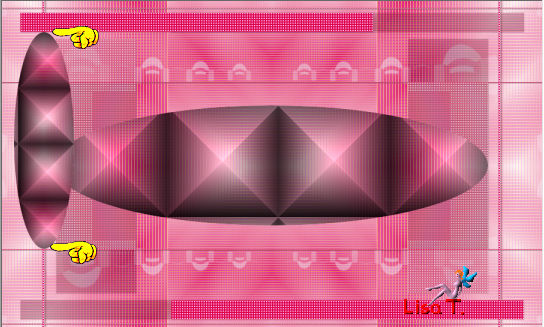
effects/edge effects/enhance
Step 13
layers/duplicate – image/mirror/ mirror vertical – image/mirror/mirror horizontal
layers/merge/merge down
blend mode of the layer « overlay »
your work looks like this
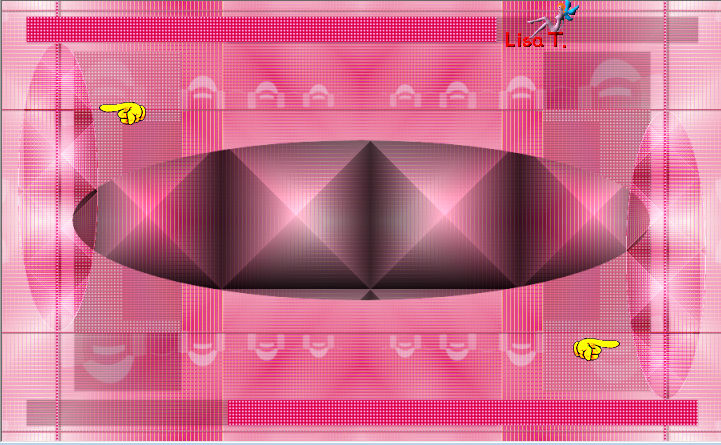
effects/63D effects/drop shadow/ 0 / 0 / 40 / 10 / balck
Step 14
activate the bottom layer (ellipse)
selections/load-save selection/from disk/selection «vir_sel_al_02.PspSelection »

selections/modify/select selection borders
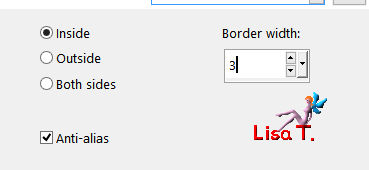
in the materials palette, set White as foreground color
activate the flood fill tool with the following settings

flood fill the selection white
selections/promote selection to layer
selections/select none
Step 15
layers/arrange/bring to top
effects/distortion effects/wave

blen mode of the layer « overlay »
Step 16
activate the layer « ellipse »
move this layer as shown below
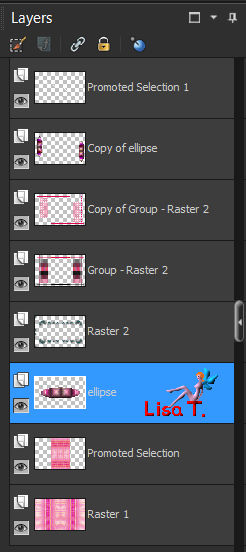
blend mode of the layer « overlay » - opacity 71%
your work looks like this
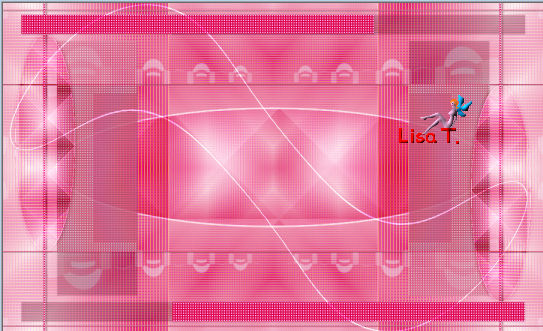
layers/merge/merge all (flatten)
Step 17
in the materials palette, set color 4 as background color
iamge/add borders/check « symmetric » --->
1 pixel color 4
23 pixels white
2 pixels color 4
Step 18
in the materials palette, set color 3 as background color and white as foreground color
prepare a linear gradient / angle 90 / repeat 1 / check « invert »
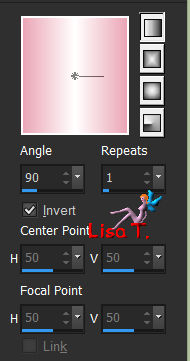
image/add borders/50 pixels white
activate the magic wand tool with the following settings

select this white border
flood fill the selection with the gradient
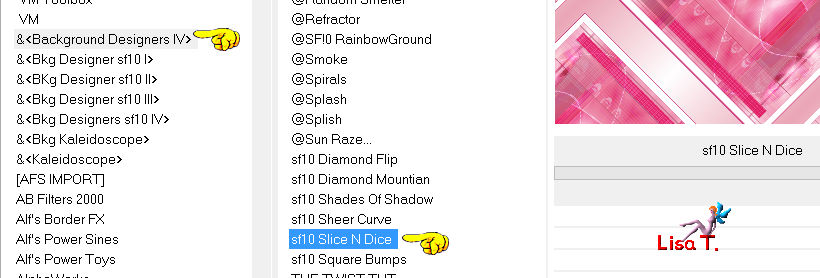
effects/plugins/Unlimited 2/Background Designers IV/sf10 SliceN Dice
adjust/blur/gaussian blur/20
effects/plugins/Simple/Top Left Mirror
effects/texture effects/weave
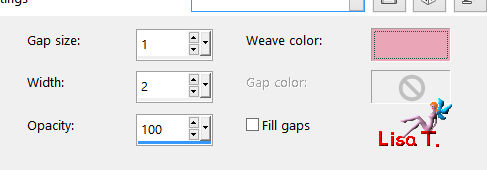
adjust/sharpness/sharpen
keep the selection active
Step 19
selections/invert
effects/3D effects/drop shadow/ 0 / 0 / 70 / 30 / black
selections/invert
effects/plugins/AAA Frame/Foto Frame
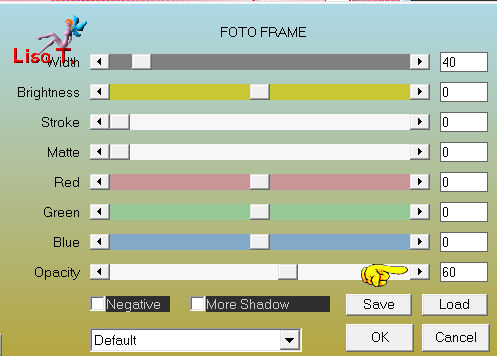
selections/select none
your work looks like this
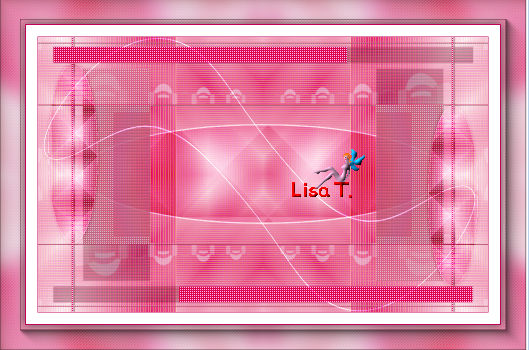
Step 20
in the materials palette, set color 4 as background color
selections/load-save selection/from disk/selection «vir_sel_al_03.PspSelection »
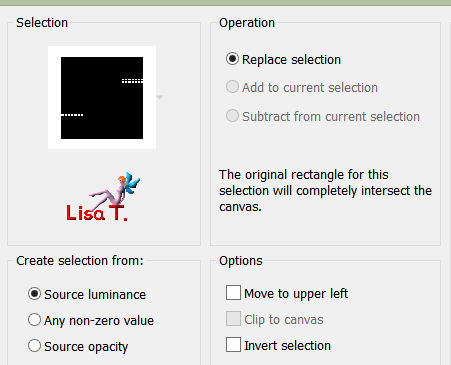
layers/new raster layer
with the left click ouf your mouse, flood fill the selection
effects/plugins/Alien Skin Eye Candy 5 Impact/Glass/ setting tab : Clear
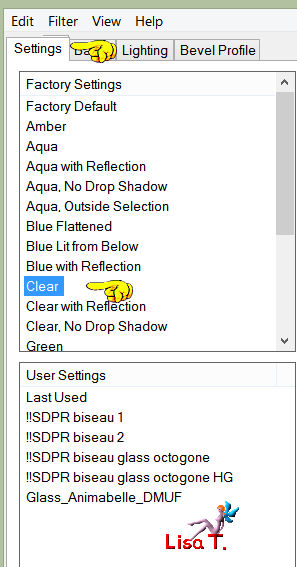
selections/select none
Step 21
in the materials palette, set white as foreground color
layers/new raster layer
flood fill white
open the tube « Leny-dingen61.psp » (it will be used it as a mask)
layers/new mask layer/from image/and choose this tube
layers/merge/merge group
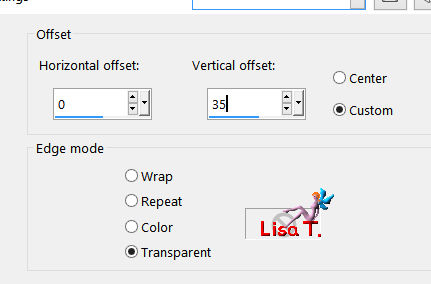
effects/image effects/offset/ H -> 0 / V -> 35
adjust/sharpness/sharpen
Step 22
copy/paste as new layer the tube « SE_SpecialLove_el33.psp » (pearl)
image/resize/uncheck « all layers »/35%
move it as shown below
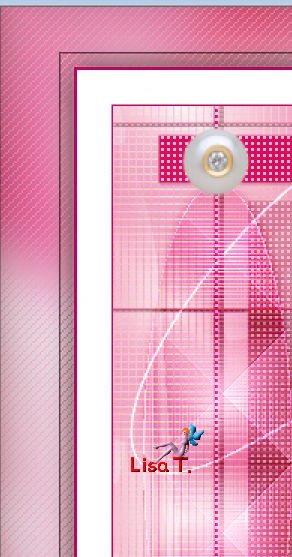
adjust/sharpness/sharpen
effects/photo effects/film and filters/background color
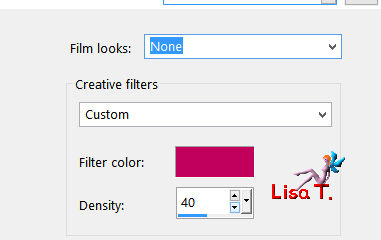
if you chose other colors, you might have to change the density
layers/duplicate
move it bottom right
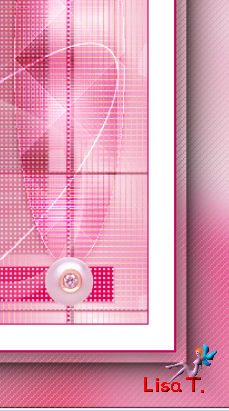
layers/merge/merge down
effects/3D effects/drop shadow/ 2 / 2 / 50 / 30 / black
layers/merge/merge visible
Step 23
activate the tube « Tocha24111.pspimage » (woman)
image/resize/62%
copy/paste as new layer
effects/image effects/offset/ H --> 10 / V --> 21
effects/3D effects/drop shadow/ 2 / 3 / 60 / 30 / black
Step 24
apply your watermark
layers/merge/merge all (flatten)
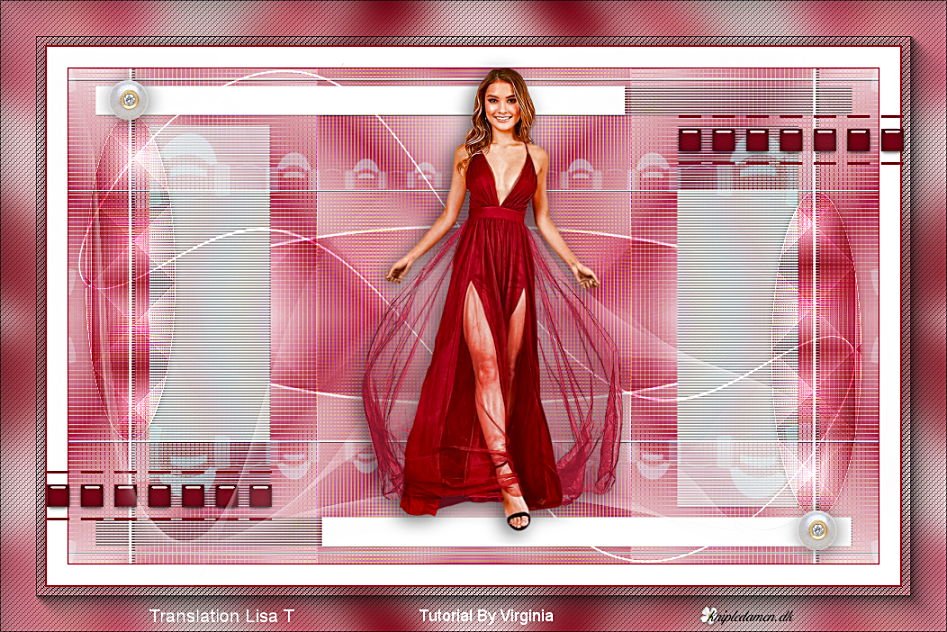
your tag is finished !!
image/resize if necessary (Virginia resized to 950 pixels width)
for a better final result, adjust/sharpness/unsharp mask


Don't hesitate to write to Virginia if you have any trouble with her tutorial


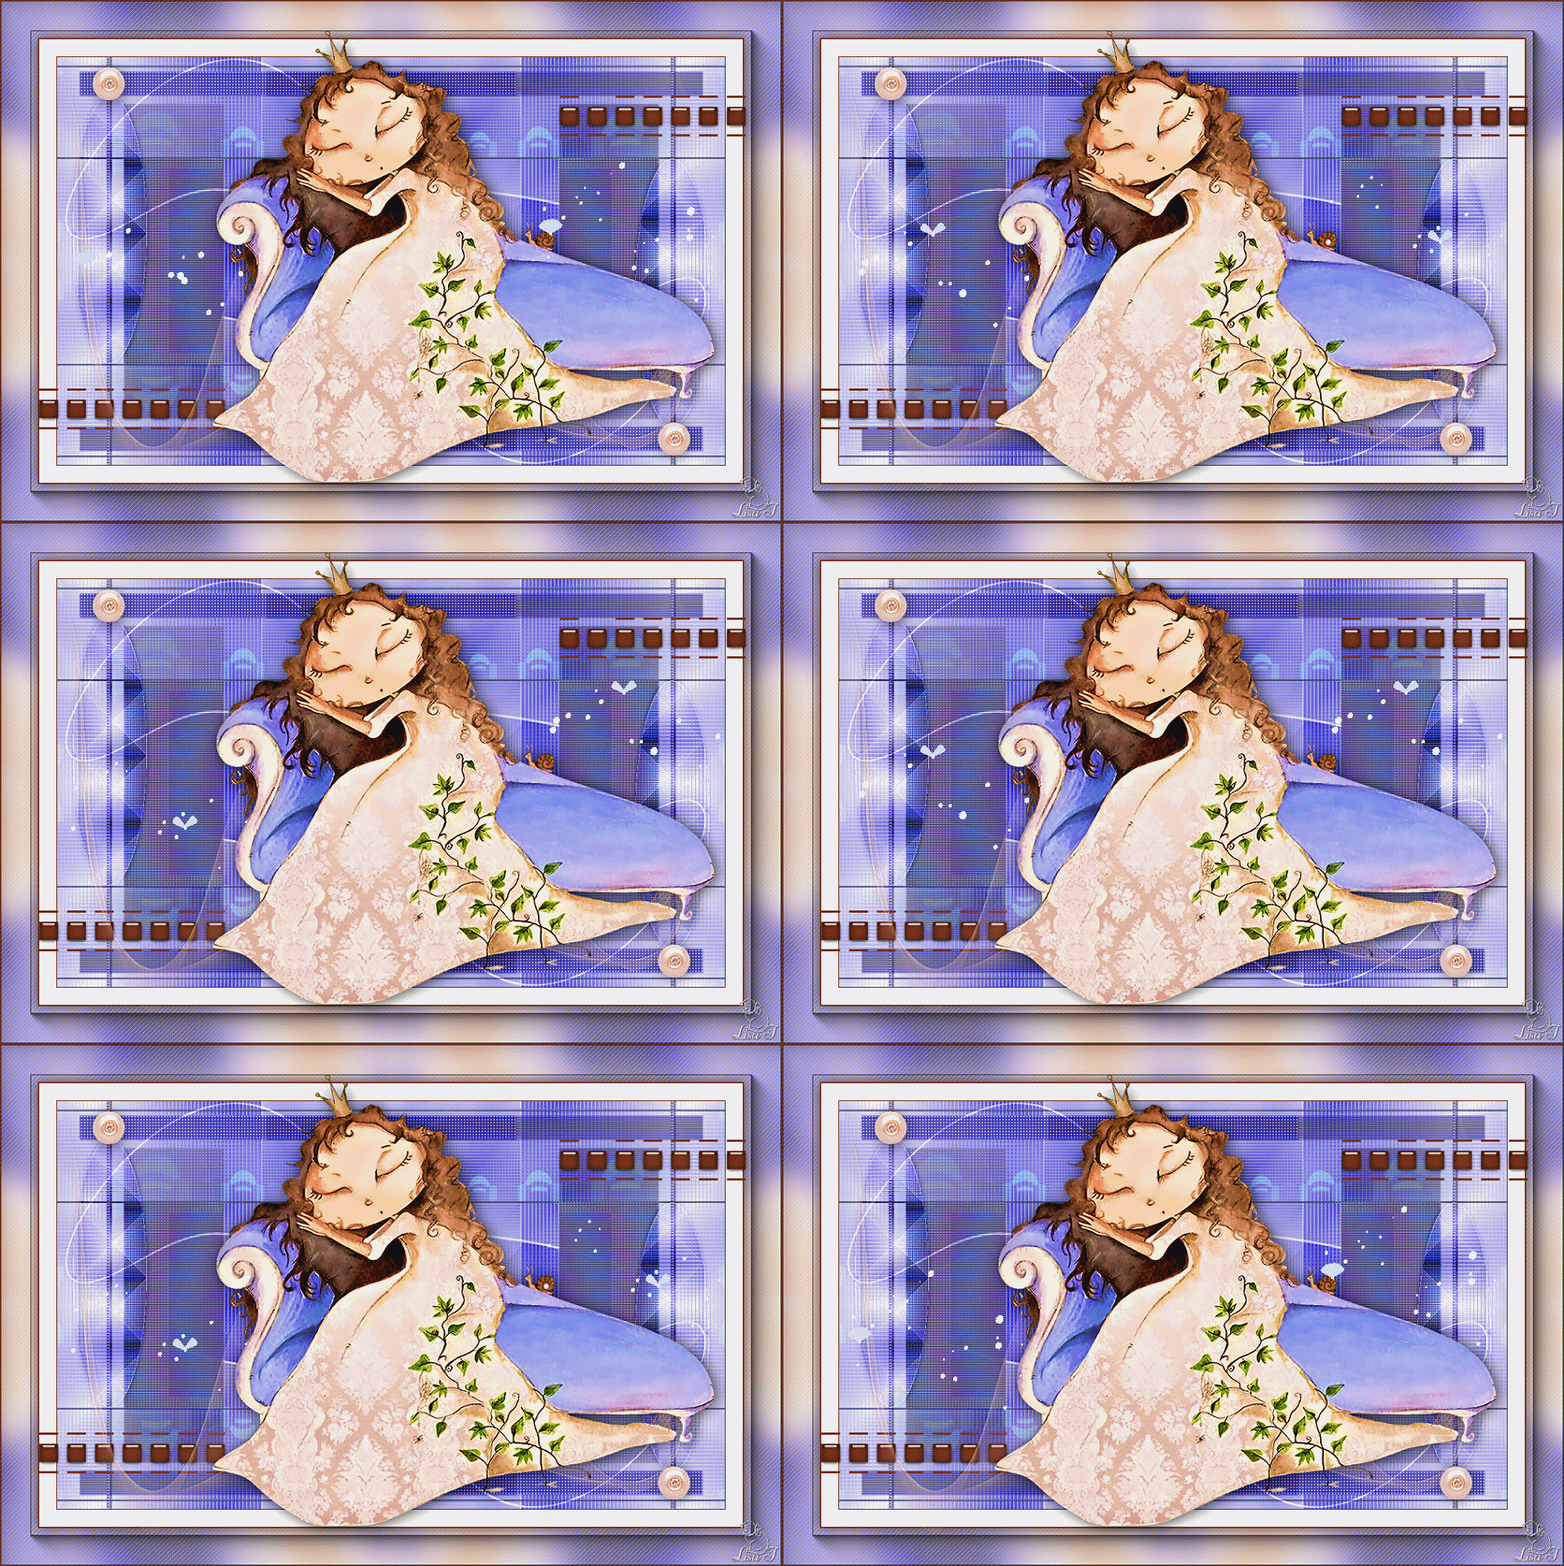
My tag with my tube
Gallery
created by ▼ Birte
Back to the board of Virginia’s tutorials


|