The harvest

The original tutorial can be found HERE

Conditions of use of the material provided
It is forbidden to modifiy, change the name, take off the watermarks or alter the tubes.
It is forbidden to share them in groups or offer them on your site, blog or forum.
If you want to use them to create a tutorial, you must ask the permission to the authors.

Material
1 color palette ---> open it into PSP
2 Selections ---> place them into the folder « selections » of Corel PSP
1 Preset ---> place it into the folder « presets » of Corel PSP
1 Image
3 Tubes

open the tubes, duplicate them and close the originals. Work with the copies
character tube : Lize (Lize's Tubes)
« grape corner » received in a sharing group
texte by Tine
image found on « Pinterest »
Thank you to the tubers

Filters Used
- Mehdi / Wavy Lab 1.1 & Sorting Tiles -
- AAA Frames / Transparent Frame -


translator’s note
I used PSPX9 to create my tag and write my translation
but this tutorial can be realized with another version
according to the version of PSP you use, the results might be slightly differents
don’t hesitate to change the blend modes of the layers according to your tubes and colors
Colors

color 1 --> foreground color --> FG --> left click
color 2 --> background color --> BG --> right click
in the materials palette, prepare a linear gradient
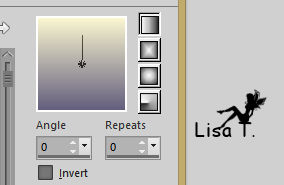

Use the pencil to follow the steps
hod down left click to grab it and move it


Realization
1
open a new transparent image 900 * 500 pixels
flood fill with the gradient
open the image « vendanges » and minimize it to tray (it will be used as a mask in step 2)
2
layers -> new mask layer -> from image

layers -> merge -> merge all (flatten)
effects - user defined filter -> « relief_Tine »

3
layers -> duplicate
effects -> plugins -> Mehdi / Wavy Lab 1.1
layers -> duplicate
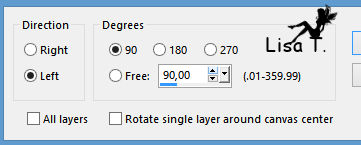
image -> free rotate -> left
4
effects -> plugins -> Mehdi / Sorting Tiles
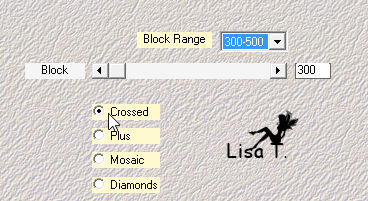
effects -> image effects -> seamless tiling

effects -> edge effects -> enhance more
effects -> plugins -> Unlimited 2 -> Simple / Diamonds
layers -> merge -> merge down
5
selections -> laod-save selection -> from disk -> « vendanges-1_tine »

selections -> promote selection to layer
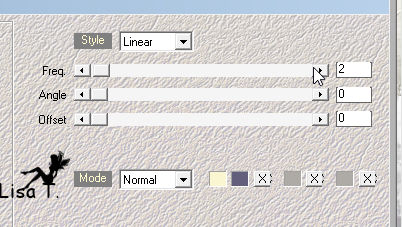
effects -> texture effects -> weave -> colors 1 and 2
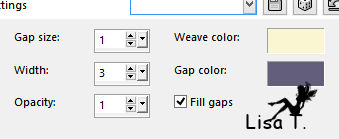
selections -> select none
effects -> plugins -> Unlimited 2 -> Sapphire Filters 09 / SapphirePlugin_0801
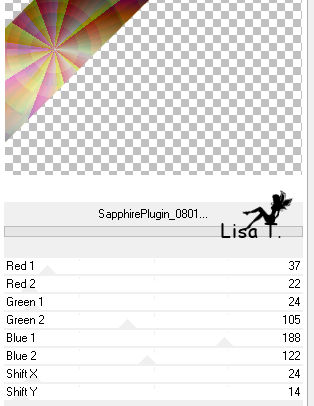
layers -> merge -> merge down
6
selections -> laod-save selection -> from disk -> « vendanges-2_tine »
selections -> promote selection to layer
effects -> texture effects -> blinds -> color 1

selections -> select none
effects -> plugins -> Unlimited 2 -> Sapphire Filters 09 / SapphirePlugin_0801 (as before)
layers -> merge -> merge down
7
effects -> plugins -> Unlimited 2 -> VM Instant Art / Tripolis
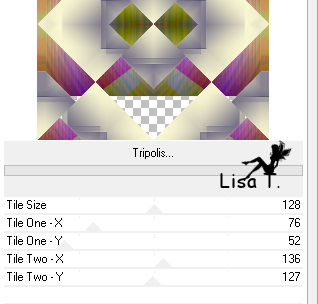
adjust -> sharpness -> sharpen more
blend mode of the layer : overlay - opacity : 62%
layers -> merge -> merge all (flatten)
8
edit -> copy
image -> add borders -> check « symmetric » -> ...
1 pixel color 1
4 pixels color 2
2 pixels color 1
selections -> select all
image -> add borders -> check « symmetric » -> 25 pixels white
9
selections -> invert
edit -> paste into selection
adjust -> blur -> motion blur -> angle : 50 / strength : 100
effects -> edge effects -> enhance more
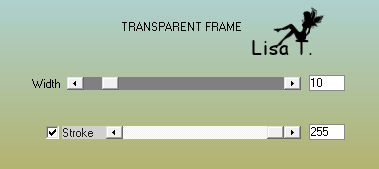
effects -> plugins -> AAA Frames / Transparent Frame
selections -> select none
10
select black border with the magic wand tool
in the materials palette, set color 1 as FG color
flood fill selection with color 1
selections -> select none
11
copy / paste as new layer « Lize-Enaidsworld-063 »
effects -> image effects -> offset

effects -> 3D effects -> drop shadow -> 4 / 8 / 80 / 32,83 / black
12
copy / paste as new layer « coin_raisin »
effects -> image effects -> offset -> 316 / 147
copy / paste as new layer the text tube and place it where you like
layers -> merge -> merge all (flatten)

Your tag is finished.
Thank you for following this tutorial
Don’t forget to sign (to avoid plagiarism) and save file as… type JPEG

Don’t hesitate to send your creations to Tine

It will be a real pleasure for her to show them in the gallery at the bottom of the tutorial page
Don’t forget to indicate her your name and the adress of your blog or site if you have one

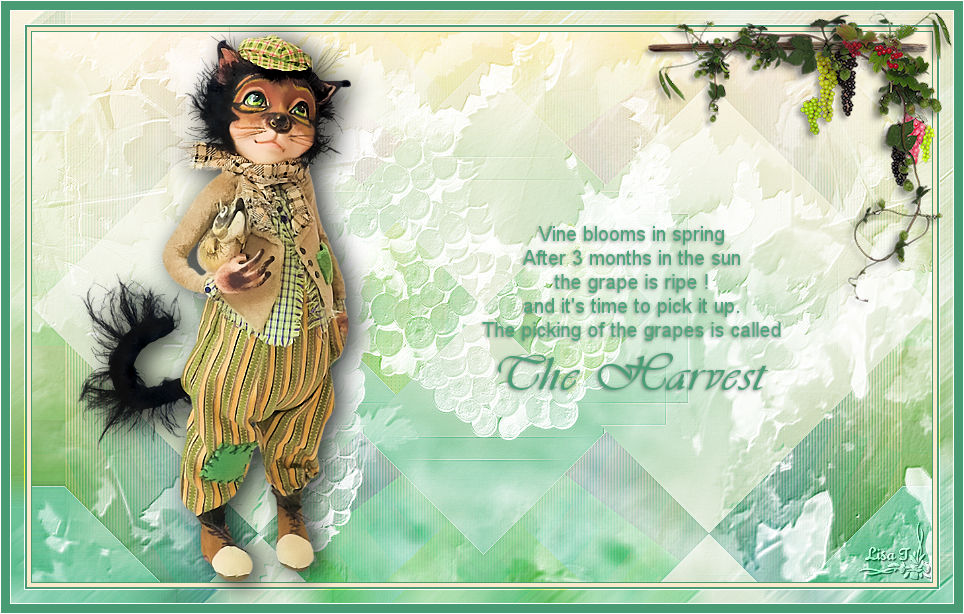
My tag with my tube

If you want to receive Tine’s Newsletter, sign up ...


Back to the boards of Tine’s tutorials
Board 1  Board 2 Board 2  board 3 board 3 

|