Life is Beautiful
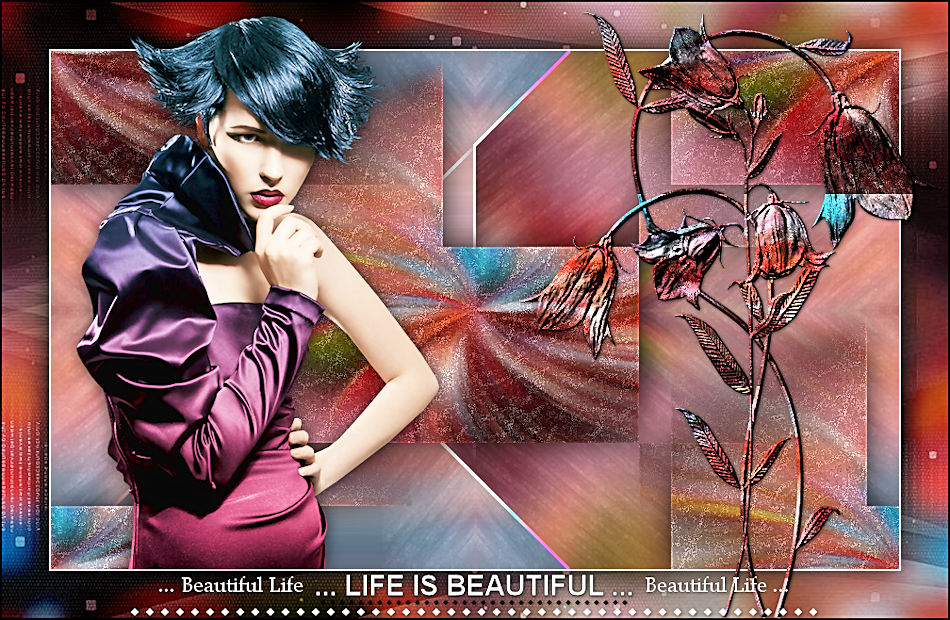
The original tutorial can be found HERE
Conditions of use of the material provided
It is forbidden to modifiy, change the name, take off the watermarks or alter the tubes.
It is forbidden to share them in groups or offer them on your site, blog or forum.
If you want to use them to create a tutorial, you must ask the permission to the authors.

Material
3 Tubes
1 background Image
1 Mask
1 Alpha layer

open the tubes, duplicate them and close the originals. Work with the copies
open the alpha layer, duplicate it and work with the coppy
open the mask and minimize it to tray
Tine created the text – the woman tube is one of mine – the other tubes were received in sharing groups
Thank you to the tubers

Filters Used
Unlimited 2 / Papers Textures ---> Fibrous Paper, Coarse -
VM Experimental / Guess What ---> import in Unlimited -
Simple / Pizza Slice Mirror ---> import in Unlimited

I use PSPX8, but this tutorial can be realized with another version
don’t hesitate to change the blend modes and the opacites of the layers according to your own colors
save your work often

Use the pencil to follow the steps
left click to grab it


Realization
Step 1
open the alpha layer
this layer seems to be empty, but it contains selections (alpha channel) necessary to follow this tutorial
window > duplicate
work with the copy
Step 2
selections > select all
copy/paste into selection the background image
minimize the image to tray for a later use
Step 3
effects > image effects > seamless tiling > defautl settings
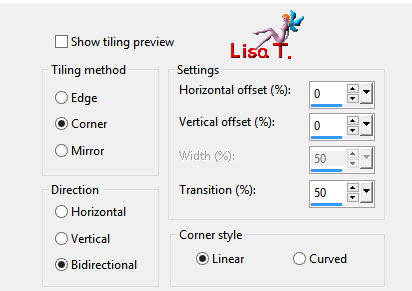
adjust > blur > rdial blur
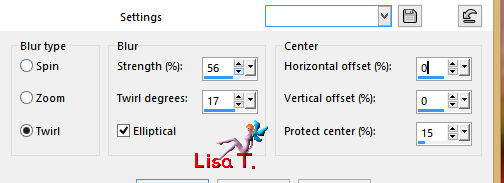
layer > duplicate
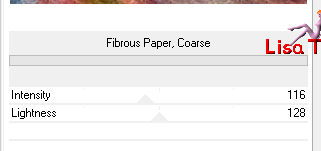
effects > plugins > Unlimited 2 > Paper Textures > Fibrous Paper/Coarse > 116 / 128
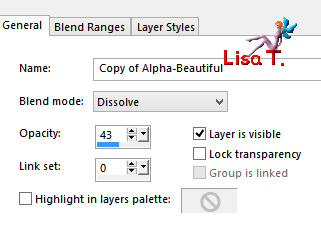
blend mode of the layer : dissolve / opacity : 43%
effects > edge effects > dilate
layers > merge > merge visible
Step 4
layers > duplicate
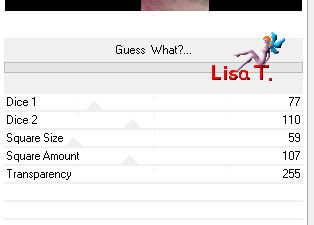
effects > plugins > Unlimited 2 > VM Experimental / Guess What ?
selections > load-save selection > from alpha channel > selection « Beautiful_Tine »
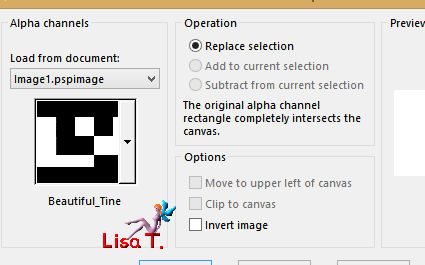
DELETE
selections > select none
Step 5
adjust > sharpness > sharpen more
effects > image effects > seamless tiling > default settings
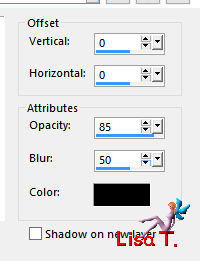
effects > 3D effects > drop shadow
activate the bottom layer (Merged)
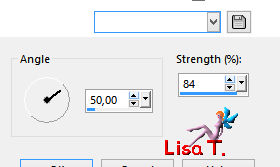
adjust > blur > motion blur > 50 / 84
effects > plugins > Simple > Pizza Slice Mirror
effects > edge effects > enhance
effects > edge effects > dilate
Step 6
image > add borders > 2 pixels white > check « symmetric »
selections > select all
image > add borders > 50 pixels black
selections > invert
Step 7
keep the selection active
activate the image set aside in step 2
effects > image effects > seamless tiling > default settings
edit > copy
back to your work
edit > paste into selection
adjust > blur > gaussian blur > 18
selections > invert
effects > 3D effects > drop shadow > 0 / 0 / 85 / 50 / black
Step 8
selections > invert
activate the mask > edit > copy
back to your work – edit > paste into selection
layers > properties > blend mode : overlay
adjust > sharpness > high pass sharpen

selections > select none
Step 9
activate the botoom layer (Raster 1)
selection tool > custom selection
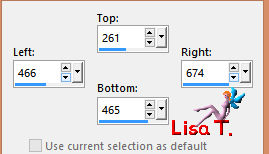
edit > copy > paste as new image
save this image type jpeg into the folder « patterns » in your PSP Files
rename it to easily find it afterwards (Tine chose « Beautiful_Tine »)
answer « Yes » in the opening window
selections > select none
Step 10
activate the top layer (Raster 2)
copy/paste as new layer the flowers tube
effects > image effects > offset > 270 / -10 > check « custom » and « transparent »
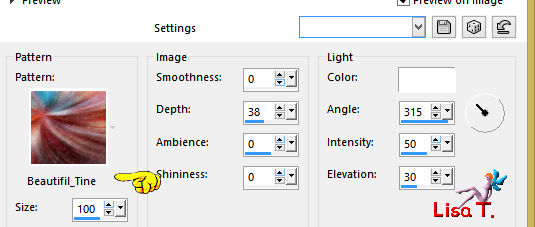
effects > texture effects > sculpture
find the pattern you saved in step 9
effects > 3D effects > drop shadow > 1 / 1 / 50 / 5 / black
Step 11
copy/paste as new layer the woman tube (don’t forget to erase the watermark)
effects > image effects > offset > -230 / 18 > check « custom » and « transparent »
effects > 3D effects > drop shadow > 1 / 1 / 63 / 23,19 / black
copy/paste as new layer the texty tube
move it where you like
image > add borders > 2 pixels white

Your tag is finished.
Thank you for following this tutorial
Don’t forget to sign (to avoid plagiarism) and save file as… type JPEG

Don’t hesitate to send your creations to Tine

It will be her pleasure to show them in the gallery at the bottom of the tutorial page
Don’t forget to indicate her your name and the adress of your blog or site if you have one

If you want to receive Tine’s Newsletter, subscribe to her nesletter


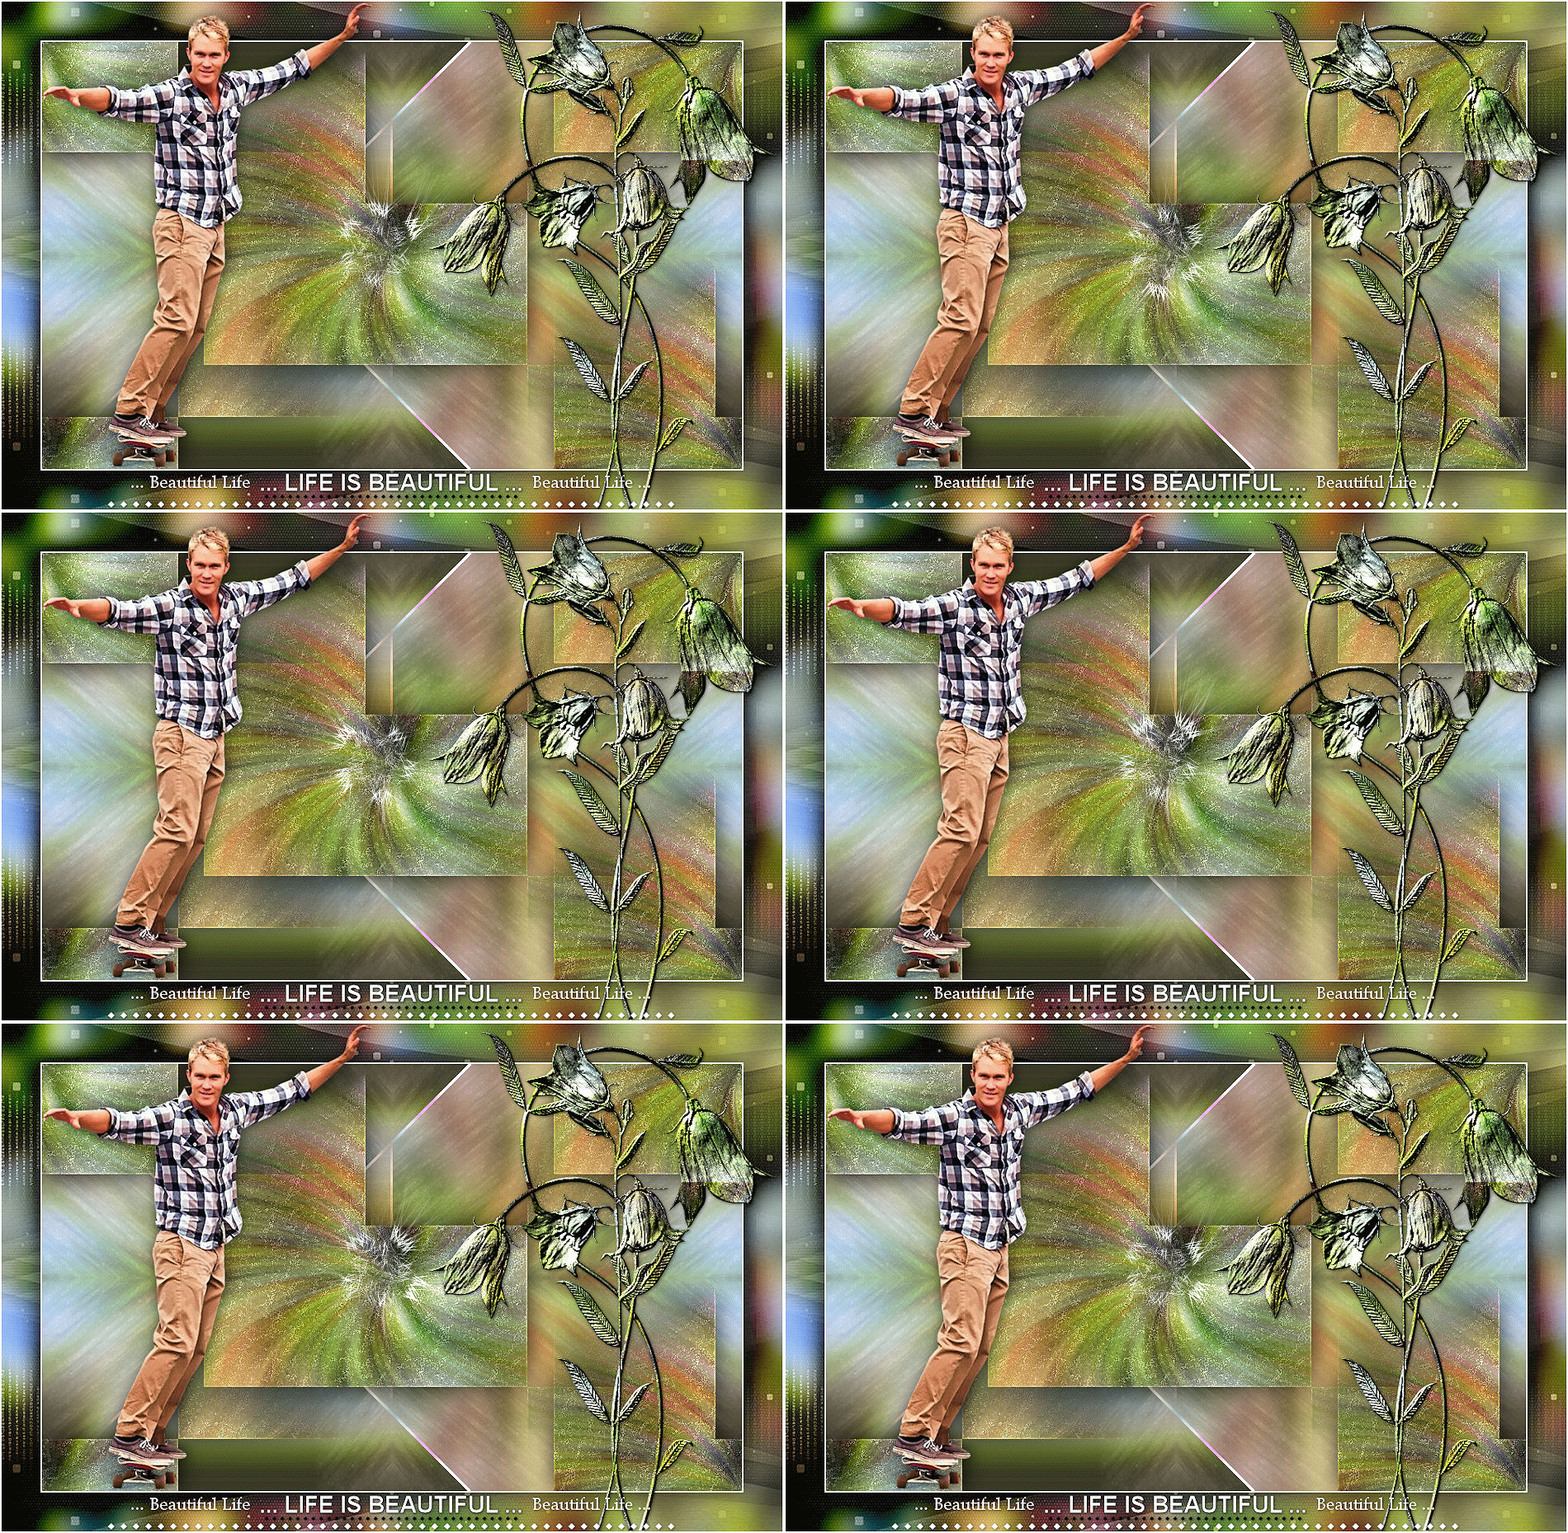
My tag with my tubes
Back to the boards of Tine’s tutorials
Board 2  Board 3 Board 3 

|