Corinne
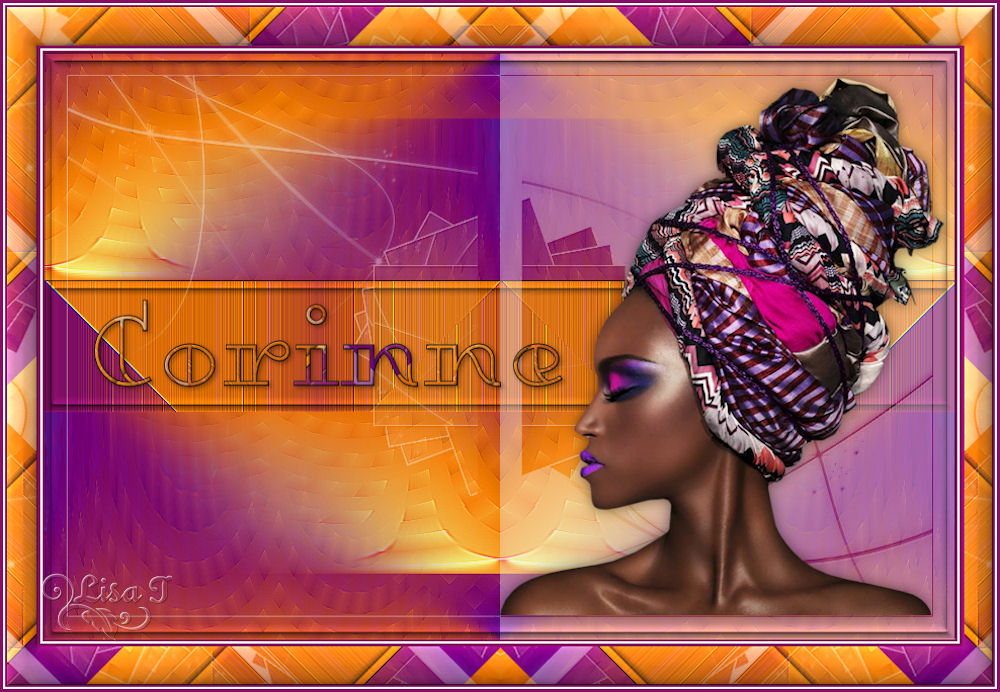 . .
The original tutorial can be found HERE
I am member of TWInc
This tutorial is protected


Conditions of use of the material provided
It is forbidden to modifiy, change the name, take off the watermarks or alter the tubes.
It is forbidden to share them in groups or offer them on your site, blog or forum.
If you want to use them to create a tutorial, you must ask the permission of the authors.

Material
1 color palette : open it with PSP
1 tube . Open it with PSP, duplicate it and close the original. Always work with the copy
1 preset Flexify 2. Import it in the plugin
1 tile. Open it, duplicate it and close the original
1 font and 1 alpha layer (selections)

the tube of the woman was created by Corinne Vicaire. (No link, private group)
Thank you to the tubers

Filters Used
Harry’s Power Grads
Mehdi Flaming Pear Flexify 2
VM Instant Art (import it in Unlimited 2)
Graphic Plus (import it in Unlimited 2)


Colors
color 1 -> foreground color -> #870f64 -> left click
color 2 -> background color -> #ffffff -> right click


Use the pencil to follow the steps
left click to grab it
 |

Realization
Step 1
file/open/ « corinne_alpha »
this layer contains a selection and a mask registered on the Alpha Channel
layers/duplicate (window/cuplicate or Shift + D)
close the original, and work with the copy
Step 2
activate the flood fill tool, paint the layer with color 2 (white)
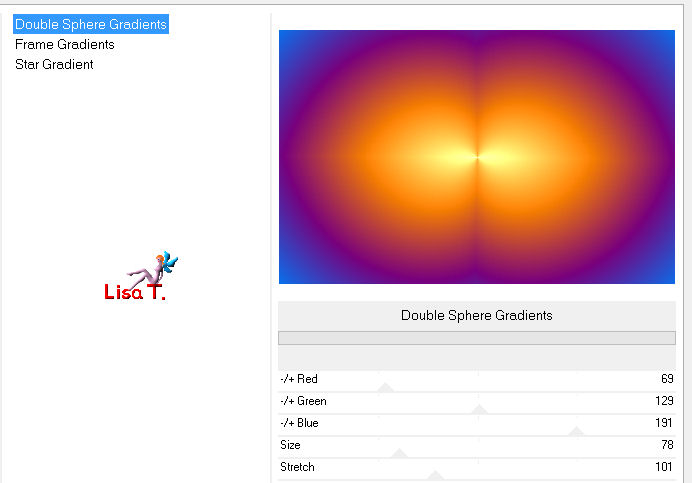
effects/plugins/Harry’s Power Grads / Double Sphere Gradients/ 69 / 129 / 191 / 78 / 101
effects/plugins/Mehdi/Sorting Tiles
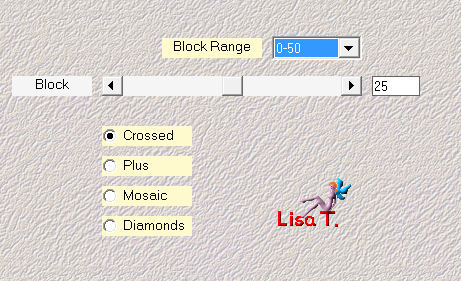
effects/edge effects/enhance
Step 3
layers/duplicate
effects/plugins/Flaming Pear/Flexify 2
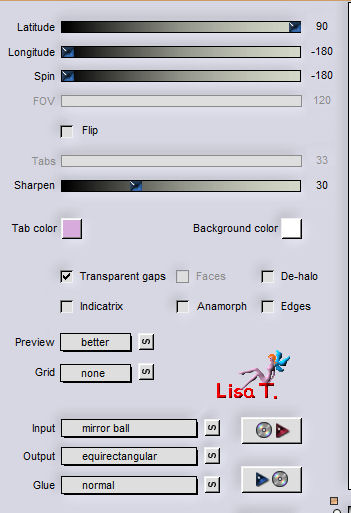
layers/merge/merge all (flatten)
Step 4
effets/image effects/seamless tiling/default settings
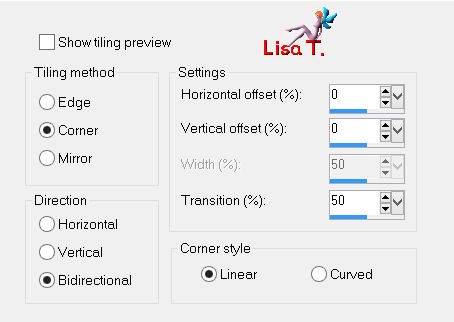
selections/load-save selection/from alpha channel/selection « tine_corinne »

selections/promote selection to layer
Step 5
effects/plugins/Unlimited 2/VM Instant Art/Tripolis/default settings/ 128 / 76 / 52 / 136 / 127
effects/edge effects/enhance more
effects/3D effects/inner bevel

selections/select none
Step 6
layers/new raster layer
flood fill tool/paint white (color 2)
layers/properties/opacity on 40%
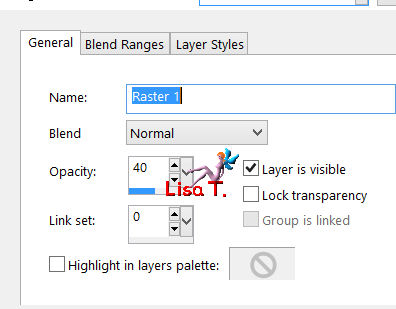
layers/load-save mask/from alpha channel/ « creation.tine_masque130 »

Step 7
image/mirror
effects/plugins/Unlimited 2/Graphic Plus/Emboss/ 0 / 0 / 0 / 0
layers/merge/merge all (flatten)
note of the author : it is not necessary to « merge group »
Step 8
selections/select all
effects/3D effects/inner bevel

selections/select none
Step 9
image/add borders/check « symmetric »
2 pixels color 1
2 pixels color 2
3 pixels color 1
Step 10
image/add borders/uncheck « symmetric »
top 38 / left 30 / right 30 / bottom 38 / color 2

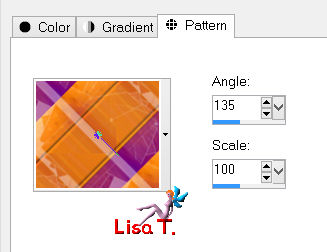
in the materials palette, set the tile (provided in the material) as pattern
angle 135 / scale 100
Step 11
activate th magic wand tool

and select the border
paint with the pattern
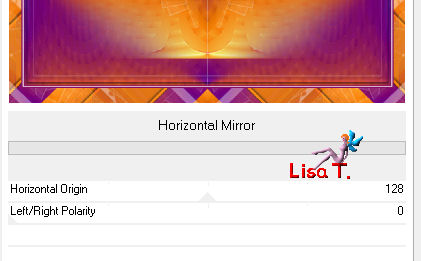
effects/plugins/Unlimited 2/Graphic Plus/Horizontal Mirror/ (128 - 0)
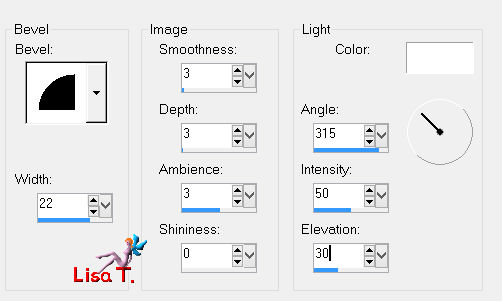
effects/3D effects/inner bevel
selections/select none
Step 12
image/add borders/check « symmetric »
2 pixels color 1
2 pixels color 2
3 pixels color 1
« trick » of the author
at this step, I duplicated the layer for my second version
and I used « gamma correction » (Shift + G)
settings : « Sarcelle flamboyant » twice
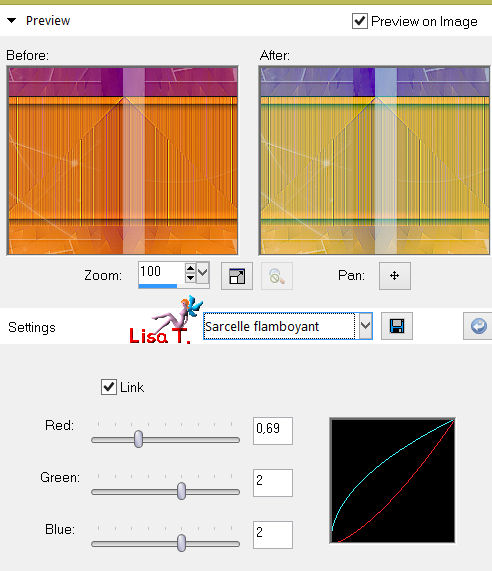
I used the same effect for the text of the second version
you can also uncheck la box « link » and play with the cursors one by one
Step 13
activate the tube « corinne vicaire - femme 045-2014 »
edit/copy - back to your work - edit/paste as new layer
image/mirror
effects/image effects/offset

effects/3D effects/drop shadow/ 0 / 0 / 50 / 20 / black
Step 14
activate the text tool, font « dagerotypos » (provided), size 200, stroke width 1, create as vector

write « Corinne » (or another text of your choice)
(note of the translator : set the tile as background, and black as foreground))
layers/convert to raster layer
move it where you like
Step 15
effects/3D effects/inner bevel

effects/3D effects/drop shadow/ 2 / 2 / 40 / 7 / black
layers/merge/merge all (flatten)

Your tag is now finished.
Thank you to have realized it
Don’t forget to sign and save file as… type JPEG

Don’t hesitate to send your creations to Tine


It will be her pleasure to show them in the gallery at the bottom of the tutorial page
Don’t forget to indicate her your name and the adress of your blog or site if you have one

If you want to receive Tine’s Newsletter, don’t hesitate to subscribe


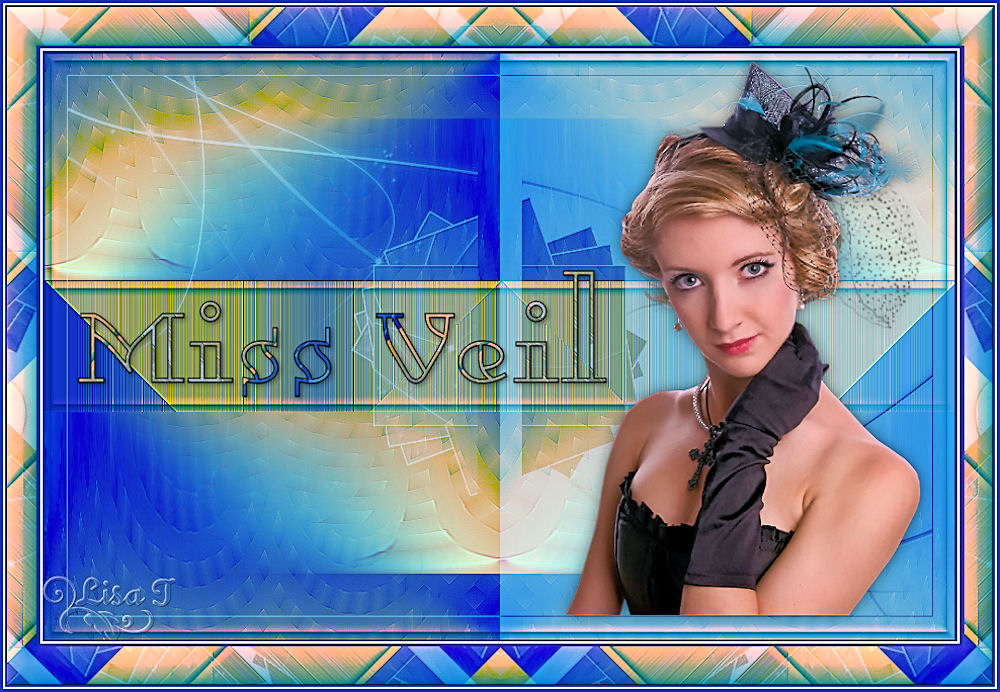
my tag with my tubes
Back to the boards of Tine’s tutorials
Board 1  Board 2 Board 2 

|