Signorina
I'm member of Tutorial Writers Inc

The original tutorial can be found Here

Material
(tubes, selections, raster deform presets, eye candy 5 preset, mask 20/20)
The selections and the mask must be recorded in the corresponding files of "My Psp Files"
raster Deform presets must be recorded in the file “default parameters” of PSP
Double click on the Eye Candy preset and it will be recorded in the good file (extrude)

Thank you to the tubers : Luna – T. Reagen – Yvonne
Filters used
Unlimited 2 – Toadies – AP01 Innovations – Eye Candy 5 IMpact –
BKG Kaleidoscope – Kiwi Oelfilter – Unplugged X (Vanderlee)
Colors palette

Use the paintbrush to follow the lines
Grab it with the left click of your mouse

|
Realization
prepare a radial gradient with the two main colors of your tube
set the dark color as foreground color and the light color as background
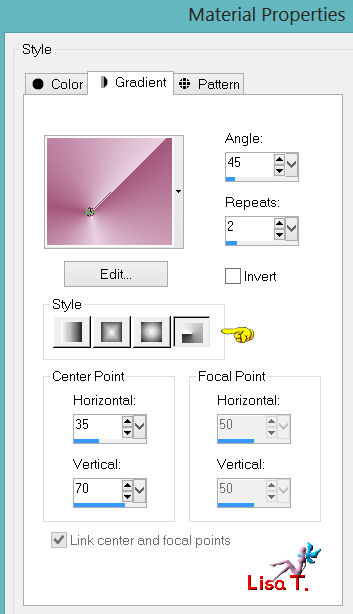
open a new transparent raster background, 900 X 600 and paint with the gradient
layers/duplicate – image/mirror – image/flip
in the layers palette, lower the opacity to 50% and merge down
effects/edge effects/enhance
layers/duplicate – image/mirror
in the layers palette, set the opacity to 50%,
and set the blend mode to “multiply” or other according to your colors
layers/merge/merge visible

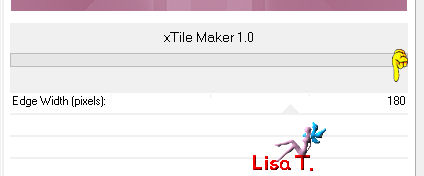
effects/plugins/BKG Kaleidoscope/X Tile Maker
effects/plugins/Unlimited2/Tile & Mirror/XY offset 50% (negative)
layers/duplicate
image/resize/85%/disable “resize all layers”
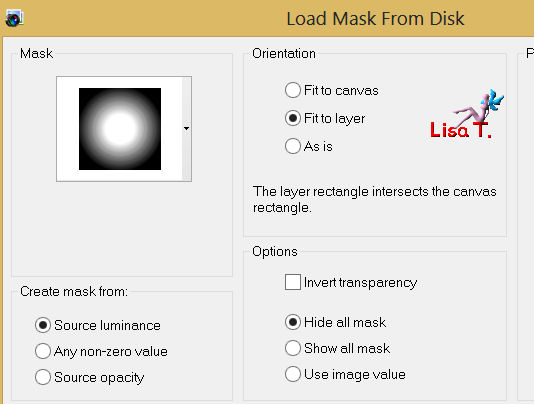
layers/load-save mask/load mask from disk/mask 20/20
layers/merge/merge group
in the layers palette, set the blend mode of this layer to “soft light”, opacity : 100%
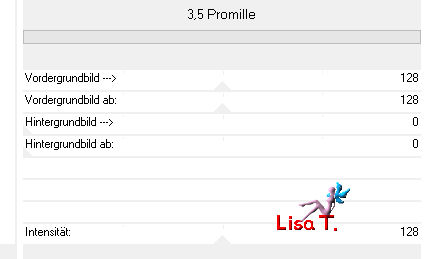
effects/plugins/Kiwi Oelfilter/”promille 3,5”, default settings
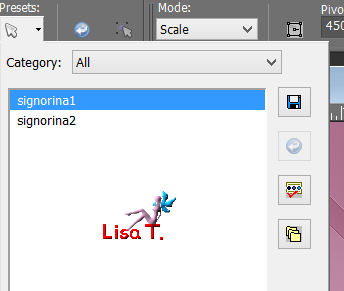
activate de the Pick tool, mode : scale
open the file of your default parameters and select the preset “signorina1”
(if you work with PSP9 or previous, the preset will not work
you must write the settings manually).
You will find these settings in the file “deformation presets” provided
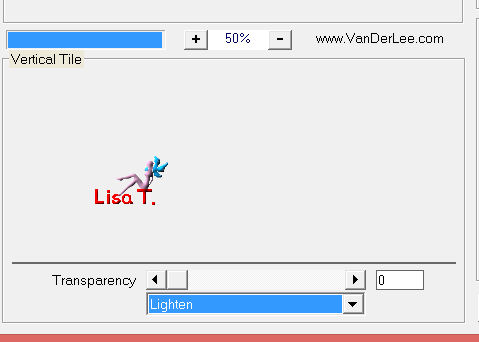
effects/plugins/Vanderlee/Unplugged X/Vertical Tile
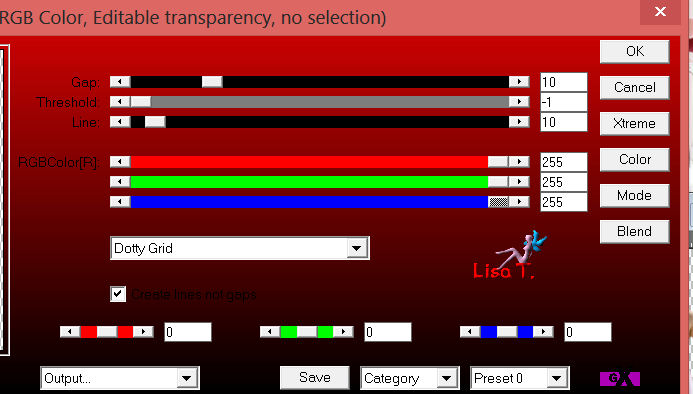
effects/plugins/AP01 Innovations/Lines Silverlining/Dotty Grid
effects/edge effects/enhance
layers/new raster layer
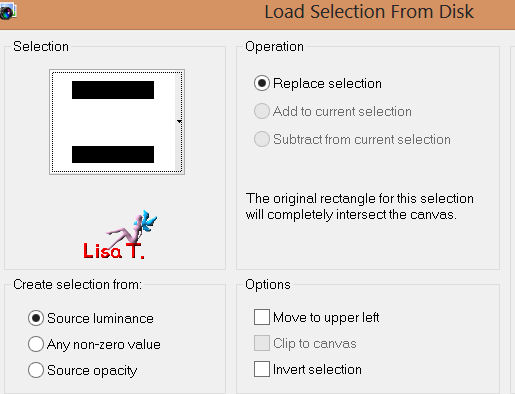
selections/load-save selection/load selection from disk/”Vivi325” and fill with the white color
selections/modify/contract/10 pixels
press the delete key of your keyboard and select none
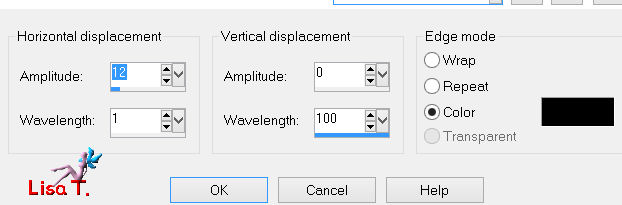
effects/distortion effects/wind/100% from right
effects/distortion effects/wind/100%/from left
effects/distortion effects/wave
layers/duplicate, and activate the layer underneath
pick tool effect/mode:scale/apply the preset “signorina2”
(if you work with PSP9 or previous, the preset will not work
you must write the settings manually).
You will find these settings in the file “deformation presets” provided
activate the upper layer
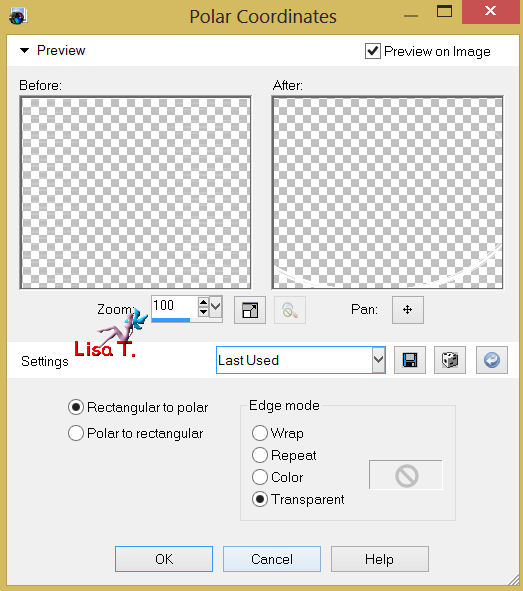
effects/distortion effects/polar coordinates
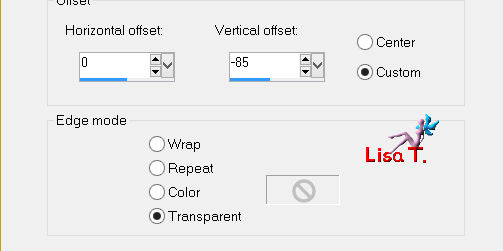
effects/image effects/offset
layers/duplicate – image/flip
layers/merge/merge down
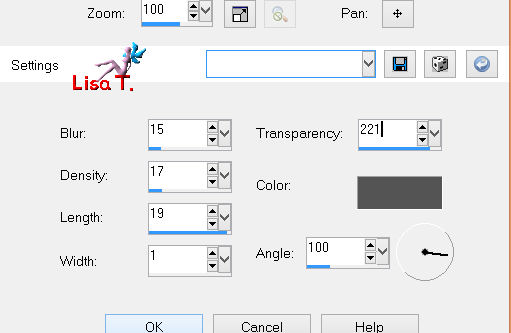
effects/plugins/Eye Candy 5 Impact/Extrude/preset “extrude signorina”
effects/plugins/AP01 Innovations/Lines Silverlining/Beaks in Fence
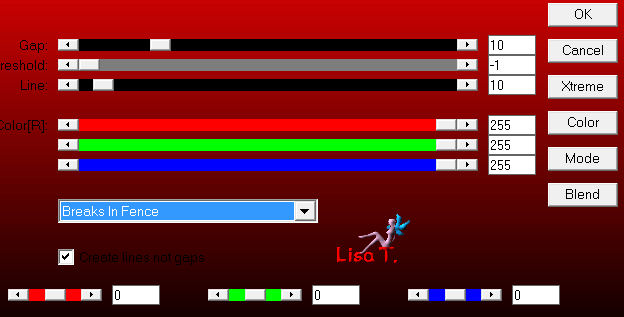
layers palette : set the blend mode to “screen” and the opacity between 25% and 35%
effects/3D effects/drop shadow : 0 / 0 / 50 / 10 / black
layers/new raster layer
selections/load-save selection/load selection from disk : “Vivi 326”
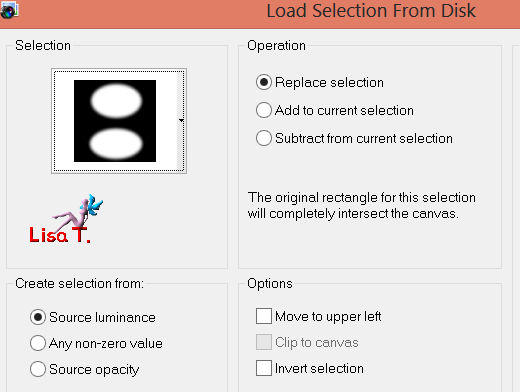
activate the misted flowers tube “Lunaflores425”, copy and paste into selection
selections/select none
activate the background layer
selections/load-save selection/load selection from disk/”Vivi327”
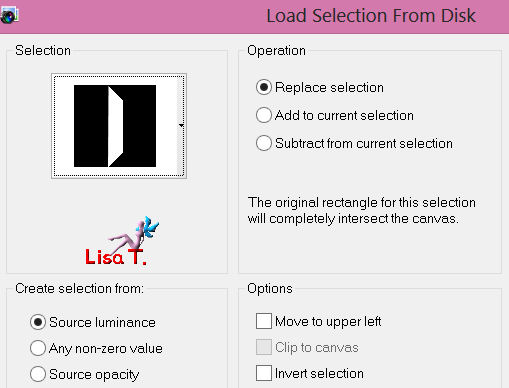
selections/promote selection to layer – selections/select none
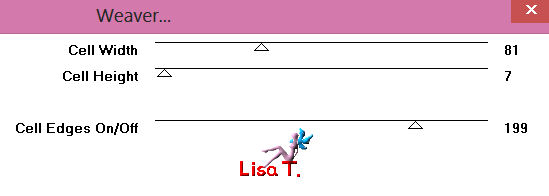
effects/plugins/Toadies/Weaver
layers/duplicate – image/mirror
layers/merge/merge down
in the layers palette, set the blend mode to “lighten” or “overlay”
(or other according to your colors and tubes)
and lower the opacity to 55%
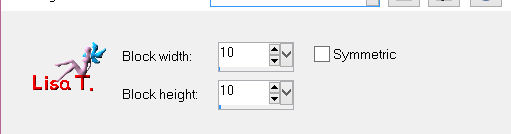
effects/distortion effects/pixelate
effects/edge effects/enhance
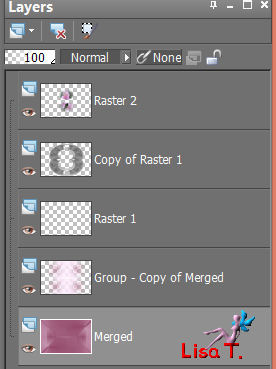
layers/merge/merge visible
activate the layer “deco Vivi”, copy and paste as a new layer
(colorize according to your tubes and colors)
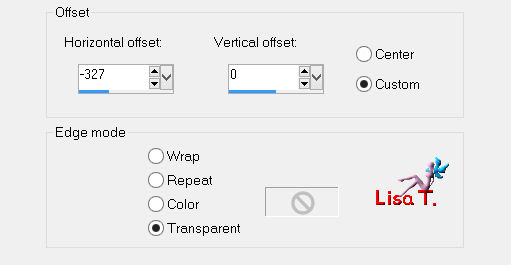
effects/image effects/offset
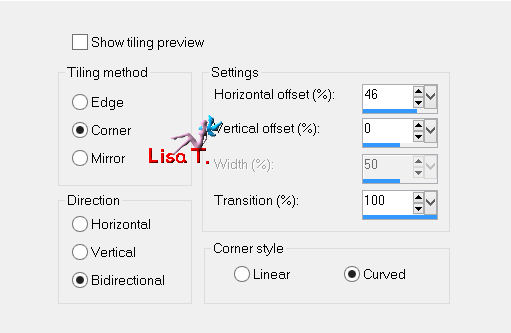
effects/image effects/seamless tiling
layers/merge/merge all (flatten)
image/add borders/2 pixels/light color
image/add borders/2 pixels/dark color
image/add borders/50 pixels/light color
activate the magic wand tool (default settings) and select that border
effects/texture effects/fine leather

effects/texture effects/straw wall
selections/invert
effects/3D effects/drop shadow : 0 / 0 / 100 / 35 / black and select none
image/add borders/2 pixels/dark color
image/add borders/30 pixels/white color
activate the magic wand (default settings) and select that border
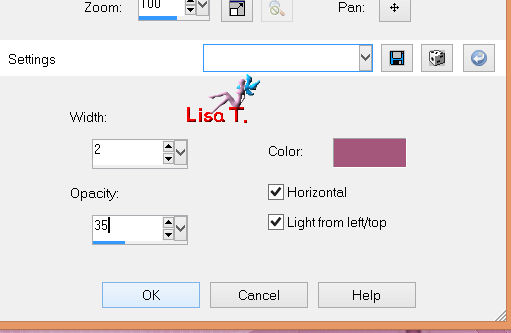
effects/texture effects/blinds/dark color
selections/invert
effects/3D effects/drop shadow : 0 / 0 / 100 / 35 / black and select none
activate the character tube “T.Reagen2923”, resize if necessary/mirror
copy and paste as a new layer
move it to the left (as shown)
adjust/sharpness/sharpen
drop the shadow you like
activate the tube “ypperfume signorina”, resize to 40%,
copy and paste as a new layer, and move it to the right (as shown)
drop the shadow you like
new layer for your signature
layers/merge/merge all (flatten)
image/add borders/2 pixels/dark color
resize if necessary, save as... type JPEG

Thank you to have realized this tutorial
You can send your creation to Vivi if you wish her to present it in the gallery
at the end of her tutorial
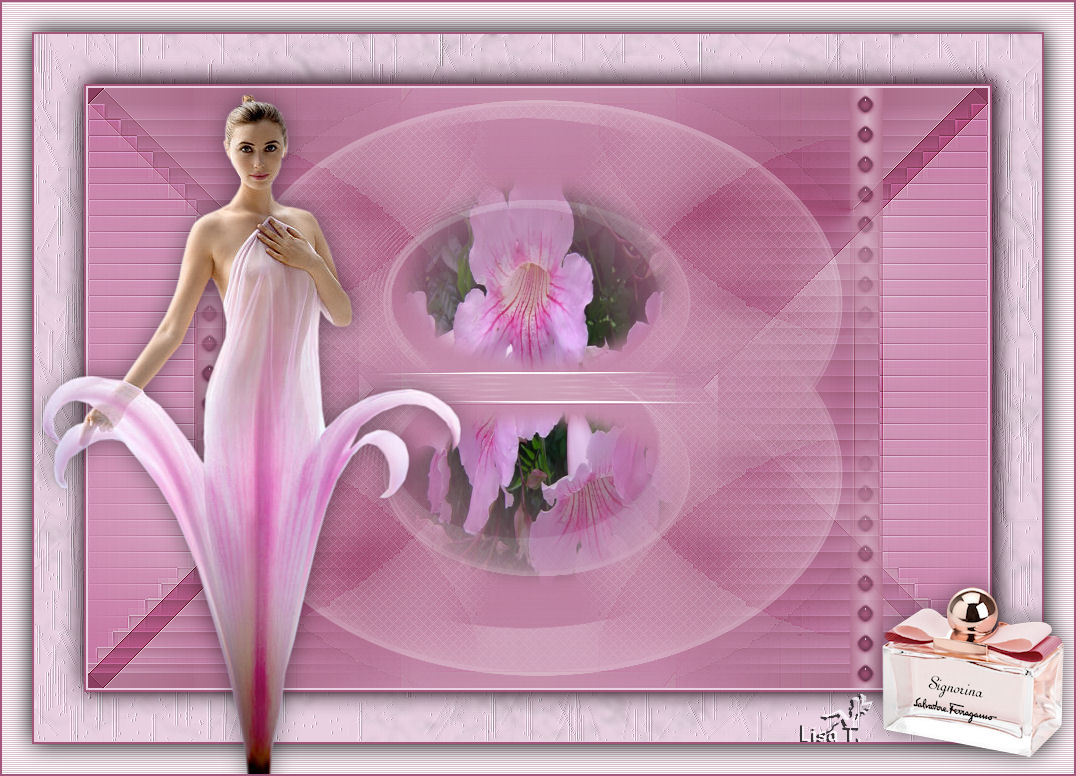
Here is my try with my tubes

Back to the boards of Vivi's tutorials
board 1  board 2 board 2

|