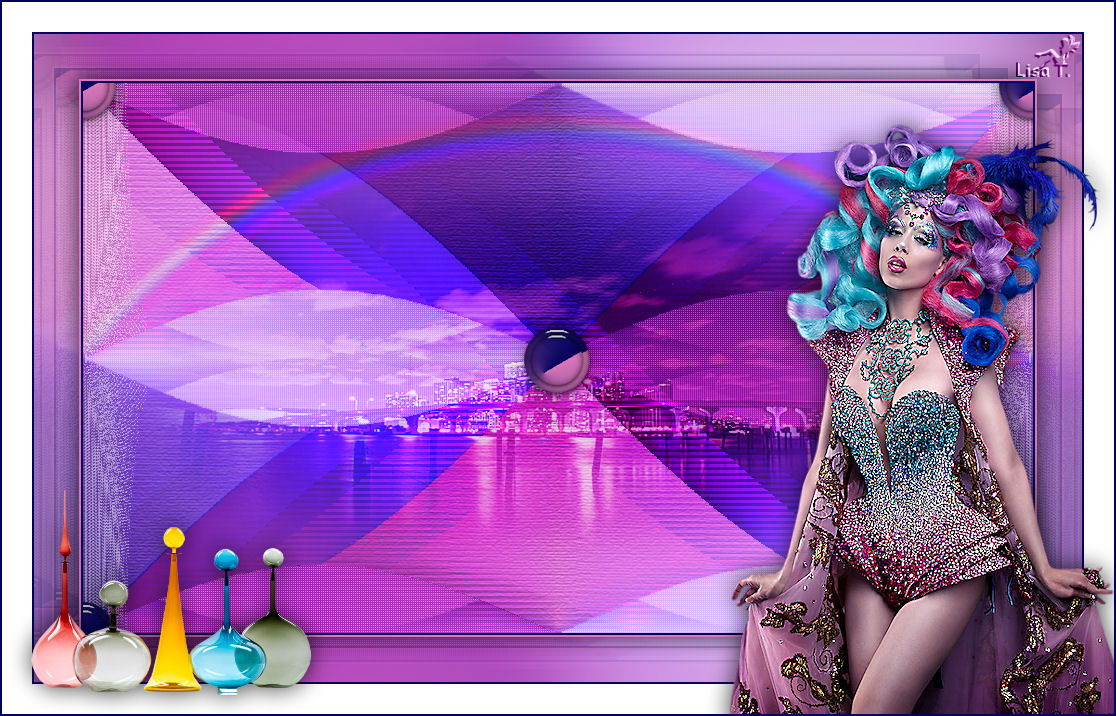
Rainbow
I'm member of Tutorial Writers Inc

original can be found Here

Material
1 layer alpha channel
tubes

Thank you to the tubers : Nicole – Thafs - StehtDream
Filters used
Textures (Texturizer)
VM Extravaganza
Mura's Seamless
VanDerLee/UnPlugged-X
DSB Flux
BKG Designers 10Sf III (provided, must be installed in Unlimited 2)
Penta.com
Eye Candy 5 Impact
Unlimited 2
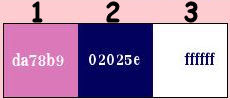
Colors palette
Use the paintbrush
to follow the steps
 |
Execution
Don't hesitate to change the colors, the blend mode of the layers
according to your tubes and colors

open the alpha layer "rainbow", window/duplicate, and close the original
we will work with the copy
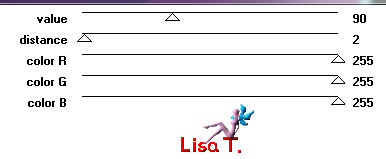
Prepare a radial gradient with 2 contrasting colors chosen in your main tube
(light color (1) as foreground and dark color (2) as background)
use the following settings
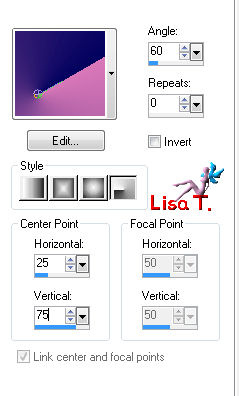
paint the layer with the gradient
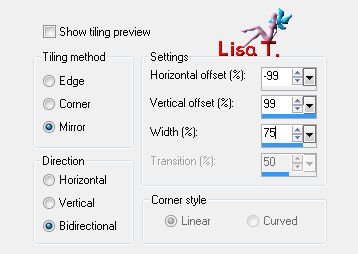
effects/plugins/Mura's Seamless/Shift at Wave
effects/image effects/seamless tiling
layers/duplicate – image/mirror
in the layyers palette, set the blend mode on Luminance or Luminance (Legacy)
layers/merge/merge down
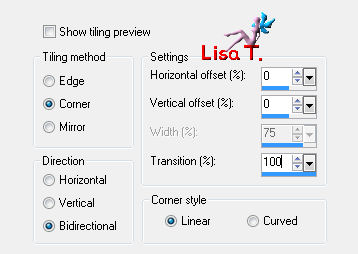
effects/image effects/seamless tiling
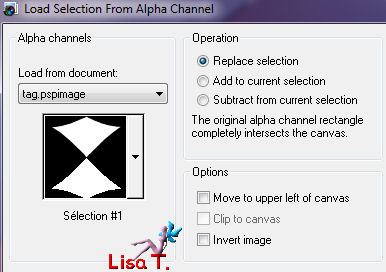
selections/load selection from alpha channel : selection 1
selections/promote selection to layer
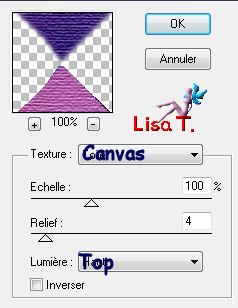
effects/plugins/Texture/Texturizer – selections/select none
effects/3D effects/drop shadow : 0 / 0 / 35 / 35 / black
effects/image effects as before
in the layers palette, set the opacity on 50%
activate the layer underneath (raster 1, the background)
selections/load selection from alpha channel : selection 2

selection/promote selection to layer
effects/plugins/Penta.Com/Color Dot
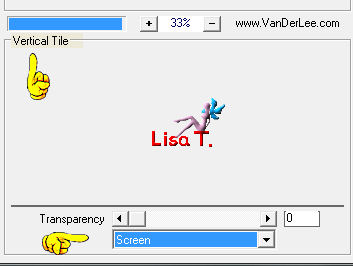
effects/plugins/VanDerLee/UnPlugged-X/Vertical Tile
selections/select none
effects/3D effects/drop shadow as before
effects/image effects/seamless tiling as before (still in memory)
in the layers palette, set the blend mode on "screen" and the opacity between 80 and 85%
activate the background layer and duplicate it
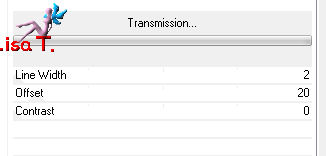
effects/plugins/VM Extravaganza/Transmission
in the layers palette, set the blend mode on "dodge" (or other) and the opacity on 75%
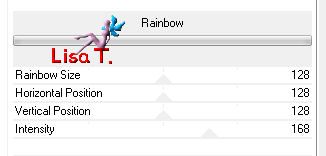
effects/plugins/Unlimited 2/special effects 2/"Rainbow"
layers/new raster layer
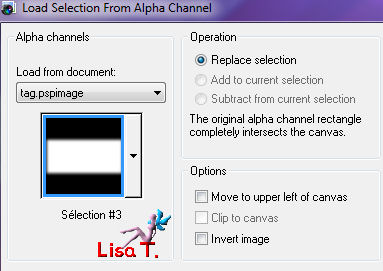
selections/load selection from alpha channel : selection 3
activate the tube "Stéphydream2013.41"
copy and paste into selection
selections/select none
in the layers palette, set the blend mode on "soft light"and the opacity on 100%
adjust/sharpness/sharpen more
layers/duplicate
layers/arrange/bring to top (lower the opacity if necessary)
layers/merge/merge all
layers/new raster layer
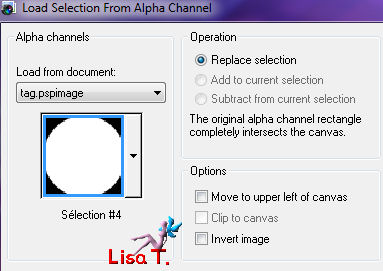
selections/load selection from alpha channel : selection 4
paint with the radial gradient you prepared at the begining
effects/plugins/Eye Candy 5 IMpact/Glass : choose the preset "Clear"*selections/select none
layers/duplicate
image/resize : 80% (disable "resize all layers")
layers/merge/merge down
effects/3D effects/drop shadow as before
effects/image effects/seamless tiling as before
layers/new raster layer
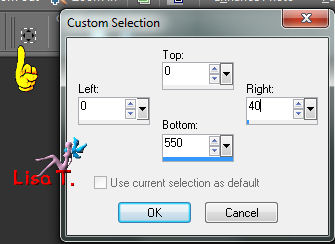
selction tool/rectangle/custom selection
in the materials palette, set color white as foreground and paint the selection
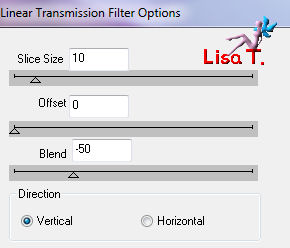
effects/plugins/DSB Flux/Linear Transmission
selections/select none
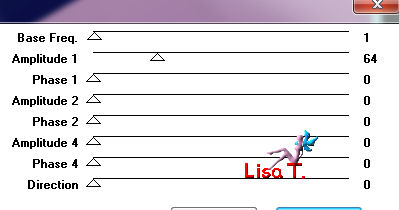
effects/distortion effects/ripple

selections/load selection from alpha channel : selection 2
press the delete key of your keyboard and select none
layers/duplicate – image/mirror – layers/merge/merge down
in the layers palette, set the opacity on 50%
layers/arrange/move down
layers/merge/merge all (flatten)
image/add borders/2 pixels/color 2
iamge/add borders/2 pixels/color 1
selections/select all
image/add borders/45 pixels/color 2
edit/copy – selections/invert
edit/paste into selection
adjust/blur/gaussian blur : 25
effects/plugins/BKG Designers 10 Sf III/SE Shiver
selections/invert
effects/3D effects/drop shadow : 0 / 0 / 75 / 35 / black, and select none
image/add borders/2 pixels/color 2
iamge/add borders/30 pixels/white
activate the tube "miss Swarovsky", resize it : 75%
copy and paste as a new layer
move it to the right (or left, as you like)
adjust/sharpness/sharpen
effects/3D effects/drop shadow (as you prefer)
activate the tube "nicole-déco 10.2013", resize it
copy and paste as a new layer, and move it opposite the tube of the woman
apply the same shadow
new raster for your signature, and merge all.
image/add borders/2 pixels/color 2
resize if necessary, save as... type JPEG
thank you for completing it
you can send your creation to Vivi if you want

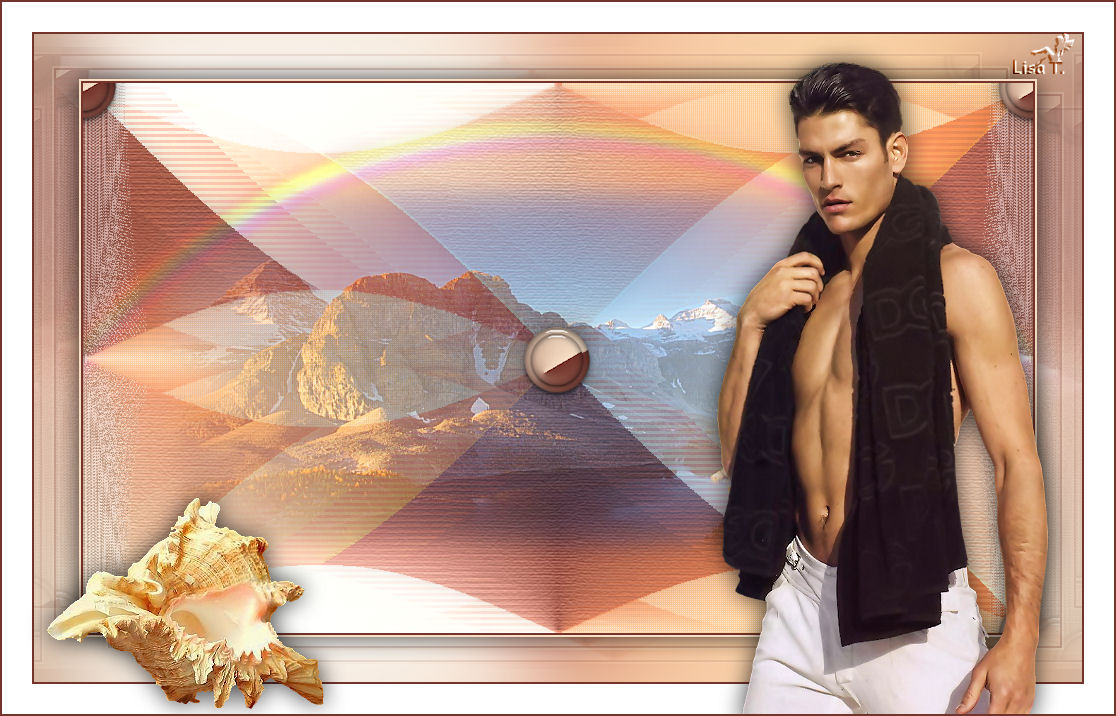
Here is my try with my tubes
Back to Vivi's boards of tutorials
board 1  board 2 board 2

|