

You will find the original tutorial here :

This tutorial is a personal creation.
Any resemblance with another one would be only pure coincidence.
It is stricly forbidden to modify tubes, to change their name or take off the matermarks,
To present them on your sites or blog,
To share them in groups,
to make a bank of images, or to use them on lucrative purposes.

Thank you to respect Nicole’s work and the tubers work.
Don’t hesitate to warn me if you have any trouble with this translation,
and I’ll try to fix the problem as quickly as I can

I translated this tutorial with Photoshop 2018
Some filters are not available with the CC versions of photoshop
you will have to work with PSP if you want to apply these filters
be careful ! the effects (fx) must be rasterized before sending to PSP
otherwise they will be removed from your creation
if you must "paste the layer effect " after rasterizing =>
return to the step where the effect was created to see the settings, and apply them manually again
Supplies
brushes
gradient
alpha layer with guides
decoration and Word Art
woman tube created by Colybrix HERE not provided

open the tubes, duplicate, close the originals, and work with the copies to preserve original files
if you are missing something, don't hesitate to ask Nicole. (eMail adress at the end of this translation)
to install brushes, gradients and styles => two ways to do it => ...
double-click on them and they will be installed automatically
OR (best method)
you go to : program files (x86) / Adobe / Photoshop(number of you version) / Presets
and you place your brushes/gradients/styles... into the dedicated folder
Plugins needed
Unlimited 2
AP Innovations 01
Simple
Use the pencil to mark your place
along the way
hold down left click to grab and move it
 |
Realization
1
in the tool bar, choose the gradient tool
find gradient 208 (it will also work with « Simple », see what you prefer)
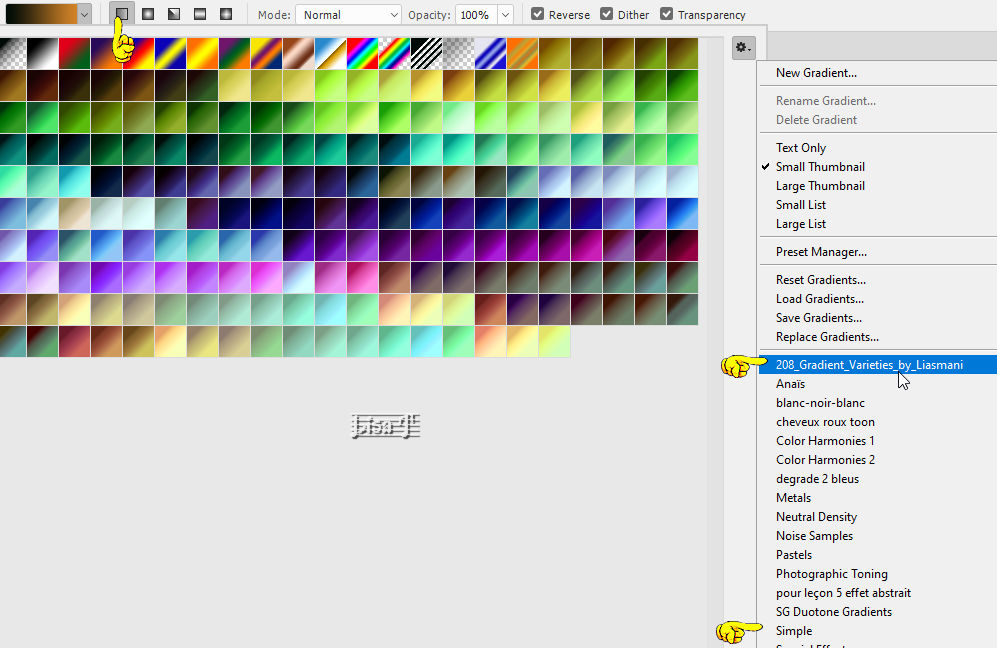
draw a linear gradient from left to right
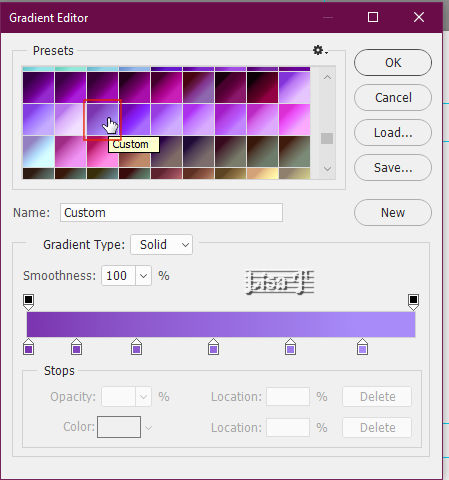
Nicole used gradient 208 and chose the one circled in red
filter => Unlimited 2 => Tile & Mirror => Radial Mirror
filter => sharpen / sharpen more
filter => Simple => Blintz
filter => Simple => Pizza Slice Mirror
filter => sharpen / sharpen more twice
2
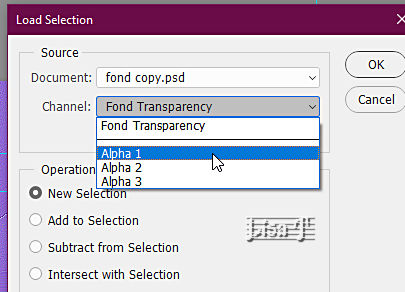
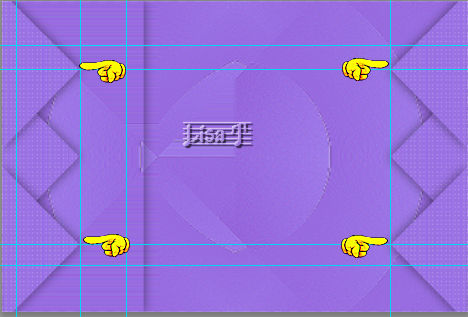
select => load selection / choose Alpha 1
layers => new layer (Ctrl + J)
layer style => outer glow
{ blend mode => normal
color => black
opacity => 25%
size => 20
technique : softer
anti-aliased unticked
range => 50%
jitter => 0 }
rename the layer « Rectangle » in the layers stack
highlight this layer
right click on it and copy layer style
3
highlight bottom layer again
select => load selection / Alpha 2
layers => new layer via copy (Ctrl + J)
rename this layer « Triangle »
highlight this layer => right click on it => paste layer style
filter => AP Lines => Lines Silverlining
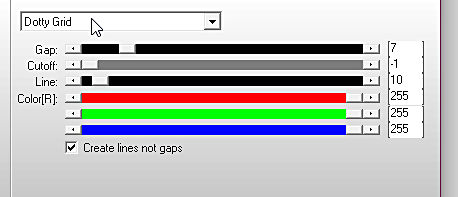
if you want to add black dots instead of white, set the three RGB values to 0 (in place of 255)
duplicate twice, and move the three layers as shown below
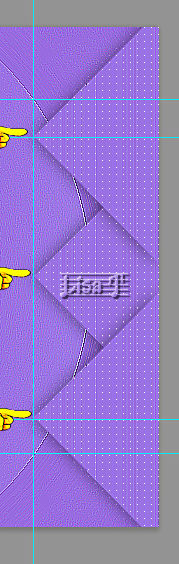
vertices of the triangles must coincide with the guides
merge the three triangles
place the « copy 2 » above the Rectangle layer in the stack
layers => duplicate
Ctrl + T => right click on your work => flip horizontal
place on the other side of the tag => use the guides to place properly
your tag must look like this
your layers palette must look like this

4
highlight bottom layer
select=> load selection / choose Alpha 3
layers => new layer (Ctrl + J)
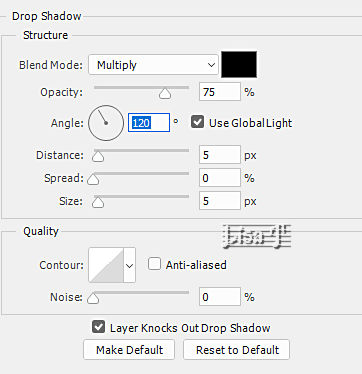
layers style (fx) => drop shadow / default settings
highlight Raster 1 => rename « Shape » / soft Light
layers => new layer (Ctrl + J)
enable the Brush tool / circle floral (Nicole chose the third tip) / opacity : 100% / size : 700 / white / Soft Light
5
open decoration « Dream 5 » => select all / copy
back to your work => paste
duplicate and move dowwn (see final result)
place the decorations using the guides
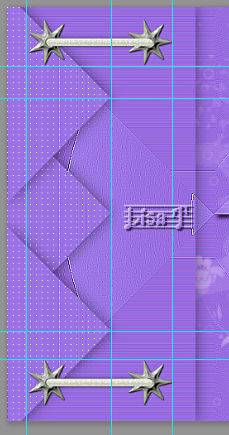
drop a shadow of your choice (Nicole chose default settings, distance and size => 2)
open the Word Art => select all / copy (don’t forget to erase the watermark)
back to your work => paste and place properly

add layer style => choose the « Deep Purple » provided
if you want to modify the colors according to your personal colors, click on « fx » / blending options
and change the colors of the settings one by one
open your character tube (don’t forget to erase the watermark)
select all / copy
back to your work => paste
if necessary, flip horizontal
in the layers palettes, right click and paste layer style (copied in step 2)
6
view => clear guides
before flattening, save your work type .psd (in case of problems)
layer => flatten image
apply a frame => Filter => Unlimited 2 => Buttons & Frames / Gradient Frame (26) size : 20 (TN => I asked 15)
of course, you can change the frame according to your likings
apply your watermark or signature
write your licence number if you used a licenced tube
save your work as... type .jpeg
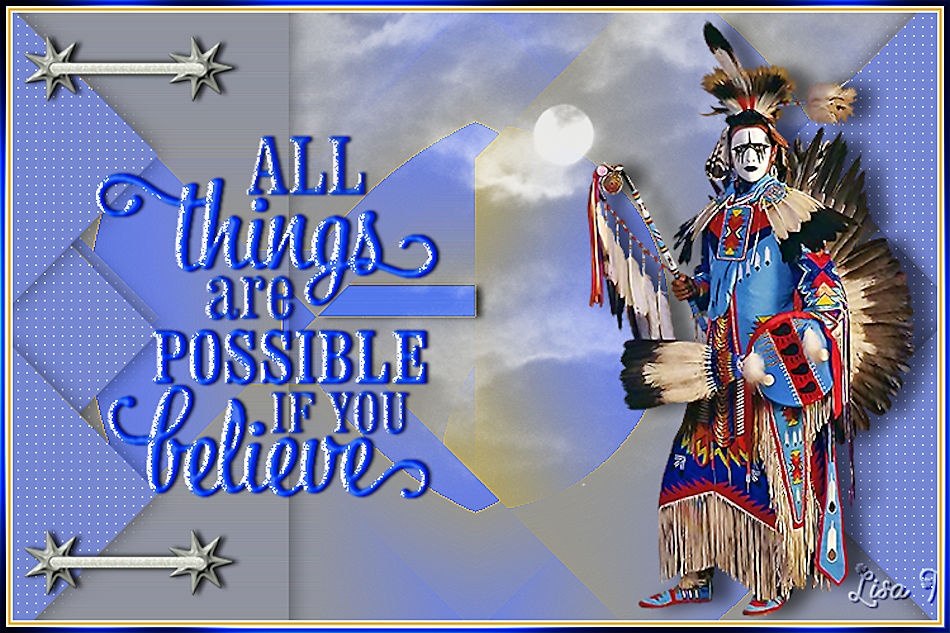
My tag with my tube
don’t hesitate to send your creations to Nicole
it will be a real pleasure for her to see them and show them in the dedicated gallery
back to the boards of Nicole’s Photoshop tutorials
20 tutorials / board
board 1


|