Snow Flower and the secret of the range

You will find the original tutorial Here

I am member of TWInc
this translated tutorial is protected


This translation is my property,
it is strictly forbidden to copy or distribute it on the Net
Thanks to Nara for her kind permission
I work with PSP12, but it is possible to use another version.

The tubes provided are for personal use
you are not allowed to share them, or present them in another site
without the permission of the authors

Material
2 tubes by Nara Pamplona
1 mask by Nara
Nara’s watermark
1 element of decoration
1 colored background
Open the tubes, duplicate them and work with the copies
open the mask, and minimize it

Filters
Simple - Andrews Filters - Graphic Plus - AAA Framer HERE - PSP effects


Use the pencil to follow the steps
left click to grab it
 |

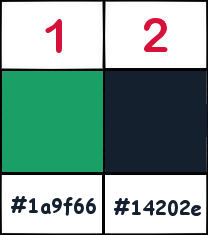
Colors
color 1 -> foreground color -> #1a9f66
color 2 -> background color -> #14202e

Realization
Step 1
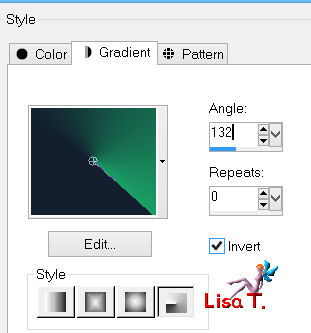
in the materials palette, prepare a radial gradient
Step 2
open a new transparent layer 1000 X 600 pixels
fill with the gradient
effects/plugins/Simple/Diamonds
Step 3
effects/plugins/Simple/Top Left Mirror
Step 4
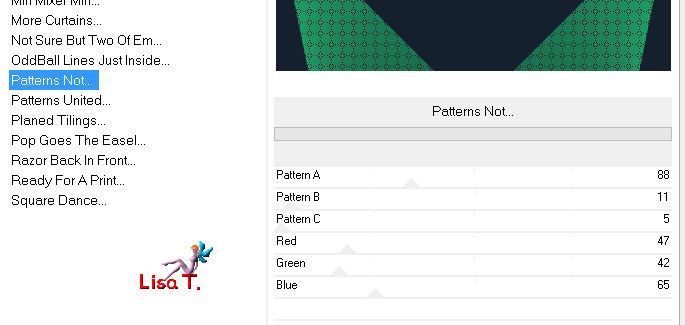
effects/plugins/Andrews Filter Collection 24/Patterns Not
Step 5
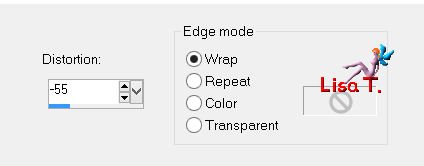
effects/geometric effects/Perspectvie Vertical
Step 6
layers/duplicate - image/flip
in the layers palette, set the blend mode on « soft light »
layers/merge/merge down
Step 7
layers/new raster layer
fill with color 1
layers/new mask layer/from image/find « narap_abstract2 »
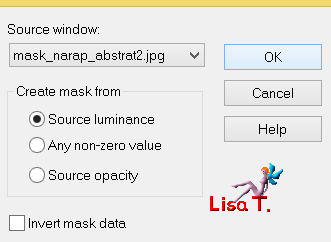
layers/merge/merge group
in the layers palette, set the blend mode on « screen »
Step 8
layers/duplicate - image/mirror
layers/merge/merge down
effects/edge effects/enhance
Step 9
activate the tube « tubenarapamplona 1465 »
edit/copy - back to your work - edit/paste as new layer
(note of the translator : I set the opacity of the layer on 80%)
Step 10
activate the « backcolor »
edit/copy - back to your work - edit/paste as new layer
layers/arrange/move down twice
in the layers palette, set the blend mode on « color »
Step 11
in the layers palette, activate the top layer
activate the tube « elemento » (eventually, colorize it according to your colors)
edit/copy - back to your work - edit/paste as new layer
image/resize/uncheck « resize all layers »/110%
layers/merge/merge visible
Step 12
window/duplicate , and set this image aside for a later use
Step 13
back to your work
image/add borders/check « symmetric » ->
4 pixels color 2
4 pixels color 1
4 pixels color 2
Step 14
activate the image set aside on step 12
edit/copy
Step 15
image/add borders/check « symmetric »/ 30 pixels white
Step 16
activate the magic wand tool, and select this border
edit/paste into selection
adjust/blur/gaussian blur/30
effects/plugins/Graphic Plus/Cross Shadow/default settings
selections/select none
Step 17
copy the tube of the woman
edit/copy - back to your work - edit/paste as new layer
image/resize/uncheck « resize all layers »/85%
effects/image effects/offset
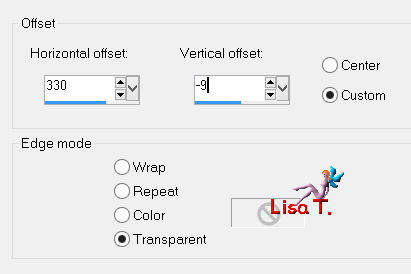
effects/3D effects/drop shadow/ -38 / 17 / 46 / 10 / black
Step 18
in the layers palette, activate the background layer
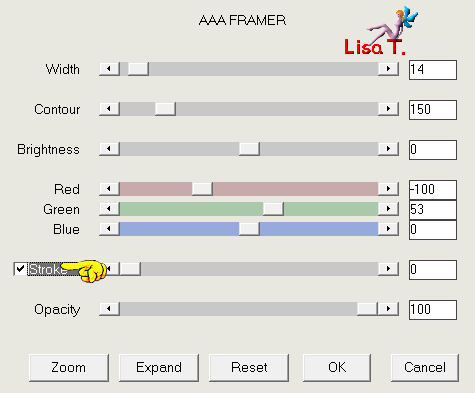
effects/plugins/AAA Filters/AAA Framer
change the settings of the colors eventually (according to your colors)
Step 19
in the layers palette, activate the top layer (the woman)
selections/select all
selections/modify/contract/14 pixels
selections/invert, and press the delete key of your keyboard
selections/select none
layers/merge/merge all (flatten)
Step 20
activate Nara’s watermark
edit/copy - back to your work - edit/paste as new layer
move it in a corner
layers/merge/merge all (flatten)
image/resize/width 1000 pixels
Apply your signature
edit/save as.. type jpeg

your tag is finished
Thank you to have realized it

To write to Nara


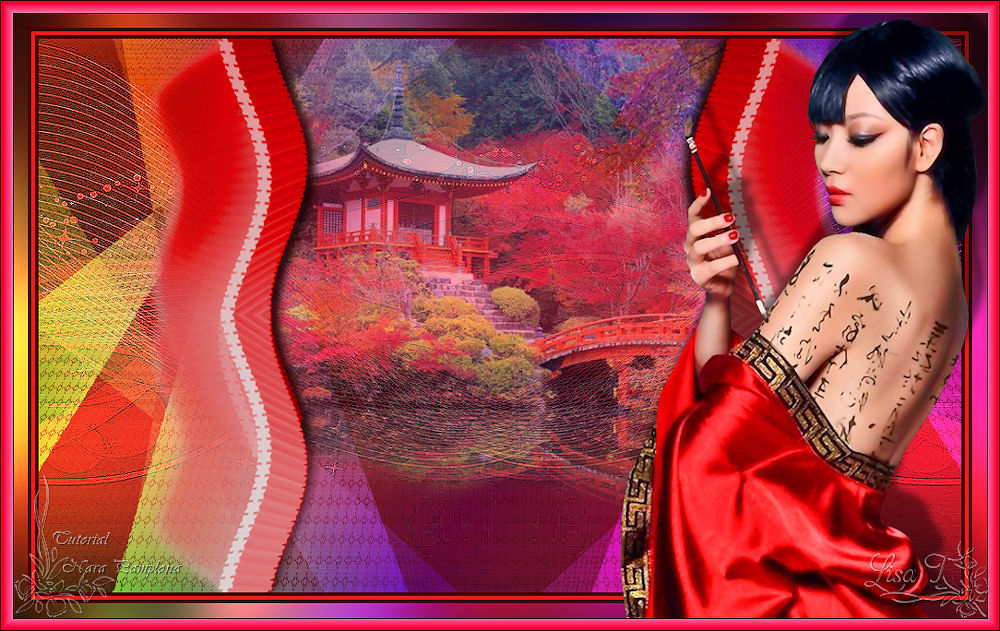
my tag with my tubes
back to the board of Nara's Tutorials

|