

original tutorial in french. Click on MeryDesig’s
banner

Conditions of use of the material provided
It is forbidden to modifiy, change the name, take
off the watermarks or alter the tubes.
It is forbidden to share them in groups or offer
them on your site, blog or forum.
If you want to use them to create a tutorial, you must
ask the permission of the authors.
MaryDesig has the permission of the creators to use their
tubes, masks and decorations
Thank you to all of them for their work
Without their beautiful creations, no tutorials could be
written.

translator’s note : Merydesig
uses PSPX9 and I use PSP2018 to create our tags
but you can follow this tutorial with any other version
of PSP
according to the version you use, the results might be
slightly differents
Merydesig uses Animation Shop to create her animations
I use Ulead Gif Animator

Hints & Tips
TIP 1 -> if you don’t
want to install a font -->
open it in a software as « Nexus Font » (or
other font viewer software of you choice)
as long as both windows are opened (software and font),
your font will be available in your PSP
TIP 2 -> from PSPX4,
in the later versions of PSP the functions « Mirror » and « Flip » have
been replaced by -->
« Mirror » --> image -> mirror -> mirror horizontal
« Flip » --> image -> mirror -> mirror vertical

Material
selection - tubes - texture
xxxxxxxxxx matos xxxxxxxxx
open all tubes and duplicate them (window -> duplicate)
Close original tubes and work with the copies (to
preserve the originals)
don’t forget to erase tubes’ watermarks before
using them
copy / paste selection into « selection » folder
of Corel PSP folder
open « gldballs » and minimize it
to tray. You will use it as a pattern (without installation)

Plugins
Xero - Xenofex 2

 
Use the pencil to follow the steps
hold down left click to grab it and move it
 |
 
Realization
1
open a new transparent image 900 * 650 pixels
flood fill with a radial gradient
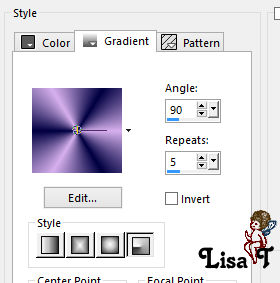
2
effects - Art Media Effects -> brush strokes
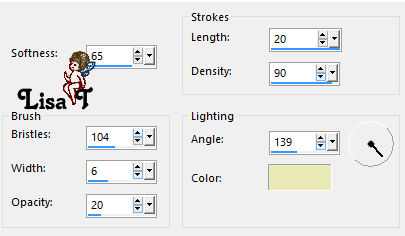
3
layers -> duplicate
on the original layer -> effects -> plugins -> Xero
-> Sparkles
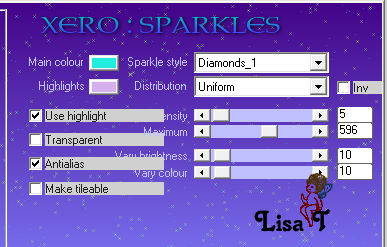
highlight the copy
effects -> plugins -> Xero -> Sparkles -> change « maximum » setting to
1000
close the eye of the copy
4
copy / paste as new layer « CAJ.SCR. MUSIC MUSIC
EL. 27 »
iamge -> free rotate
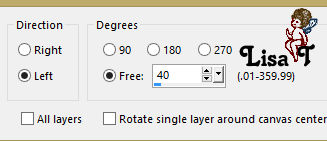
5
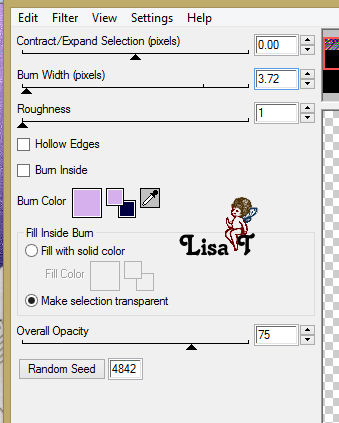
effects -> Xenofex 2 -> Burnt Edges
6
layers -> new raster layer
flood fill with the « gldballs » pattern
(angle : 2 - scale : 100%)
selections -> load-save selection -> from disk
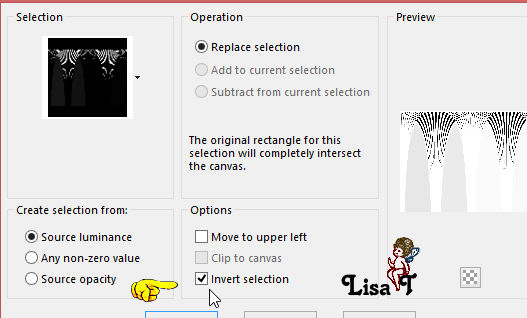
hit hte DELETE kay of your keyboard
7
layers -> new raster layer
flood fill with the « gldballs » pattern
selections -> modify -> contract -> 3 pixels
DELETE
selections -> select none
8
layers -> merge -> merge down
layers -> duplicate
rename the layers « selection 1 » and « selection
2 »
9
highlight « selection 1 » -> add-remove
noise -> add noise
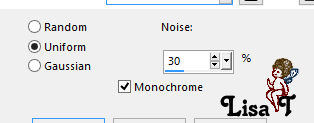
highlight « selection 1 » -> add-remove
noise -> add noise
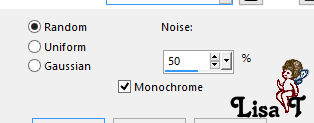
close the eye of « selection 2 »
10
copy / paste « piano » as new layer
11
copy / paste « merydesign femme » as
new layer
move it where you like
(translator's note : I dropped a "perspective
shadow" with Alien Skin eye candy 5-impact )
12
copy / paste « manueelements (64) » as
new layer
effects - > image -> offset -> H :
0 / V : -69
13
copy / paste « cisnes » as new layer
effects - > image -> offset -> H :
234 / V : -320
14
copy / paste « beads (3) » as new layer
effects - > image -> offset -> H :
344 / V : 65
15
copy / paste «CAJ.SCR. MUSIC MUSIC EL. 86 » as
new layer
effects - > image -> offset -> H :
344 / V : 0
(translator's note : I dropped a "perspective
shadow" with Alien Skin eye candy 5-impact )
translator’s note : if you want to animate the
flower -> ...
duplicate the flower and rename the layers « rose 1 » and « rose
2 »
enable the Smart selection brush

select the borders of the flower
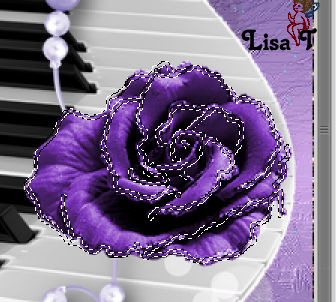
add noise on both layers like in step 9
close the eye of « rose 2 »
16
apply you watermark
your layers palette looks like this

17 - Animation
edit -> copy special -> copy merged
open Animation Shop and paste as new animation
back into PSP
close thes eyes of « raster 1 » « selection
1 » « rose
1 » (if you created this layer)
open the eyes of « copy of raster 1 » « selection
2 » « rose 2 » (if
you created this layer)
edit -> copy special -> copy merged
back in to Animation Shop and paste after current frame
animation properties -> 10 (default setting)
 
your tag is finished
Thank you for following this tutorial
My tag with my tube (dancer)
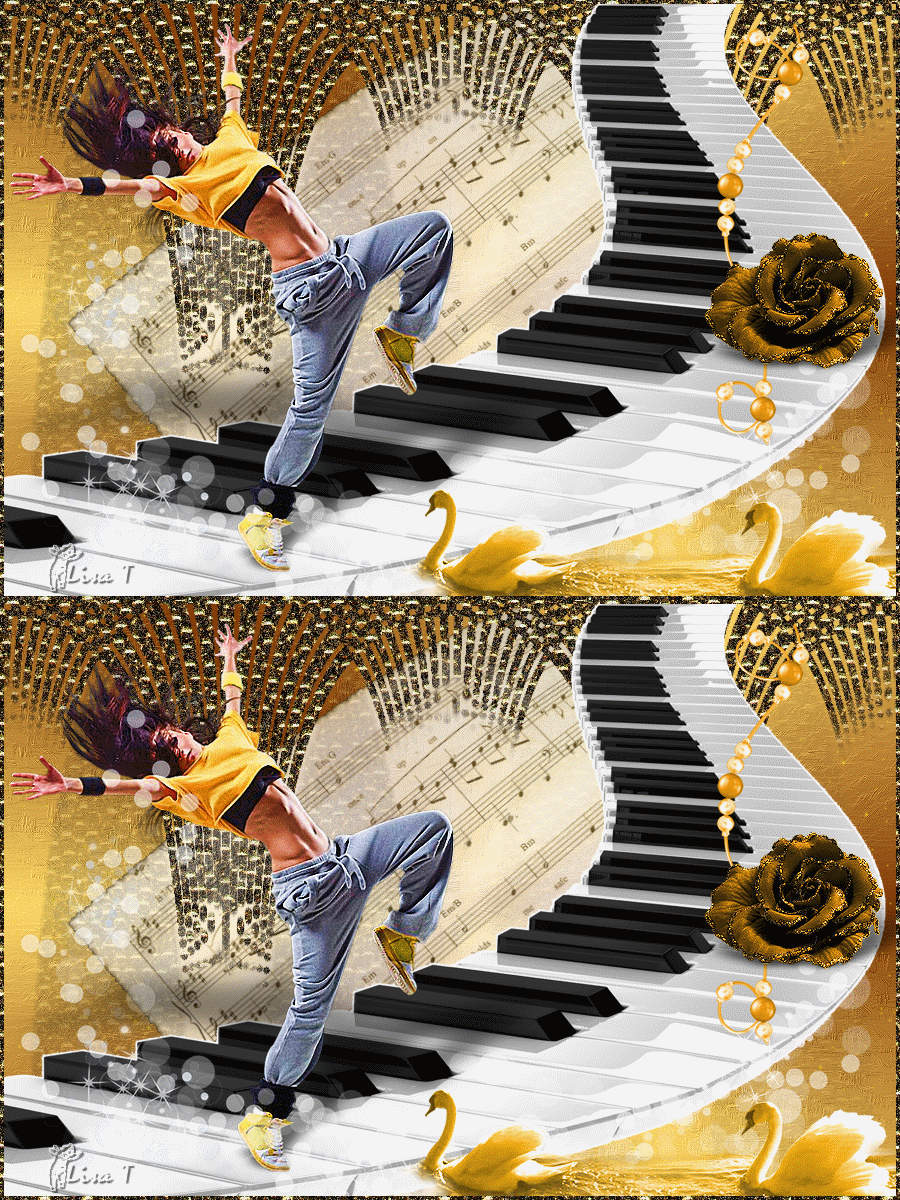
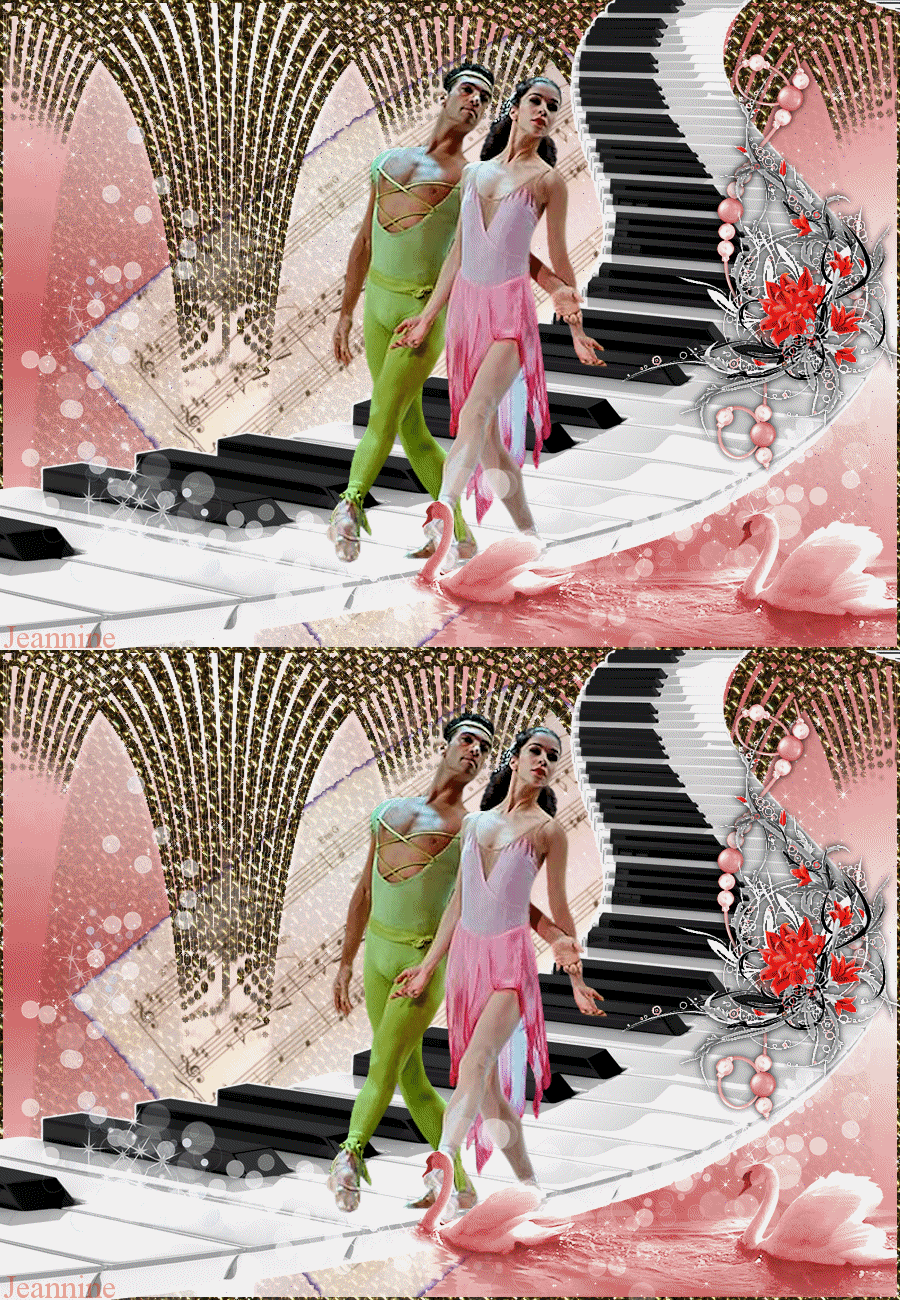
Création  Jeannine Jeannine
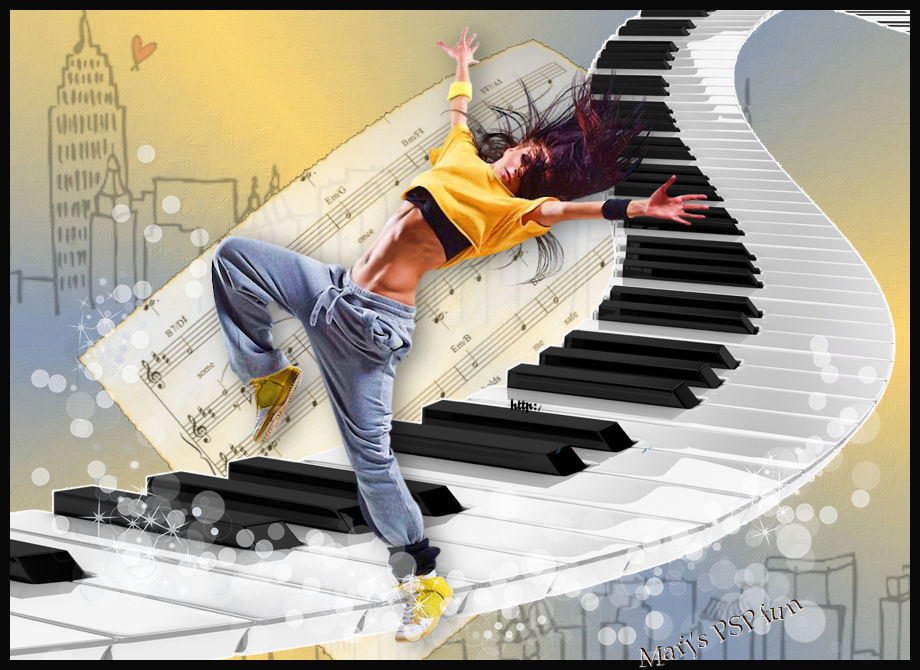
Created by  Marj Marj

if you have any problem with this translation, or notice
any error, mistake or oversight
Don’t hesitate to write to me, I’ll fix the
problem as quickly as I can


Back to the board of MeryDesig’s tutorials
board 1  board
2 board
2  board
3 board
3 

|