Lovers

original tutorial in french. Click on MeryDesig’s
banner

conditions of use of the material provided
It is forbidden to modifiy, change the name, take off the
watermarks or alter the tubes.
It is forbidden to share them in groups or offer them on
your site, blog or forum.
If you want to use them to create a tutorial, you must ask
the permission of the authors.
MaryDesig has the permission of the creators to use their
tubes, masks and decorations
Thank you to all of them for their work
Without their beautiful creations, no tutorials could be
written.

translator’s note : I use PSPX9 to create the tags
of my translations
but you can follow this tutorial with any other version of
PSP

Material and operation tips

open all tubes and duplicate them (window -> duplicate)
Close original tubes and work with the copies (to preserve
the originals)
don’t forget to erase tubers’ watermarks before
using them
open the mask(s) and minimize it(them) to tray
double click on plugins’ presets to install them

Plugins
no plugin needed

use the pencil to follow the steps
hold down Left click to grab it and move it


Realization
1
open a new transparent raster layer 900 * 700 pixels
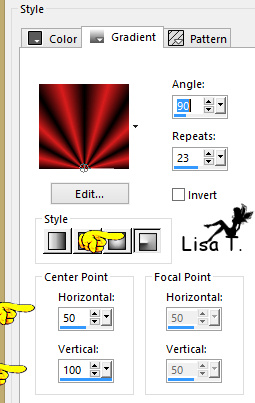
flood fill with a radial gradient (provided)
2
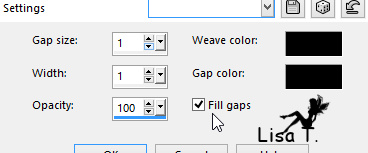
effects -> texture effects -> Weave
3
copy / paste as new layer « image_peynet »
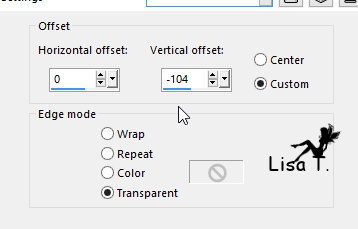
effects -> image effects -> offset
4
selections -> select all
selections -> float
flood fill with « dorure » (provided)
5
layers -> new raster layer
selections -> select all
highlight top layer
copy / paste into selection « decor 1 »
layers -> duplicate
6
selections -> float
layers -> new raster layer
flood fill with « dorure »
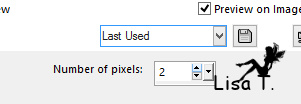
selections -> modify -> contract -> 2 pixels
DELETE
7
selections -> select none
layers -> new raster layer
flood fill with « dorure »
selections -> load-save selection -> from disk -> selection « MD_CONTOUR »
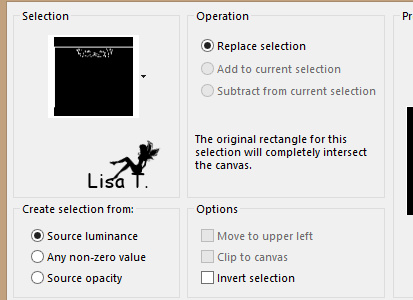
selections -> invert
DELETE
8
layers -> merge -> merge down
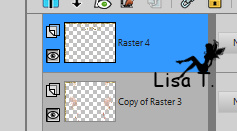
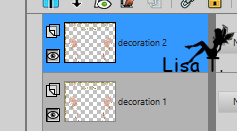
duplicate and rename « decoration 1 » and « decoration
2 »
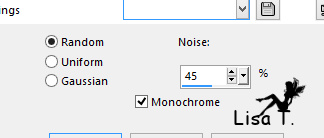
effects -> add-remove noise -> add noise -> 45%
(on decoration 2)
effects -> add-remove noise -> add noise -> 60%
(on decoration 1)
9
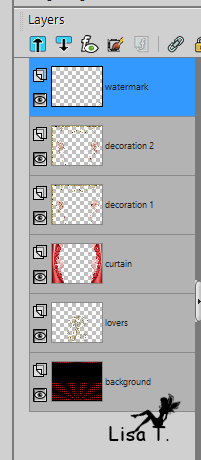
layers -> new raster layer, add your watermark
your layers palette looks like this
Animation
close the eye of decoration 1
edit -> copy special -> copy merged
open Animation Shop and paste as new animation
back into psp
open the eye of « decoration 1 » and
close the eye of « decoration 2 »
edit -> copy special -> copy merged
in animation shop, paste after current frame
image property : 10

your tag is finished
Thank you for following this tutorial
don’t forget to sign your work
save as... type .jpeg

if you have any problem with this translation
or to show me your creations
Don’t hesitate to write to me

It will be a real pleasure for me to present your creation
at the end of this translation

Your Creations
coming  soon soon

Back to the boards of Merydesigs tutorials
board 1 

|