

original tutorial in french. Click on MeryDesig’s
banner

Conditions of use of the material provided
It is forbidden to modifiy, change the name, take
off the watermarks or alter the tubes.
It is forbidden to share them in groups or offer
them on your site, blog or forum.
If you want to use them to create a tutorial, you must
ask the permission of the authors.
MaryDesig has the permission of the creators to use their
tubes, masks and decorations
Thank you to all of them for their work
Without their beautiful creations, no tutorials could be
written.

translator’s note : Merydesig
uses PSPX9 and I use PSP2018 to create our tags
but you can follow this tutorial with any other version
of PSP
according to the version you use, the results might be
slightly differents
Merydesig uses Animation Shop to create her animations
I use Ulead Gif Animator

Hints & Tips
TIP 1 -> if you don’t
want to install a font -->
open it in a software as « Nexus Font » (or
other font viewer software of you choice)
as long as both windows are opened (software and font),
your font will be available in your PSP
TIP 2 -> from PSPX4,
in the later versions of PSP the functions « Mirror » and « Flip » have
been replaced by -->
« Mirror » --> image -> mirror -> mirror horizontal
« Flip » --> image -> mirror -> mirror vertical

Material
tubes - preset - gradient - pattern
xxxxxxxxxx matos xxxxxxxxx
open all tubes and duplicate them (window -> duplicate)
Close original tubes and work with the copies (to
preserve the originals)
don’t forget to erase tubes’ watermarks before
using them
copy / paste gradient(s) into « gradient » folder
of Corel PSP folder
open « dorado » and minimize it
to tray. You will use it as a pattern (without installation)
double click on the preset to install it
duplicate the tubes and work with the copies to preserve
origianls images
copy / paste the gradient into the folder « gradients » in
Corel PSP general folder

Plugins
Unlimited 2
&Bkg Kaleidoscope
Screenworks

 
Use the pencil to follow the steps
hold down left click to grab it and move it
 |
 
Realization
1
open a new transparent image 900 * 700 ppixels
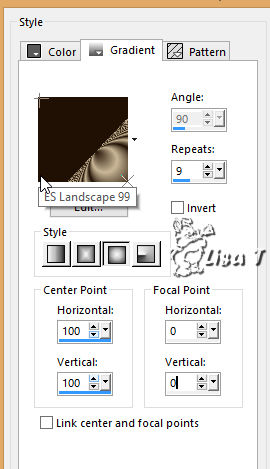
flood fill with the gradient provided with the following
settings
2
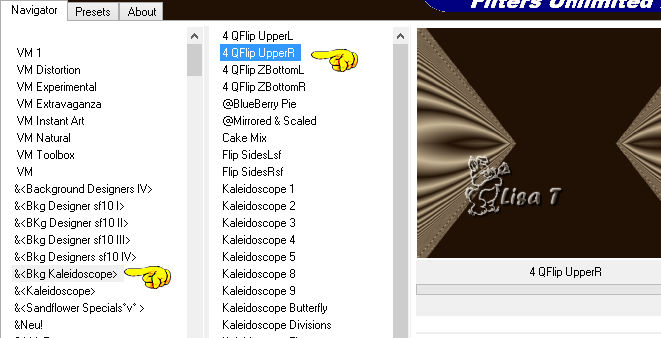
effects -> plugins -> Unlimited 2 -> &Bkg
Kaleidoscope / 4QFlipUpper R
3
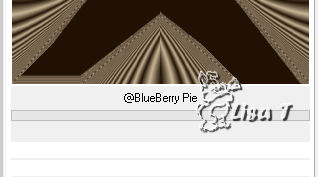
effects -> plugins -> Unlimited 2 -> &Bkg
Kaleidoscope / @BlueBerryPie
4
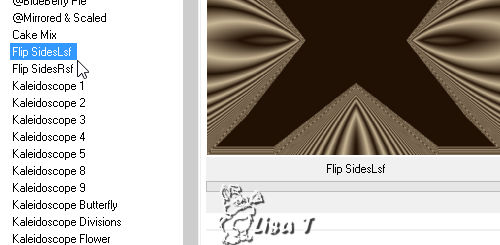
effects -> plugins -> Unlimited 2 -> &Bkg
Kaleidoscope / Flip Sides Lsf
5
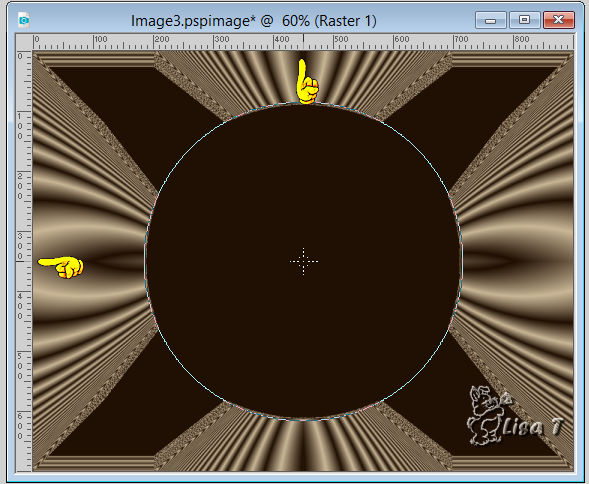
enable the Warp Brush ( size 531 / expand)

view -> rulers
place the brush right in the middle of the tag (450 in
the horizontal rule - 350 in the vertical ruler)
press the left click of your mouse, hold it down without
moving the mouse until the effect doesn’t progress
any more.
6
enable the magic wand tool and select the middle part of
plain brown
DELETE on your keyboard
selections -> invert
effects -> plugins -> Unlimited 2 -> Paper Textures
/ Hemp paper 2
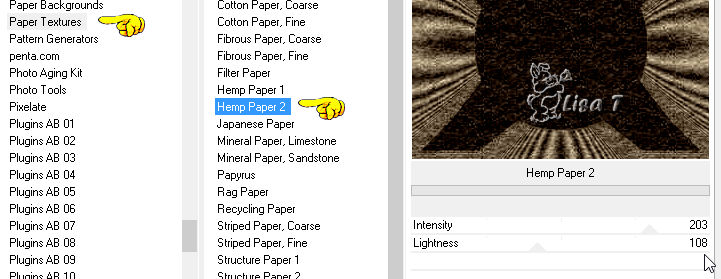
keep selection active
7
effects -> plugins -> Alien Skin Eye Candy 5-Impact
/ perspective Shadow -> preset provided
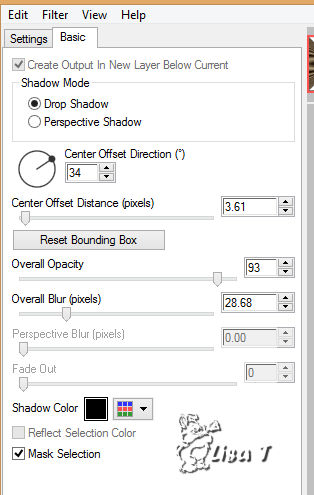
keep selection active
8
selections -> invert
layers -> new raster layer
flood fill with the « Dorado » pattern
selections -> modify -> contract / 5 pixels
DELETE
selections -> select none
9
layers -> new raster layer
selections -> select all
flood fill selection with « dorado »
selections -> modify -> contract / 5 pixels
DELETE
selections -> select none
layers -> merge -> merge down
10
effects -> plugins -> Screenworks / Block Tile
layers -> duplicate
rename both layers « frame 1 » and « frame
2 » from bottom to top
highlight « frame 1 » -> adjust
-> add-remove noise -> add noise
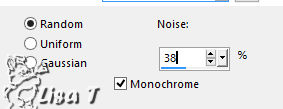
highlight « frame 2 » and add noise
-> 48%
close the eye of « frame 2 »
11
layers -> new raster layer
selections -> select all
copy / paste into selection « image animal »
effects -> distortion effects -> pinch
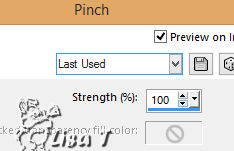
selections -> select none
layers -> arrange -> send to bottom
highlight top layer
12
copy / paste as new layer « fleurs »
objects -> align -> bottom
effects -> 3D effects -> drop shadow -> -10 /
5 / 65 / 25 / black
13
copy / paste as new layer « merydesig_femme »
effects -> image effects -> offset
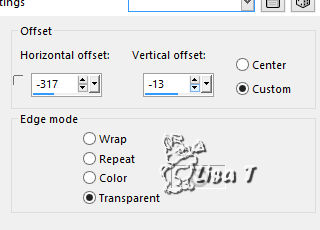
effects -> 3D effects -> drop shadow -> -10 /
5 / 44 / 40 / black
14
selections -> select all
copy / paste « arvre » into selection (thefoliage)
selections -> select none
effects -> 3D effects -> drop shadow -> -10 /
5 / 65 / 25 / black
15
copy / paste as new layer « soricate »
effects -> image effects -> offset
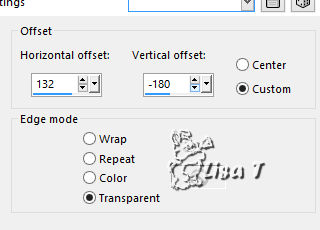
effects -> 3D effects -> drop shadow -> -10 /
5 / 65 / 25 / black
16
copy / paste as new layer « oiseau »
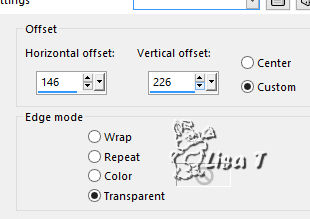
effects -> image effects -> offset
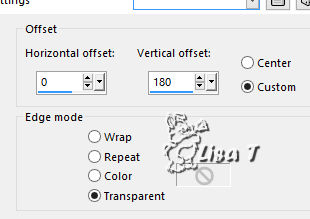
effects -> 3D effects -> drop shadow -> -10 /
5 / 65 / 25 / black
16
copy / paste as new layer « perroquets »
effects -> image effects -> offset
effects -> 3D effects -> drop shadow -> -10 /
5 / 65 / 25 / black
17
apply your watermark on a new layer
18
edit -> copy special -> copy merged
open Animation Shop and paste as new animation
Back in PSP
close the eye of « frame 1 » and
open the eye of « frame 2 »
edit -> copy special -> copy merged
back in Animation Shop and paste after current frame
image property : 10
file -> save as... type .gif

your tag is finished
Thank you for following this tutorial
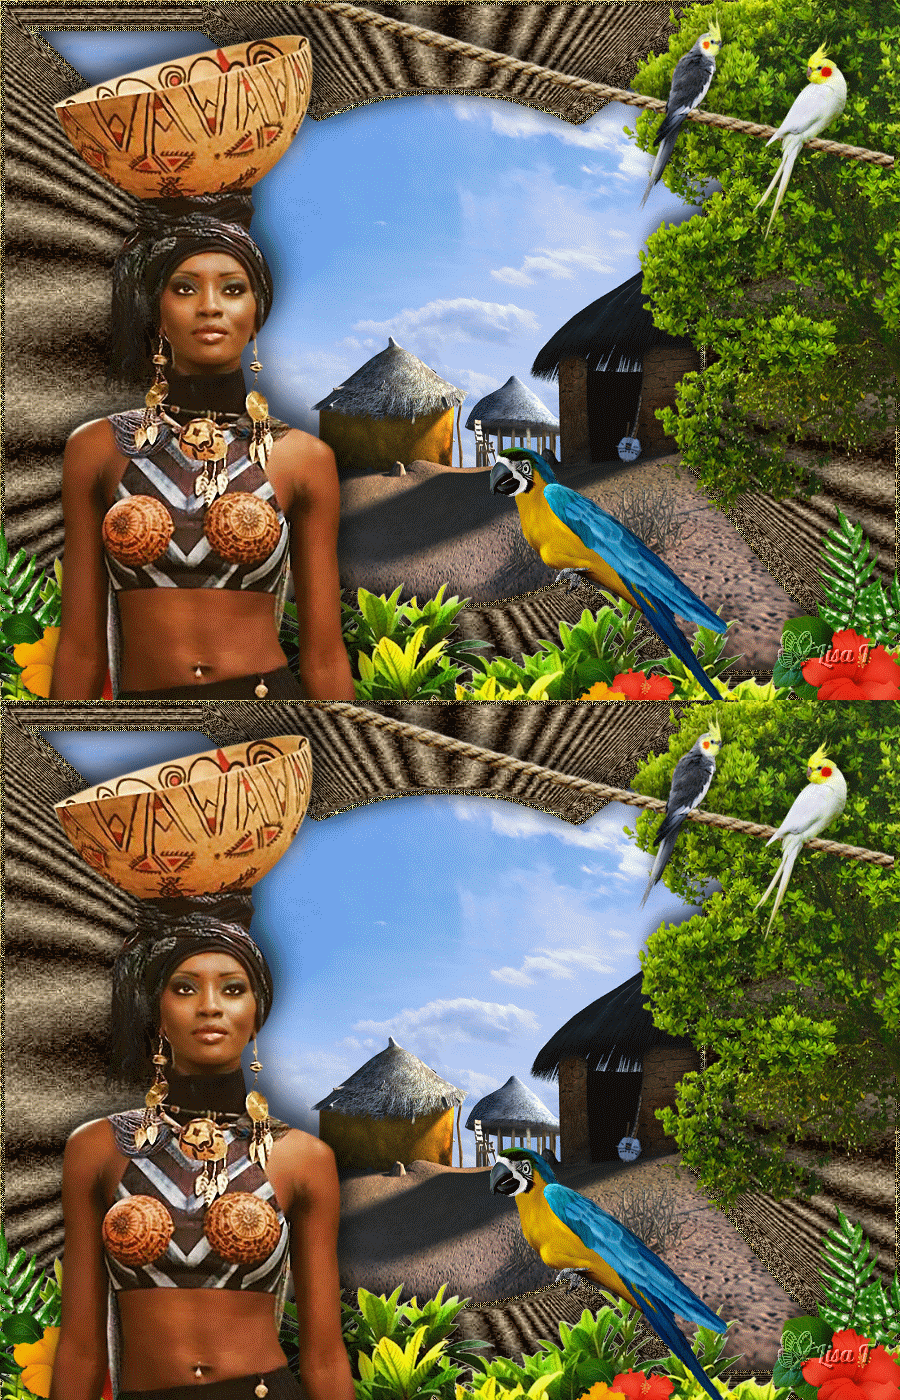
My tag with my tube (woman) - google images and
scrap element ( blue parrot ) by Joëlle Nibula
 
if you have any problem with this translation, or notice
any error, mistake or oversight
Don’t hesitate to write to me, I’ll fix the
problem as quickly as I can


Back to the board of MeryDesig’s tutorials
board 1  board
2 board
2 board
3 board
3 

|