

You will find the original tutorial here :
Thank you Marja for your permission to translate your work
This tutorial is a personal creation.
Any resemblance with another one would be only pure coincidence.
It is stricly forbidden to modify tubes, to change their name or take off the matermarks,
To present them on your sites or blog,
To share them in groups,
to make a bank of images, or to use them on lucrative purposes.

Thank you to respect Marja’s work and the tubers work.
Don’t hesitate to warn me if you have any trouble with this translation,
and I’ll try to fix the problem as quickly as I can

Marja worked with PSP X2 and I worked with PSP2020 Ultimate
you can follow this tutorial with another version of PSP, but the result might be slightly different
don’t hesitate to change blend modes and opacities of the layers to match your personal colors and tubes
place the tools and materials provided into the appropriate folders of My COREL PSP general folder
to import presets if any, double-click on them, or import
open the mask(s) and minimize to tray
duplicate all the tubes and decorations, and alpha layers, and work with the copies to preserve originals
install the plugins necessary
this tutorial is the property of Marja, and the translation is my property

Supplies
tubes and decorations
color palette
selections
mask
Marja’s watermark

the main tube used for this creation was made by Nena Silva

Hints and Tips
TIP 1 -> if you don’t want to install a font -->
open it in a software as « Nexus Font » (or other font viewer software of you choice)
as long as both windows are opened (software and font), your font will be available in your PSP
TIP 2 -> from PSPX4, in the later versions of PSP the functions « Mirror » and « Flip » have been replaced by -->
« Mirror »has become --> image => mirror => mirror horizontal
« Flip » has become --> image => mirror => mirror vertical

Plugins needed
VideoRave / Wonderland
Muras’s Meister / Perspective Tiling
Unlimited 2 => Tramages / Tow The Line
Alien Skin Eye Candy 5 Impact / Glass

colors
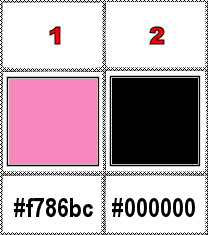
set FG to color 1 and BG to color 2 in materials palette

Ce pinceau vous aidera à vous repérer dans le tutoriel
un clic gauche pour le prendre et le déplacer
 |

1
To preserve originals => ALWAYS duplicate the tubes, close the originals and work with the copies
place the selections into the dedicated folder of My Corel PSP general folder
2
open a new image => black => 800 * 500 px
layers => new raster layer
selections => select all
3
open the woman tube
erase the watermark
edit => copy
4
Back to your main work
Edit => paste into selection
selections => select none
5
effects => image effects => seamless tiling => default settings
adjust => blur => gaussian blur => 50
6
effects => plugins => VideoRave => Wonderland / default settings
effects => edge effects => enhance more
layers => merge => merge visible
7
layers => new raster layer
flood fill with color 2
layers => new raster layer
flood fill with color 1
8
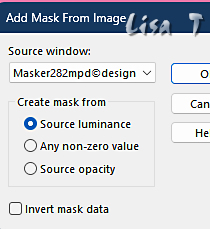
layers => new mask layer
9
layers => merge => merge group
layers => merge => merge down
10
effects => plugins => Mura’s Meister => Perspective Tiling
height => 20
other settings => keep default settings
11
adjust => sharpness => sharpen
highlight bottom layer
effects => plugins => Unlimited 2 => Tramages => Tow the Line / default settings
12
effects => image effects => seamless tiling => tick « horizontal »
other settings => keep default settings
highlight top layer
13
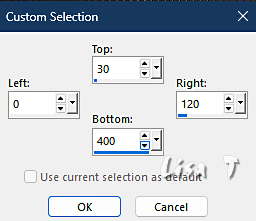
enable the Selection tool / custom selection
14
layers => new raster layer
flood fill selection with color 2
15
effects => texture effects => Weave / color 2 and 1
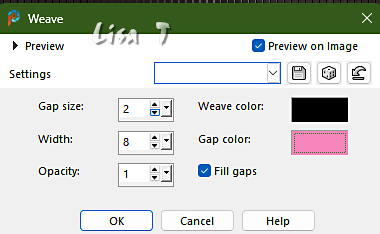
selections => select none
16
enable the Selection tool / custom selection
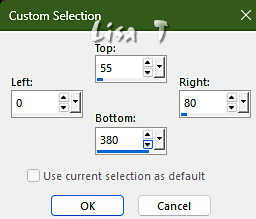
17
hit the DELETE key of your keyboard
selections => select none
18
effects => 3D effects => drop shadow => 10 / 10 / 85 / 15 / black
19
layers => duplicate
image => resize => untick « resize all layers » => 75%
20
image => free rotate => Left / 90°
21
effects => image effects => offset => H : -230 / V : -55 / tick « custom » and « transparent »
22
layers => duplicate
image => mirror => mirror vertical
23
effects => image effects => offset => H : 0 / V : 55 / tick « custom » and « transparent »
layers => merge => merge down TWICE
24
layers => duplicate
image => mirror => mirror horizontal
layers => merge => merge down
25
selections => load-save selection => from disk => selection # 1
26
layers => new raster layer
flood fill selection with color 1
27
effects => texture effects => Weave / color 1 and 2
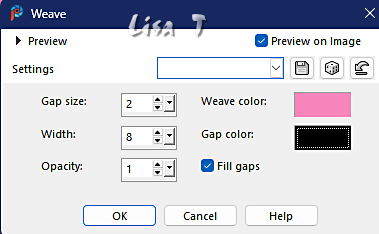
28
selections => modify => contract => 30 px
hit the DELETE key of your keyboard
selections => select none
29
effects => image effects => offset => H : 0 / V : 30 / tick « custom » and « transparent »
30
effects => 3D effects => drop shadow => 10 / 10 / 85 / 15 / black
31
layers => duplicate
image => resize => untick « resize all layers » => 75%
32
effects => image effects => offset => H : -50 / V : 85 / tick « custom » and « transparent »
33
layers => merge => merge down
layers => duplicate
image => mirror => mirror vertical
34
effects => image effects => offset => H : 265 / V : 0 / tick « custom » and « transparent »
35
layers => merge => merge down
selections => load-save selection => from disk => selection # 2
36
layers => new raster layer
flood fill selection with color 1
selections => modify => contract => 2 px
hit the DELETE key of your keyboard
37
selections => modify => contract => 5 px
layers => new raster layer
flood fill selection with color 2
image => rotate Right
38
effects => plugins => Alien Skin Eye Candy 5 Impact / Glass
settings tab => « lear »
basic tab => Width => 18.00
39
image => rotate Left
selections => select none
layers => merge => merge down
40
layers => duplicate
image => resize => untick « resize all layers » => 75%
41
effects => image effects => offset => H : 95 / V : 62 / tick « custom » and « transparent »
42
layers => merge => merge down
layers => duplicate
image => mirror => mirror horizontal
image => mirror => mirror vertical
43
effects => image effects => offset => H : 0 / V : 100 / tick « custom » and « transparent »
layers => merge => merge down
44
Copy / paste « L634 deco by mpd© » as new layer
45
effects => image effects => offset => H : 0 / V : 30 / tick « custom » and « transparent »
46
layers => merge => merge visible
image => add borders => tick « symmetric » => ...
1 px color 1
10 px color 2
1 px color 1
35 px color 2
1 px color 1
47
image => resize => tick « resize all layers » => 800 px width
48
copy / paste the character tube as new layer
49
image => resize => untick « resize all layers » => 80%
place properly (see final result)
50
adjust => sharpness => sharpen
effects => 3D effects => drop shadow => 10 / 10 / 85 / 15 / black (or other settings of your choice)
51
Copy / paste « L634 corner by mpd© » as new layer
Don’t move it
52
Copy / paste « L634 text by mpd© » as new layer
Don’t move it
53
Add Marja’s Watermark
apply your watermark
write your licence number if you used a licenced tube
file => save your work as... type .jpeg

My tag with my tube

Don't hesitate to write to me if you have any trouble with this translation
If you create a tag (using other tubes than those provided) with this tutorial
and wish it to be shown, send it to me !
It will be a real pleasure for me to add it to the gallery below


created by ▼ Nena Silva
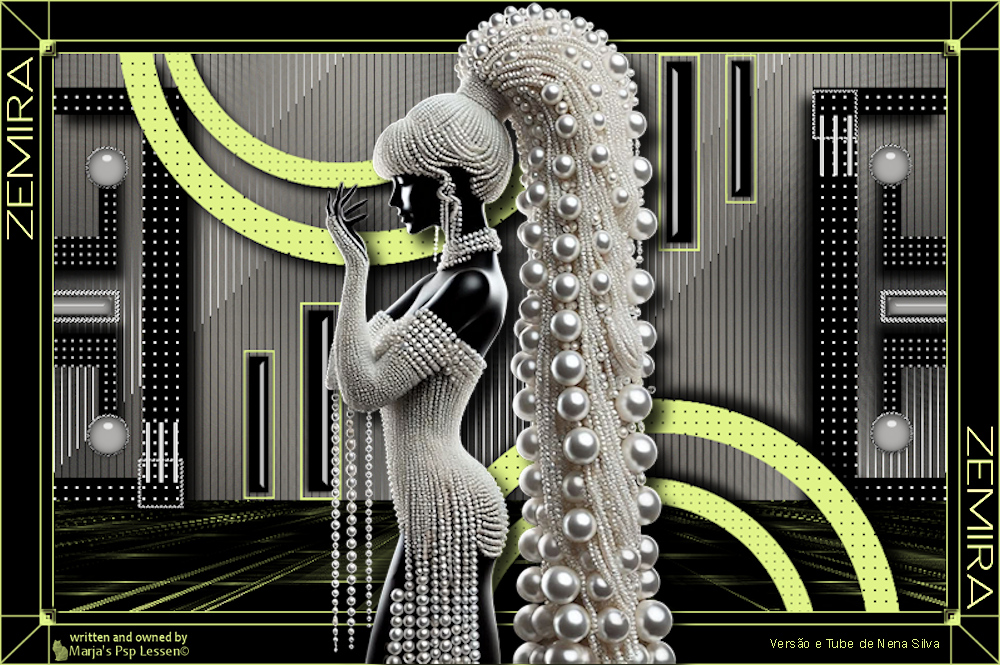
created by ▼ Sissy
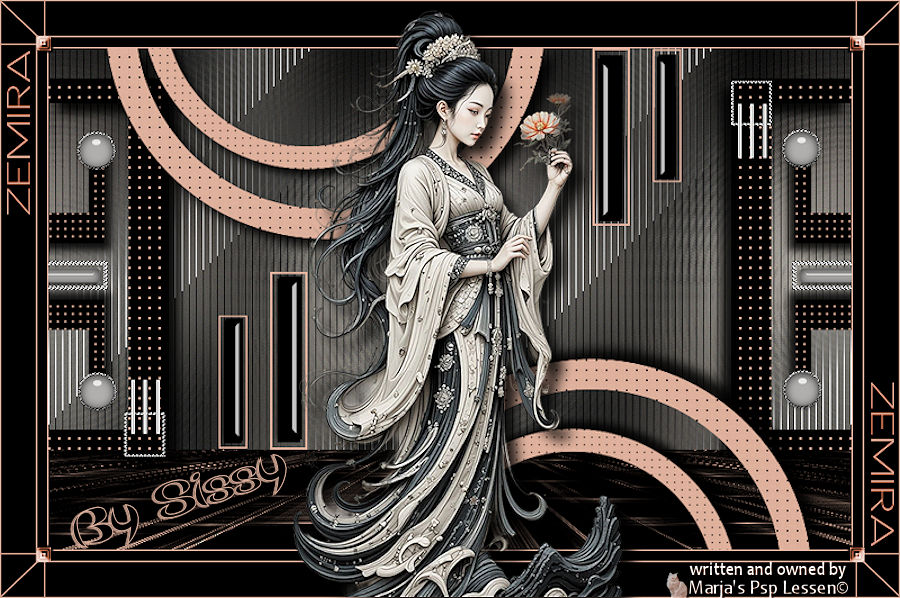
created by ▼ Birte
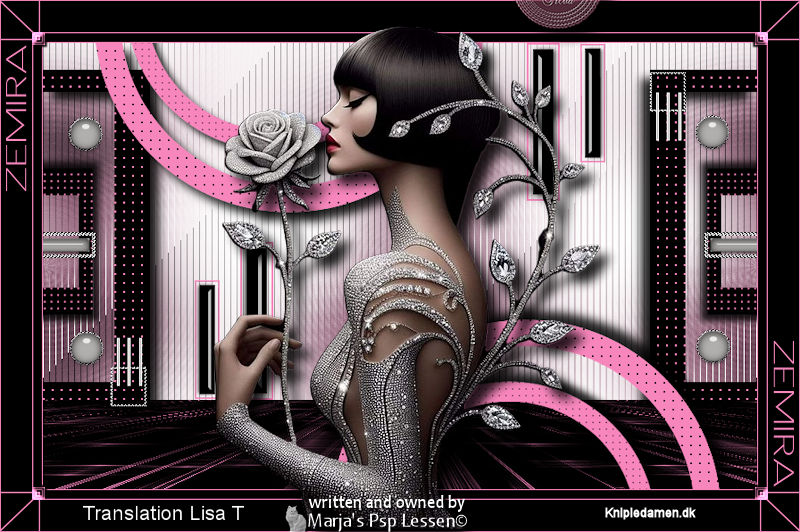
created by ▼ Nadège


back to the boards of Marja’s tutorials
20 tutorials on each board
board 1 => 
at the bottom of each board you will find the arrows allowing you to navigate from one board to another


|