
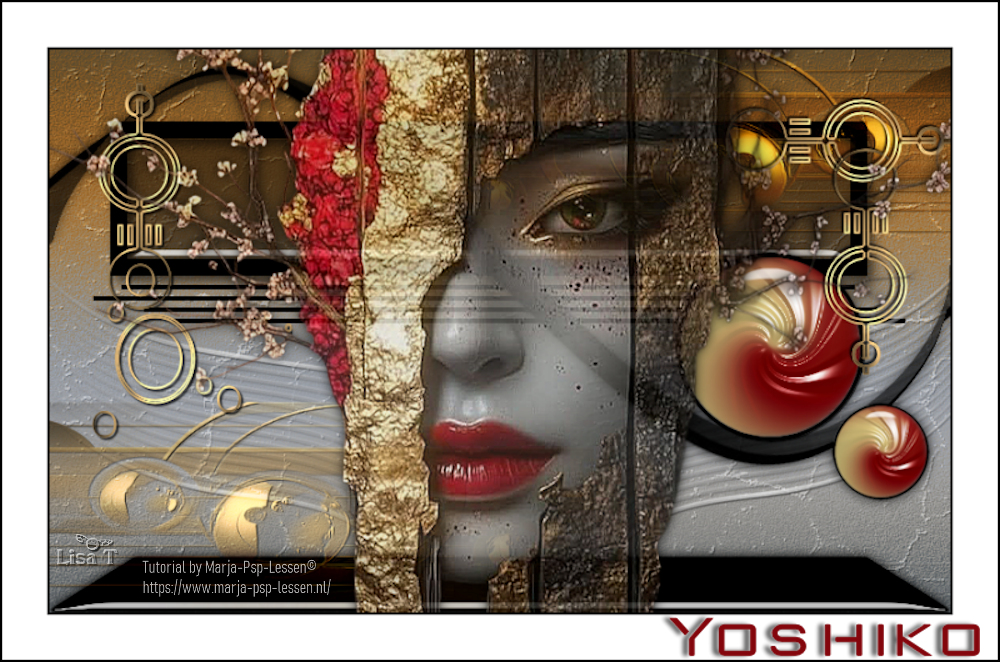
You will find the original tutorial here :

h Thank you Marja for your permission to translate your work
This tutorial is a personal creation.
Any resemblance with another one would be only pure coincidence.
It is stricly forbidden to modify tubes, to change their name or take off the matermarks,
To present them on your sites or blog,
To share them in groups,
to make a bank of images, or to use them on lucrative purposes.

Thank you to respect Marja’s work and the tubers work.
Don’t hesitate to warn me if you have any trouble with this translation,
and I’ll try to fix the problem as quickly as I can

Marja worked with PSP X2 and I worked with PSP2020 Ultimate
you can follow this tutorial with another version of PSP, but the result might be slightly different
don’t hesitate to change blend modes and opacities of the layers to match your personal colors and tubes
place the tools and materials provided into the appropriate folders of My COREL PSP general folder
to import presets if any, double-click on them, or import
open the mask(s) and minimize to tray
duplicate all the tubes and decorations, and alpha layers, and work with the copies to preserve originals
install the plugins necessary
this tutorial is the property of Marja, and the translation is my property
This lesson contains 25 steps

Supplies
Main tube is from Renée Graphisme
Masks are from Marja
supplies made by Marja have « mpd© » at the end of their title
Tubes
MPL Watermark


Hints and Tips
TIP 1 -> if you don’t want to install a font -->
open it in a software as « Nexus Font » (or other font viewer software of you choice)
as long as both windows are opened (software and font), your font will be available in your PSP
TIP 2 -> from PSPX4, in the later versions of PSP the functions « Mirror » and « Flip » have been replaced by -->
« Mirror »has become --> image => mirror => mirror horizontal
« Flip » has become --> image => mirror => mirror vertical

Plugins needed
Unlimited 2.0 => Photo Aging Kit
Mehdi => Wavy Lab 1.1
Noise Filters
Graphics Plus

Use the pencil to mark your place
along the way
hold down left click to grab and move it
 |

To preserve originals => ALWAYS duplicate the tubes, close the originals and work with the copies
1.
Create a transparent image of 800x500 pixels
2
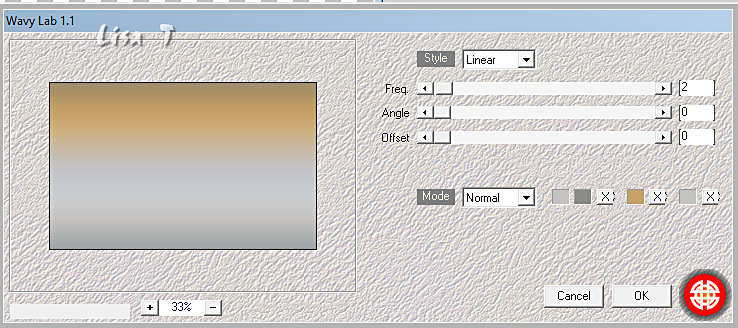
effects => plugins => Mehdi => Wavy Lab 1.1 => colors 1 / 2 / 3 / 1
layers => duplicate
highlight bottom layer
3
effects => plugins => Unlimited 2 => Noise Filters => Noisy Rotation / default settings
effects => plugins => Graphics Plus => Emboss / all sliders on 0
(You'll get the impression that nothing's happening - that's normal, just wait for the rest...)
4
highlight top layer
effects => plugins => Unlimited 2 => Photo Aging Kit => Cracked Paper / default settings
5
blend mode of the layer : Multiply
effects => plugins => Graphics Plus => Emboss / all sliders on 0
layers => merge => merge visible
6
copy / paste « Yoshiko Deco 1 by mpd » as new layer
7
effects => image effects => offset => H : 0 / V : 100 / tick « custom » and « transparent »
8
copy / paste « Yoshiko Deco 2 by mpd » as new layer
9
effects => image effects => offset => H : 0 / V : -80 / tick « custom » and « transparent »
blend mode of the layer : Luminance
10
copy / paste « Yoshiko Deco 3 by mpd » as new layer
11
effects => image effects => offset => H : 0 / V : -223 / tick « custom » and « transparent »
12
effects => 3D effects => drop shadow => 0 / 0 / 85 / 15 / black
13
copy / paste « Yoshiko Deco 4 by mpd » as new layer
don’t move it
blend mode of the layer : Hard Light
14
copy / paste « Yoshiko Deco 5 by mpd » as new layer
15
effects => image effects => offset => H : 0 / V : 45 / tick « custom » and « transparent »
16
effects => 3D effects => drop shadow => 0 / 0 / 85 / 15 / black
17
copy / paste « Yoshiko Deco 6 by mpd » as new layer
18
effects => image effects => offset => H : 20 / V : 60 / tick « custom » and « transparent »
19
copy / paste « Renee-TUBES-Juin-2025-38 » (middle layer) as new layer
20
opacity of the layer : 80%
adjust => sharpness => sharpen more (it depends on your tube if you have chosen another tube)
21
effects => 3D effects => drop shadow => 0 / 0 / 85 / 25 / black
22
layers => merge => merge all (flatten)
image => add borders => tick « symmetric » => ...
2 px black
40 px white
2 px black
23
image => resize => tick « resize all layers » => 800 px width
24
copy / paste « Yoshiko Text by mpd » as new layer
place where you like, or bottom right (see final result)
25
Add Marja’s Watermark
apply your watermark
write your licence number if you used a licenced tube
layers => merge => merge all (flatten)
Save your work as a jpeg file

My tag with my tube

Don't hesitate to write to me if you have any trouble with this translation
If you create a tag (using other tubes than those provided) with this tutorial
and wish it to be shown, send it to me !
It will be a real pleasure for me to add it to the gallery below


created by ▼ Birte
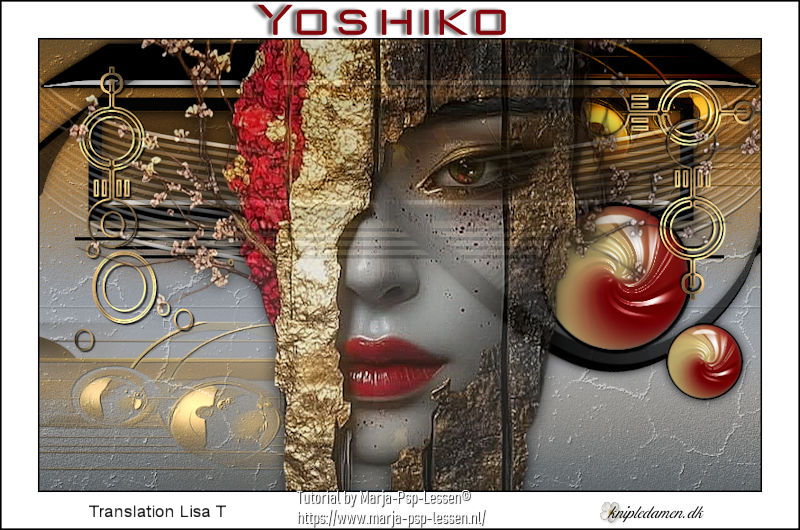
created by ▼ Nadège


back to the boards of Marja’s tutorials
20 tutorials on each board
board 2 => 
at the bottom of each board you will find the arrows allowing you to navigate from one board to another


|