
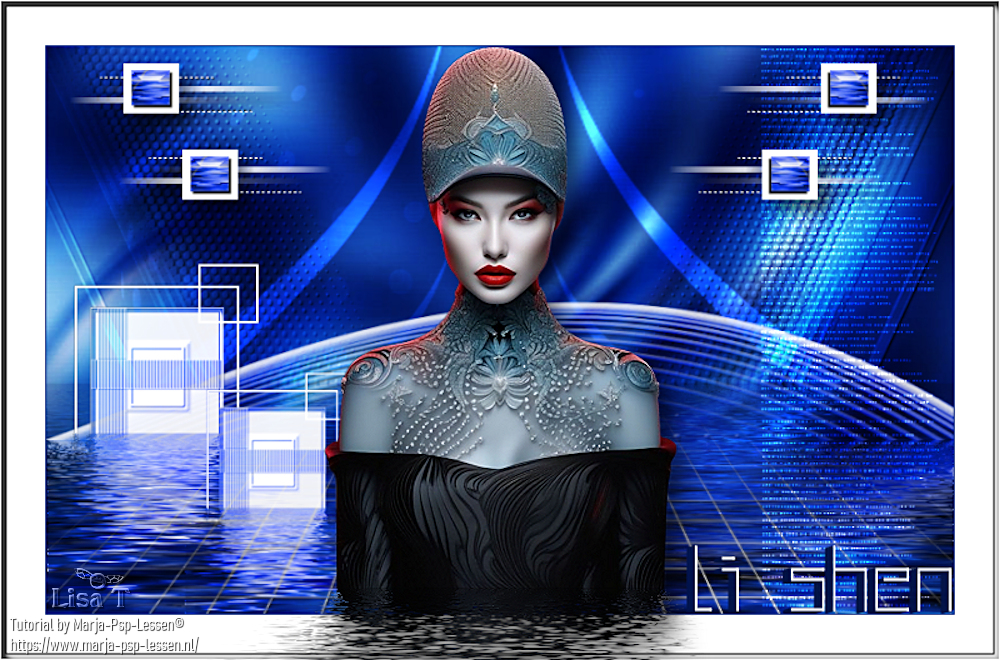
You will find the original tutorial here :

Thank you Marja for your permission to translate your work
This tutorial is a personal creation.
Any resemblance with another one would be only pure coincidence.
It is stricly forbidden to modify tubes, to change their name or take off the matermarks,
To present them on your sites or blog,
To share them in groups,
to make a bank of images, or to use them on lucrative purposes.

Thank you to respect Marja’s work and the tubers work.
Don’t hesitate to warn me if you have any trouble with this translation,
and I’ll try to fix the problem as quickly as I can

Marja worked with PSP X2 and I worked with PSP2020 Ultimate
you can follow this tutorial with another version of PSP, but the result might be slightly different
don’t hesitate to change blend modes and opacities of the layers to match your personal colors and tubes
place the tools and materials provided into the appropriate folders of My COREL PSP general folder
to import presets if any, double-click on them, or import
open the mask(s) and minimize to tray
duplicate all the tubes and decorations, and alpha layers, and work with the copies to preserve originals
install the plugins necessary
this tutorial is the property of Marja, and the translation is my property
This lesson contains 40 steps

Supplies
Main tube is from Renée Graphisme
Masks are from Narah
Other supplies are made by Marja, there is « mpd© » at the end of the title
selections
Tube(s)
MPL Watermark
L645 Worksheet
L645 Deco by mpd©
L645 Deco 1 by mpd©
L645 Deco 2
L645 text by mpd©


Hints and Tips
TIP 1 -> if you don’t want to install a font -->
open it in a software as « Nexus Font » (or other font viewer software of you choice)
as long as both windows are opened (software and font), your font will be available in your PSP
TIP 2 -> from PSPX4, in the later versions of PSP the functions « Mirror » and « Flip » have been replaced by -->
« Mirror »has become --> image => mirror => mirror horizontal
« Flip » has become --> image => mirror => mirror vertical

Plugins needed
Flaming Pear - Flood
AAA Frames - Picture Frame

Use the pencil to mark your place
along the way
hold down left click to grab and move it
 |

To preserve originals => ALWAYS duplicate the tubes, close the originals and work with the copies
Set your foreground to white
1.
open « L645 workspace »
Duplicate the window, by pressing shift+D, simultaneously
Close the original
We are going to work on the copy
2.
Layers / duplicate
Effects / plugin / Flaming pear – flood
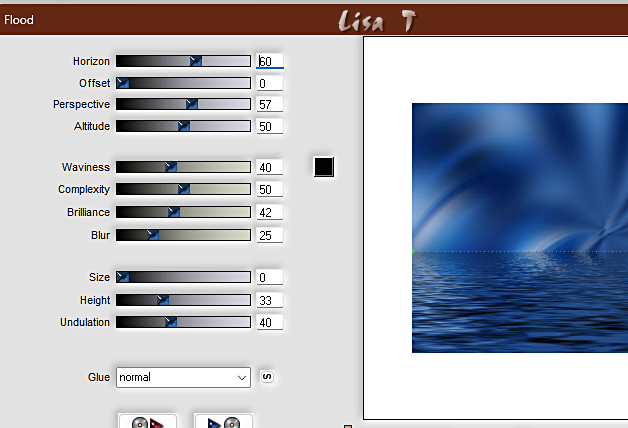
3.
Set the blend mode of this layer to « overlay »
Layers / merge / merge down
4.
Layers / new raster layer
flood fill white
Layers / new mask layer / from image => search in the dropdown menu for
« Narah_Mask_0911»
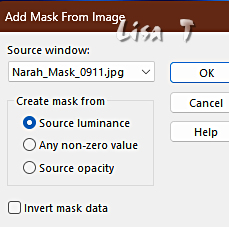
5.
Layers / merge / merge group
View - Rulers
Nable the pick tool => pull the mask down a bit (see final result)
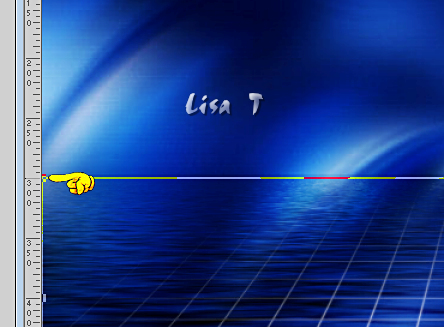
6.
view / Rulers
Press the letter M from your keyboard to disable the tool
7.
effects => 3D effects => drop shadow => 1 / 1 / 100 / 1 / black
Set the blend mode of this layer to « Luminance »
and bring the layer opacity to 60%
Layers / merge / merge down
8.
Layers / new raster layer
flood fill white
Layers / new mask layer / from image and search in the dropdown menu for
« NarahsMask_1821 »
don’t change the settings
9.
Layers / merge / merge group
Effects / 3d effects / drop shadow
v&h at 1
opacity 100
blur 1,00 black
Set the blend mode of this layer to « overlay »
10.
Effects / plugin / flaming pear - flood
and click on ok
don’t change the settings
11.
Layers / new raster layer
flood fill white
12.
open « Narah_mask_0817 »
image => mirror => mirror vertical
and minimize the mask to tray
13.
Layers / new mask layer / from image and search in the dropdown menu for
« Narah_mask_0817 »
don’t change the settings
14.
Layers / merge / merge group
**When closing the mask, do NOT save** as asked
effects => 3D effects => drop shadow => 1 / 1 / 100 / 1 / black
15.
Effects / plugin / flaming pear - flood
and click on ok
don’t change the settings
16.
Put the blend mode of this layer on « dodge »
and bring the layer opacity to 55%
17.
Layers / New raster layer
flood fill white
Layers / new mask layer / from image and search in the dropdown menu for
« Narah_mask_0582 »
don’t change the settings
This was the last mask though......
Marja’s note => Is it not that I let you shift a lot, or give a lot of selections,
it's masks ha ha ha
18.
Layers / merge / merge group
effects => 3D effects => drop shadow => 1 / 1 / 100 / 1 / black
19.
Effects / plugin / flaming pear - flood
Put only the upper slider (horizon) on 70
the rest remains as it is
20.
Put the blend mode of this layer on « Luminance »
and bring the layer opacity to 85%
Layers / merge / merge visible layers
21.
copy / paste « L645 deco by mpd© » as new layer
22.
Marja’s note = > Oops.... now let me “offset” again.... Sorry...
effects => image effects => offset => H : -201 / V : -112 / tick « custom » and « transparent »
Put the blend mode of this layer on « Luminance »
23.
copy / paste « L645 deco 1 by mpd© » as new layer
24.
effects => image effects => offset => H : 0 / V : 175 / tick « custom » and « transparent »
25.
effects => 3D effects => drop shadow => 10 / 10 / 50 / 15 / black
26.
copy / paste « L645 deco 2 mpd© » as new layer
27.
effects => image effects => offset => H : 310 / V : 0 / tick « custom » and « transparent »
28.
Layers / arrange / move down
Set the blend mode of this layer to « dodge »
and bring the layer opacity to 80%
29.
Layers / merge / merge all layers
Set your foreground to color #05207a
(or a dark color of your choice matching your personal colors)
30.
Image / add borders
1 pixel foreground
40 pixels white
31.
Selections / select all
Selections / modify / contract by 40
Selections / invert
32.
Effects / plugin / AAA Frames - foto frame
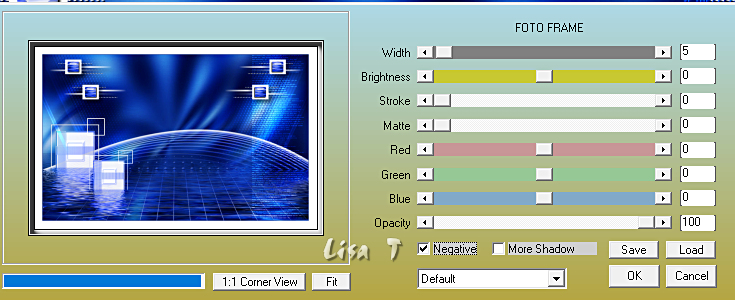
Select nothing
33.
image => resize => tick « resize all layers » => 800 px width
34.
open « Renee-TUBES-Mai-2-2024-26 »
In your layers palette, highlight middle layer
Edit / copy and return to your main work
Edit / paste as a new layer
35.
image => resize => untick « resize all layers » => 50%
(this depends on your tube)
If you use the same tube as Marja
do NOT move it!
36.
Effects / plugin / flaming pear - flood
and put only the upper slider (horizon) at 90
The rest remains as it is
37.
Adjust / sharpness / sharpen
effects => 3D effects => drop shadow => 10 / 10 / 50 / 20 / black
Effects / 3d effects / drop shadow
38.
copy / paste « L645 text by mpd© » as new layer
move the text to right bottom corner (see final result)
or where you like it
39.
Add Marja’s Watermark
apply your watermark on a new layer and place properly
write your licence number if you used a licenced tube
40.
Layers / merge / merge all layers
Save your work as a jpeg file

My tag with one of my tubes
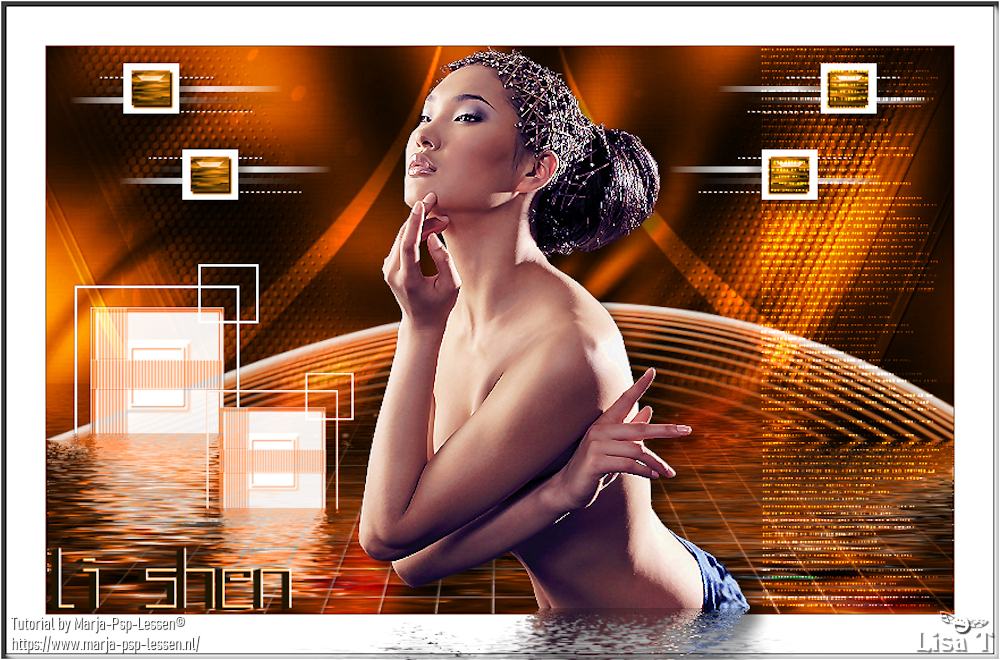
Don't hesitate to write to me if you have any trouble with this translation
If you create a tag (using other tubes than those provided) with this tutorial
and wish it to be shown, send it to me !
It will be a real pleasure for me to add it to the gallery below


created by ▼ Birte
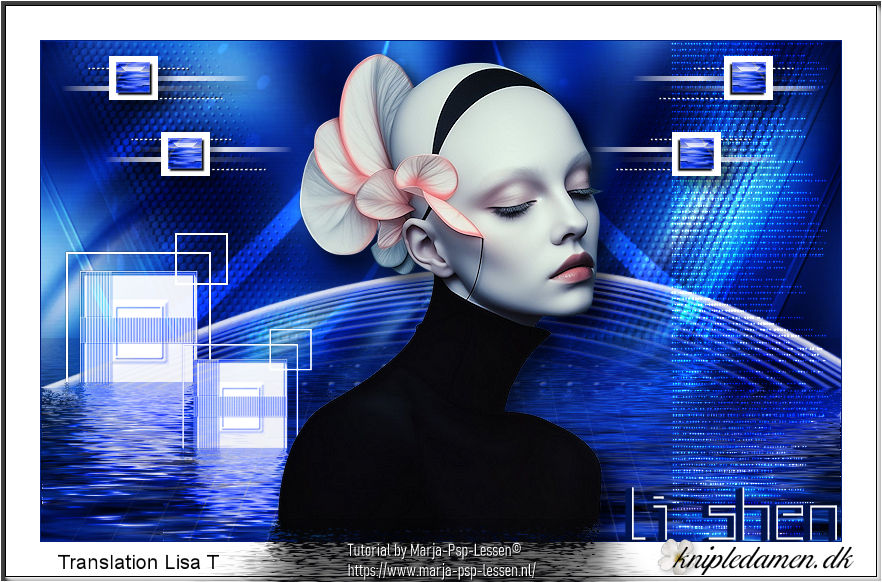
created by ▼ Nadège
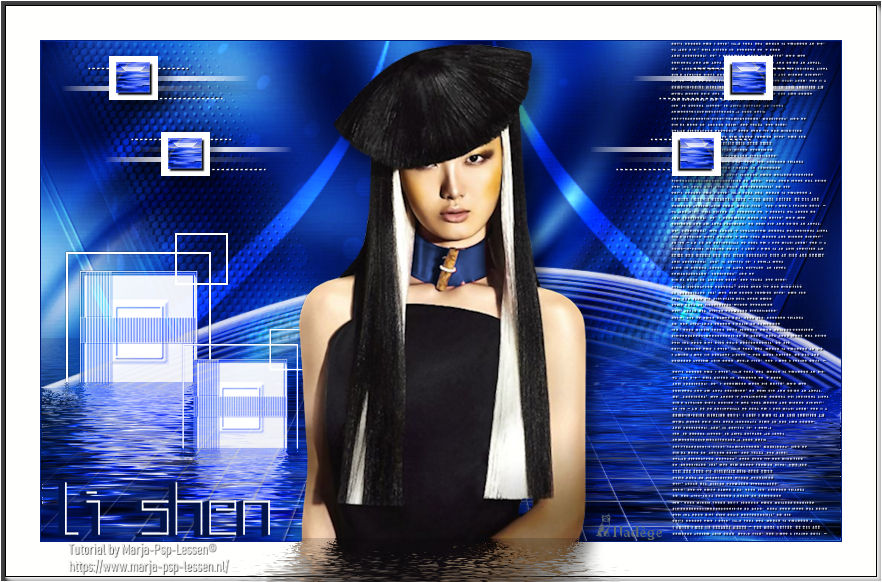
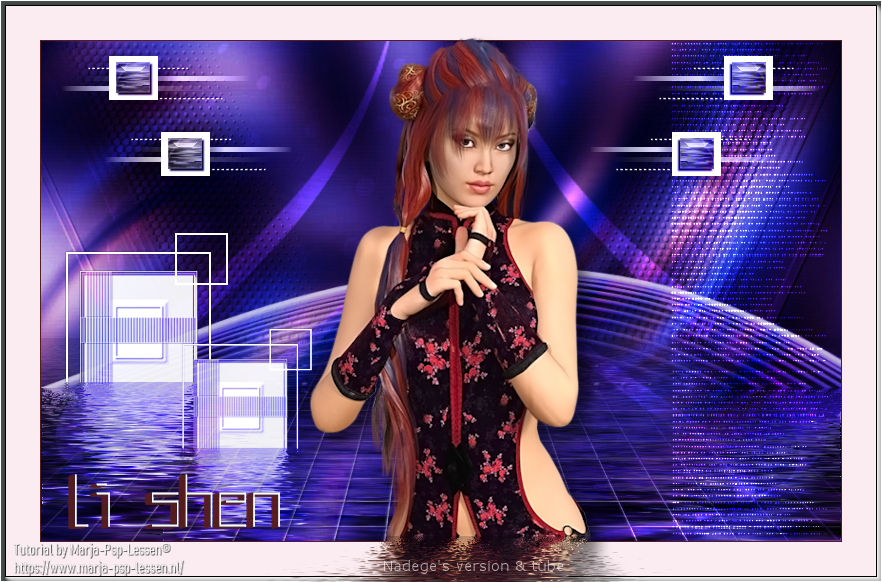
created by ▼ Nena Silva


back to the boards of Marja’s tutorials
20 tutorials on each board
board 1 => 
at the bottom of each board you will find the arrows allowing you to navigate from one board to another


|