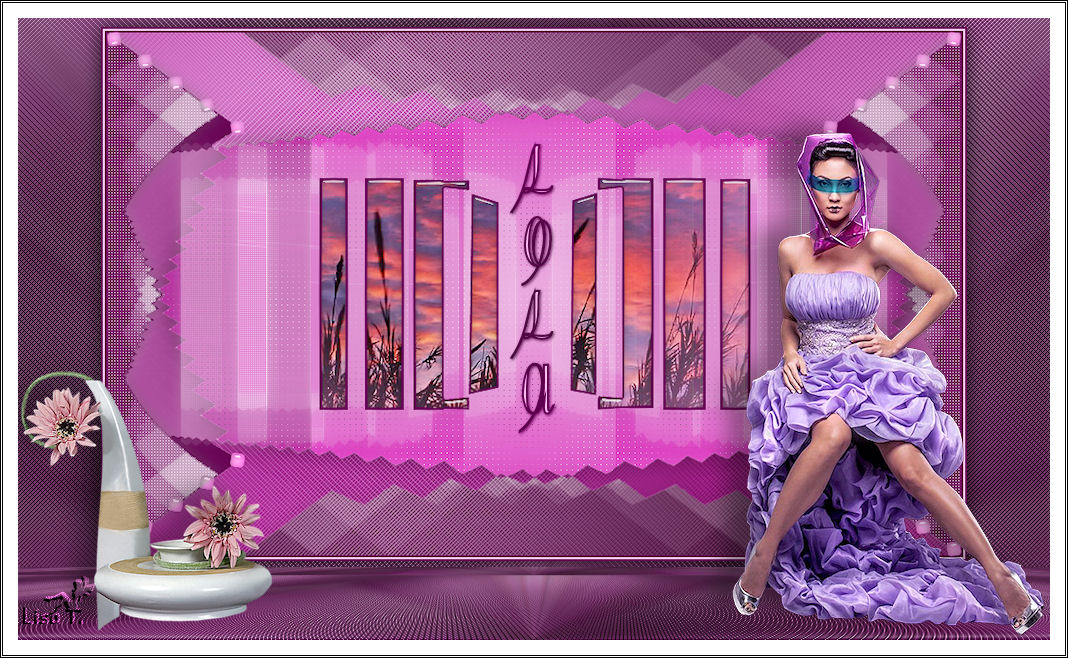
Lola
I'm Member of Tutorial Writers Inc.

original can be found Here

Material
1 alpha layer
7 tubes
1 filters folder (install BKG ans AB 08 in Unlimited 2)
open all elements in PSP

Thank you to the tubers : J.V.d.E – Didier - luna
Filters used
plugin AB08 – Mura’s Meister – VM Extravaganza – BKG Designers Sf10 III – Toadies – Andromeda – ASF Import – L&K
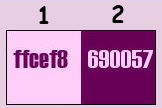
Colors palette
Use the paintbrush to follow the lines
Grab it with the left click of your mouse
 |
Execution
open the alpha layer “Lola”, duplicate it (window/duplicate) and close the original.
we will work on the copy
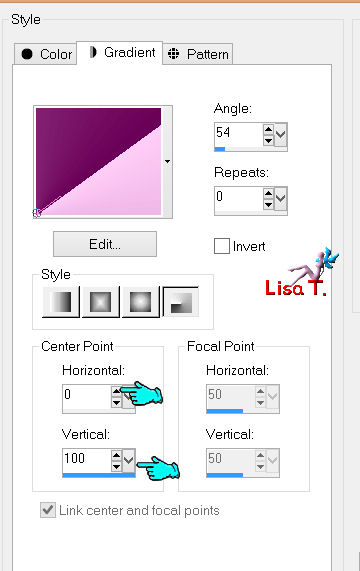
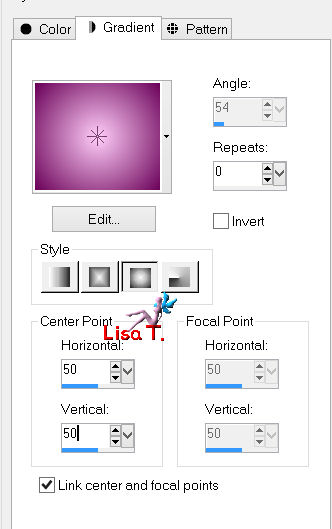
prepare a radial gradient with 2 colors of your main tube (light color as foreground and dark color as background). Paint the alpha layer with the following gradient
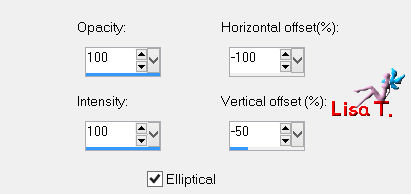
effects/reflection effects/feedback
layers/duplicate – image/mirror
in the layers palette, set the blend mode on “burn” or “multiply”
(or other, but be careful ! the light color must not turn white), and the opacity on 100%
layers/merge/merge visible
effects/plugins/BKG Designers Sf10 III/SIM4 way Average

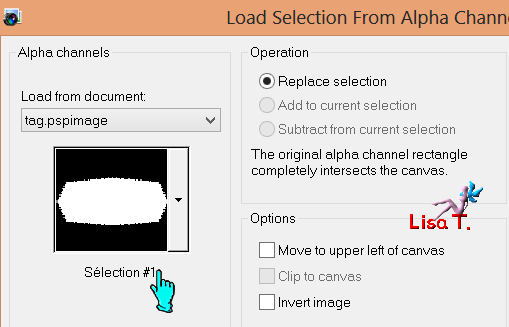
selections/load-save selection/load selection from alpha channel/selection 1
selections/promote selection to layer
adjust/blur/gaussian blur : 15
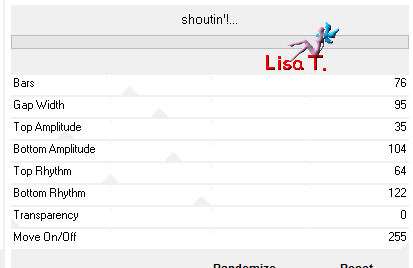
effects/plugins/VM Extravaganza/Shoutin'
effects/edge effects/enhance
selections/select none
Duplicate this layer – image/flip – layers/merge/merge down
effects/3D effects/drop shadow : 0 / 0 / 50 / 30 / black
effects/plugins/Andromeda/persective

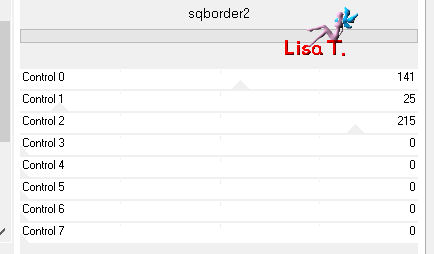
effects/plugins/AFS Import/sq Border 2
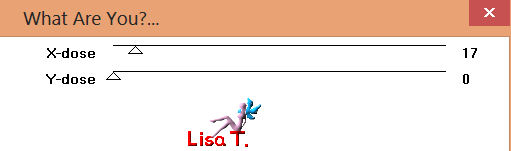
effects/plugins/Toadies/What Are You?...
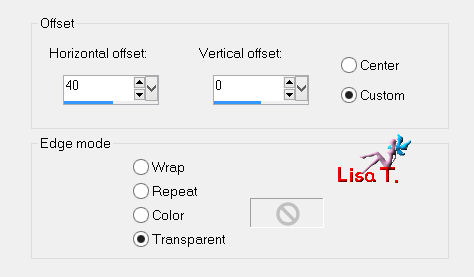
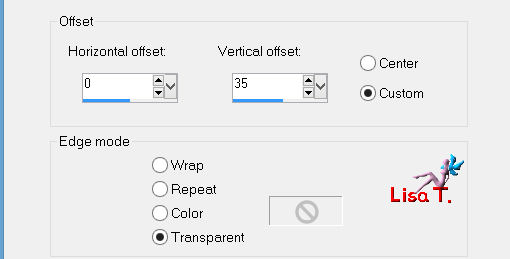
effects/image effects/offset
layers/duplicate
image/mirror – layers/merge/merge down
(if you cannot use Andromeda Perspective replace the layer concerned with the one provided in the material
(colorize it if necessary) and skip the instructions fromto
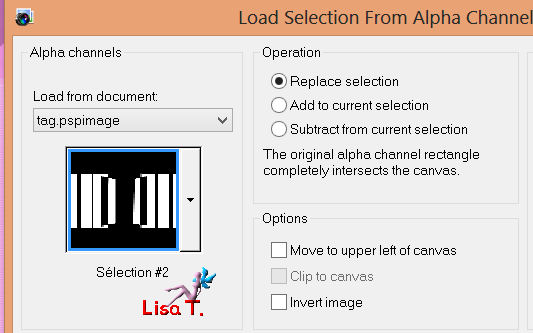
selections/load selection from alpha channel : selection 2
open the tube “lunapaisagem5715”, copy and paste as a new layer
place the parts of the image you want to keep into the selections
selections/invert – press the delete key of ou keyboard
selections/invert
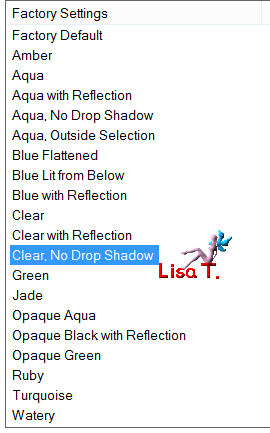
effects/plugins/Eye Candy 5 IMpact/Glass/Clear no drop shadow
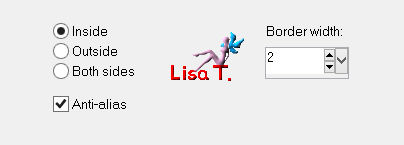
selections/modify/select selection borders
activate the flood fill tool (match mode : none) and paint the selections with the dark color
effects/3D effects/drop shadow : 0 / 0 / 21 / 30 / black
layers/merge/merge down
selections/select none

layers/new raster layer - layers/arrange/move down
selections/load selection from alpha channel : selection 1
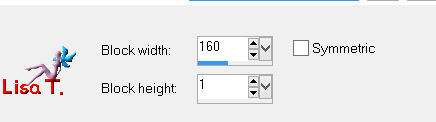
paint this layer with a sunburst gradient as shown below
effects/distortion effects/pixelate
effects/plugins/L&K/Zitah
effects/3D effects/drop shadow as before and select none
in the layers palette, set the blend mode on “luminance” or “burn”, and the opacity between 70% and 85% (according to your colors)
activate the backgound layer
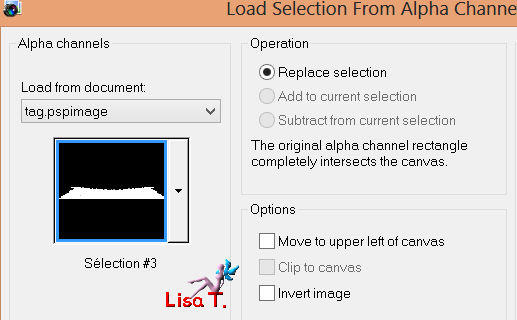
selections/load selection from alpha channel : selection 3
selections/promote selection to layer
effects/plugins/plugins AB 08 : WireMeshing unlimited
in the layers palette, set the blend mode on “soft light”
opacity on 100% and select none
layers/duplicate – image/flip
in the layers palette, set the blend mode on “screen” (or other) and the opacity on 80%
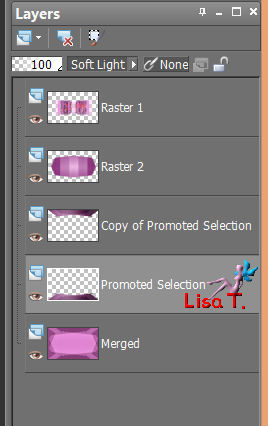
activate the layer “promoted selection ”(second one from the bottom)
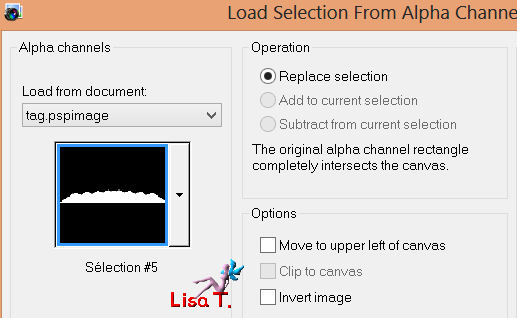
selections/load selection from alpha channel : selection 5
selections/promote selection to layer
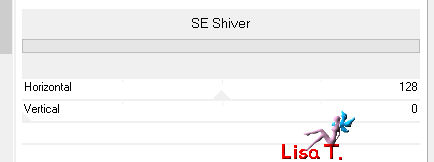
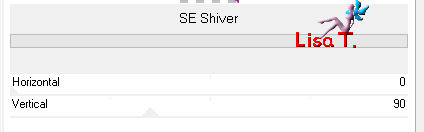
effects/plugins/BKG Designer Sf10 III/SE Shiver
selections/select none
layers/arrange/bring to top
layers/duplicate – image/flip – layers/merge/merge down
effects/3D effects/drop shadow as before
in the layers palette, set the opacity on 60%
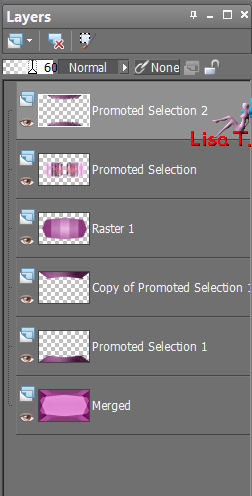
layers/merge/merge all (flatten)
selections/load selection from alpha channel : selection 4
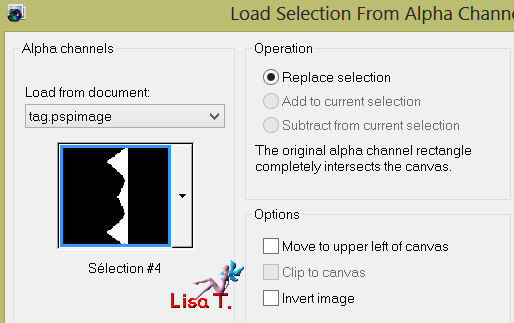
selections/promote selection to layer
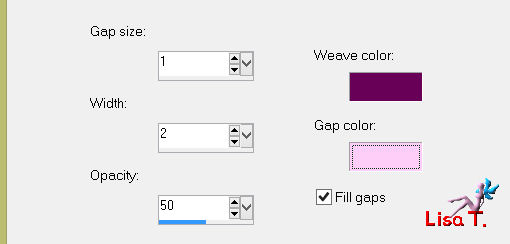
effects/texture effects/weave (weave color 2, gap color 1)
effects/3D effects/drop shadow : 0 / 0 / 30 / 20 / black
effects/plugins/BKG Designer Sf10 III/SE Shiver
selections/select none – effects/3D effects/drop shadow as before
layers/duplicate – image/mirror
layers/merge/merge all (flatten)
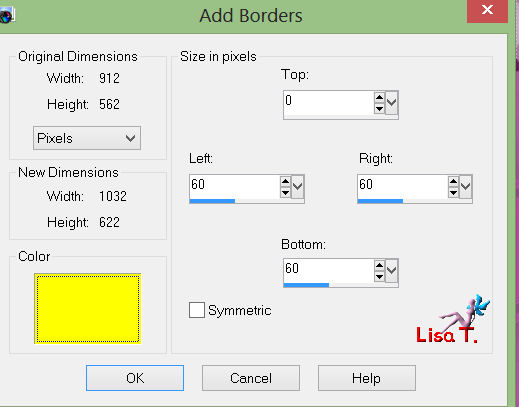
image/add borders :
2 pixels color 2
2 pixels color 1
2 pixels color 2
edit/copy
image/add borders (disable symmetric) choosing a contrasting color
selections/select all
edit/paste into selection (the image is in the clipboard)
selections/select none
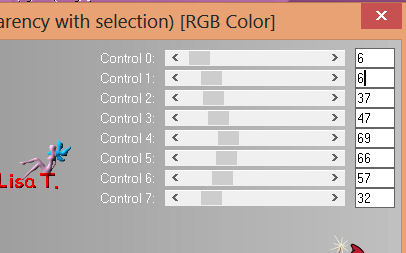
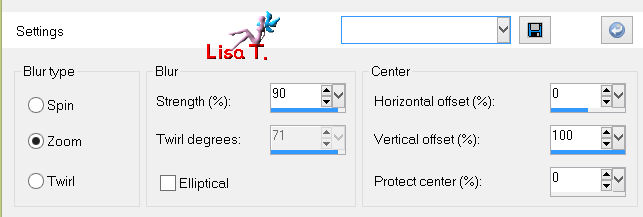
adjust/blur/radial blur
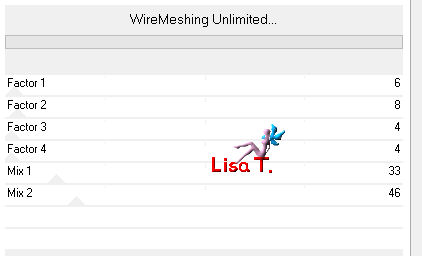
effects/plugins/plugins AB 08 WireMeshing Unlimited
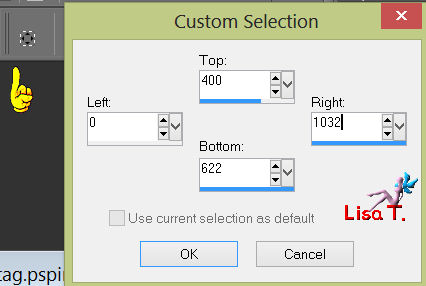
selection tool/custom selection
selections/promote selection to layer
effects/plugins/Mura’s Meister/Perspective Tiling

selections/select none
effects/3D effects/drop shadow 0 / 0 / 21 / 30 / black
edit/paste as a new laeyr (your tag stil in the clipboard)
activate the layer “deco Lola Vivi”, copy and paste as a new layer. Don’t move it
(colorize it if necessary, and set the blend mode on Luminance or Luminance (Legagy) )
layers/merge/merge down
image/resize : 95% (disable “resize all layers”)
effects/image effects/offset
effects/3D effects/drop shadow 0 / 0 / 75 / 30 / black
activate the tube “didierfemme54mars2013”, resize : 90%
copay and paste as a new layer. Move it to the right
adjust/sharpness/sharpen
effects/3D effects/drop shadow : -7 / 22 / 36 / 32 / black
activate the tube “flower vase”, resize : 75%
copy and paste as a new layer, move it to the left and drop shadow as before
activate the tube “titre lola”, copy and paste as a new layer
colorize it according to your colors and move it in the midlle of the tag (see final result)
layers/merge/merge all (flatten)
image/add borders/enable symmetric :
15 pixels white color
1 pixel black color
1 pixel color white
1 pixel color black
don’t forget to sign
resize if necessary, save as... type JPEG
thank you to have realized it
if you want, you can send your creation to Vivi

it will be her pleasure to present it in the gallery of the tutorial
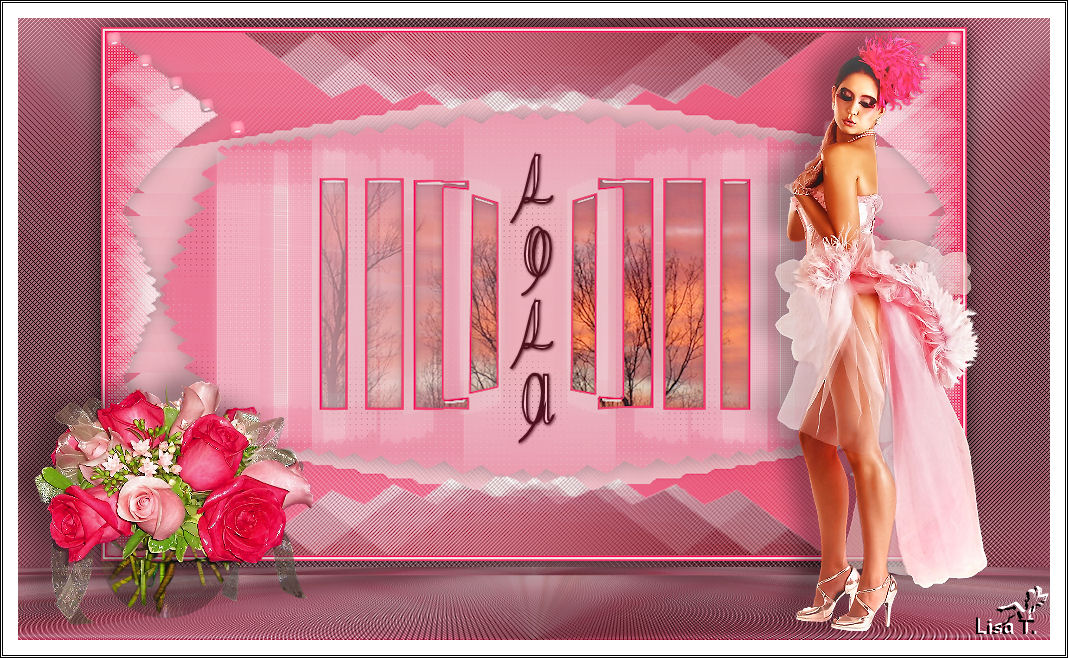
Here is my try with my tubes
Back to the boards of Vivi's tutorials
board 1  board 2 board 2

|