Nature circus

Original tutorial can be found here


This tutorial was created by Libellule with PSPX7
I use PSPX8
but it can be realized with other versions
General conditions
This tutorial is an original and personal design of Libellule.
any resemblance with another one would be pure coincidence.
You can share your creations, create signatures for your friends or for groups
but you are not allowed to use this tutorial in your site, or claim it as yours
You must indicate the copyrights of the artists.
Thank you to respect the rules.

If you are interested by translating this tutorial in another language
thank you to ask Libellule.
a link towards her site will be asked
It is strictly forbidden to use the material provided for your tutorials
and to share it in groups or forums
Libellule has received the authorizations to use the tubes she provides
see here

Preparation
install the plugins if necessary
open the tubes and duplicate them. Work with the copies, close the originals
double click on the preset to install it
Colors
color 1/foreground color #b8f2da
color 2/background color #4e9893
color 3 -> #243c3e
color 4 -> #a82526
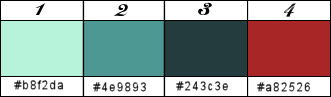
you may change the colors, according to your tubes
if you change these colors, choose 3 matching colors, and a contrasting one
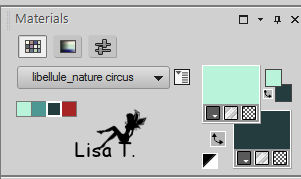
prepare colors 1 and 3 in the materials palette
Filters
*V* Kiwi's Oelfilter
Simple
Transparency
Tramage
Atténuation
Alien Skin Eye Candy 5.0 Impact
MuRa's Filter Meister

Material

Use the Pencil to follow the steps
left click to grab it

Realization
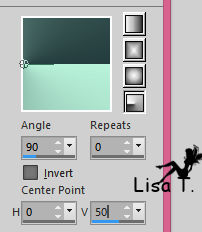
1
in the materials palette, prepare a radial gradient
2
open Alpha layer, duplicate and close the original
3
flood fill with the gradient
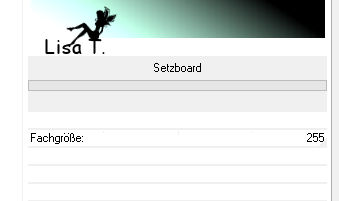
4
effects -> plugins -> *V* Kiwi’s Oelfilter / Setzboard
layers -> duplicate
5
effects -> plugins -> Transparency / Eliminate Black
6
image -> mirror -> mirror horizontal
image -> mirror -> mirror vertical
7
layers -> merge -> merge visible
8
effects -> plugins -> Simple / Diamonds
9
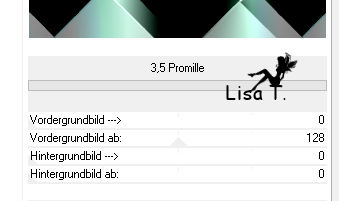
effects -> plugins -> *V* Kiwi’s Oelfilter / 3,5 Promille
10
effects -> plugins -> Tramages / Tow The Line -> default settings
11
effects -> plugins -> Simple / 4 Way Average -> default settings
12
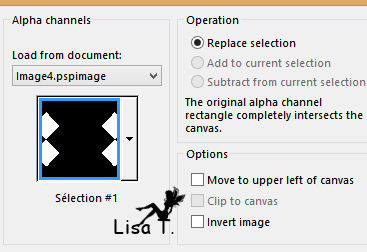
selections -> load-save selection from alpha channel
13
layers -> new raster layer
14
copy / paste into seleciton the paper « acquap13 belvidotti »
if you use differents colors, set blend mode on « Luminance (Legacy) »
15
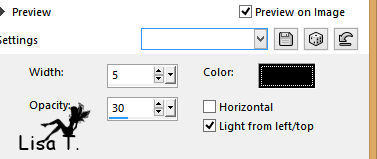
effects -> texture effects -> blinds
16
selections -> modify -> select selection borders -> 2 pixels
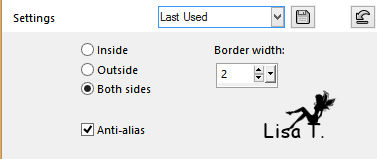
flood fill selection with color 3 or 2 (as you like)
17
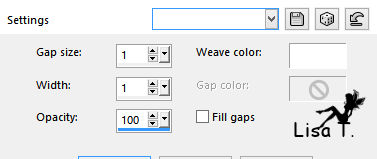
effects -> texture effects -> weave
selections -> select none
18
layers -> duplicate
19
image -> resize -> uncheck « resize all layers » -> 90%
20
effects -> plugins -> Atténuation -> radial blur
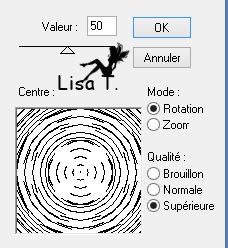
if you have difficulties with this plugin, adjust -> blur -> radial blur
21
layers -> duplicate
22
effects -> image effects -> seamless tiling
23
activate bottom layer
24
copy / paste as new layer the tube « circus_decor1 »
don’t move it
colorize the result if you changed colors
25
effects -> edge effects -> enhance
26
layers -> merge -> merge visible
27
edit -> copy
edit -> paste as new layer
28
edit -> paste as new layer once more
we’ll now create a « button »
29
effects -> geometric effects -> circle (check « transparent »)
layers -> duplicate
30
image -> free rotate -> left / 90°
31
opacity of the layer : 50%
32
layers -> merge -> merge down
33
selections -> select all
selections -> float - selections -> defloat
34
effects -> distortion effects -> punch / 50
35
selections -> select none
36
image -> resize -> uncheck « resie all layers » -> 10%
37
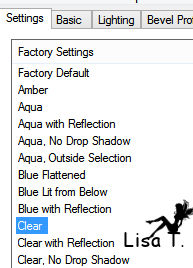
effects -> plugins -> Alien Skin Eye Candy 5 Impact / Glass / Clear -> default settings
38
save the « button » and set aside for a later use
39
back to your work
delete top layer (the button)
activate top layer
40
image -> resize -> 90%
41
selections -> select all
selections -> float - selections -> defloat
42
selections -> modify -> select selection borders
43
flood fill with color 4
44
effects -> texture effects -> weave
45
selections -> select none
46
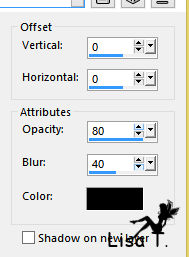
effects -> 3D effects -> drop shadow
47
copy / paste as new layer « LF-Woman-05042016 »
don’t forget to erase the watermark
48
image -> resize -> 90%
49
adjust -> sharpness -> sharpen (skip this step if you didn’t resize your tube)
50
move it to the right
51
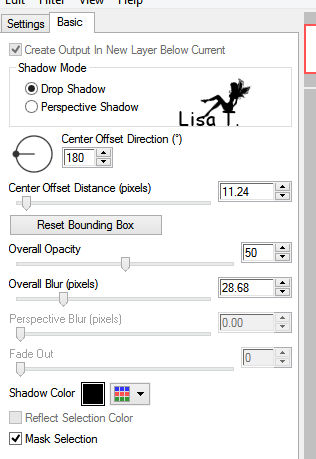
effects -> plugins -> Alien Skin Eye Candy 5 Impact / Perspective shadow
preset Libellule3
52
copy / paste as new layer « sparkles »
53
move it as shown on the example
layers -> arrange -> move down
54
activate top layer
55
copy / paste as new layer the button created before
56
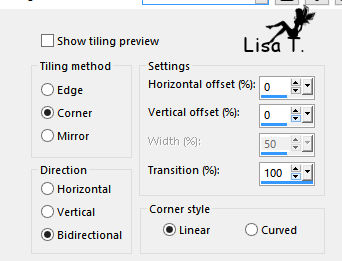
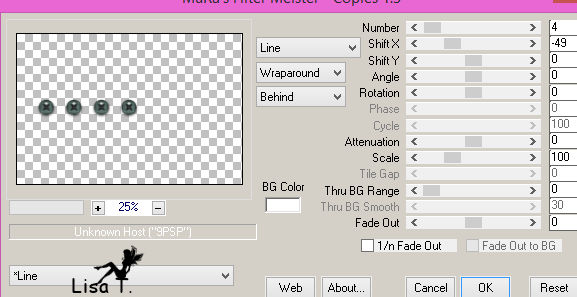
effects -> plugins -> Mura’s Meister / Copies / Lines
57
image -> free rotate -> left / 90°
58
move it to the left
59
layers -> duplicate
60
image -> mirror -> mirror horizontal
61
image -> flip -> flip horizontal (skip this step with older versions of PSP)
62
layers -> merge -> merge down
63
effects -> plugins -> Alien Skin Eye Candy 5 Impact / Perspective Shadow (as in step 51)
64
acitvate Raster 1
65
copy / paste as new layer « circus_decor2 »
image -> negative image
66
effects -> image effects -> offset
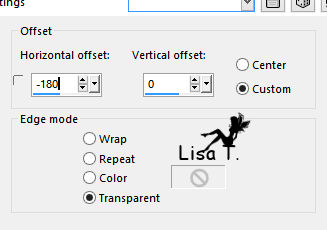
67
opacity of the layer : 45%
68
copy / paste as new layer « circus_wordart »
69
effects -> image effects -> offset
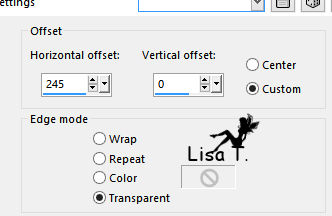
70
activate bottom layer
71
adjust -> blur -> gaussian blur / 40
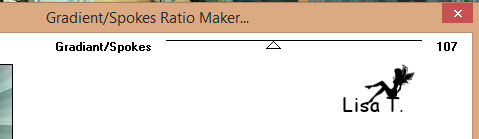
72
effects -> plugins -> Tramages Gradient / Spokes Ratio Maker
73
effects -> edge effects -> enhance
74
selections -> select all
image -> add borders -> 3 pixels color 4
75
selections -> invert
76
effects -> texture effects -> weave
selections -> select none
77
image -> add borders -> 1 pixel color 3
78
apply your signature
layers -> merge -> merge all (flatten)
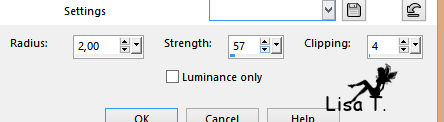
79
adjust -> sharpness -> unsharp mask
80
files -> save as... type .jpeg
don’t optimize
to write to Libellule

If you create a tag with this tutorial, don’t hesitate to send it toLibellule
She will be very glad to see it and present it in her galery
at the end of the tutorial on her site
If you want to be informed about Libellule’s new tutorials and work
join her newsletter

Back to the boards of Libellule’s tutorials
board 2  board 3 board 3

|