100% Nature
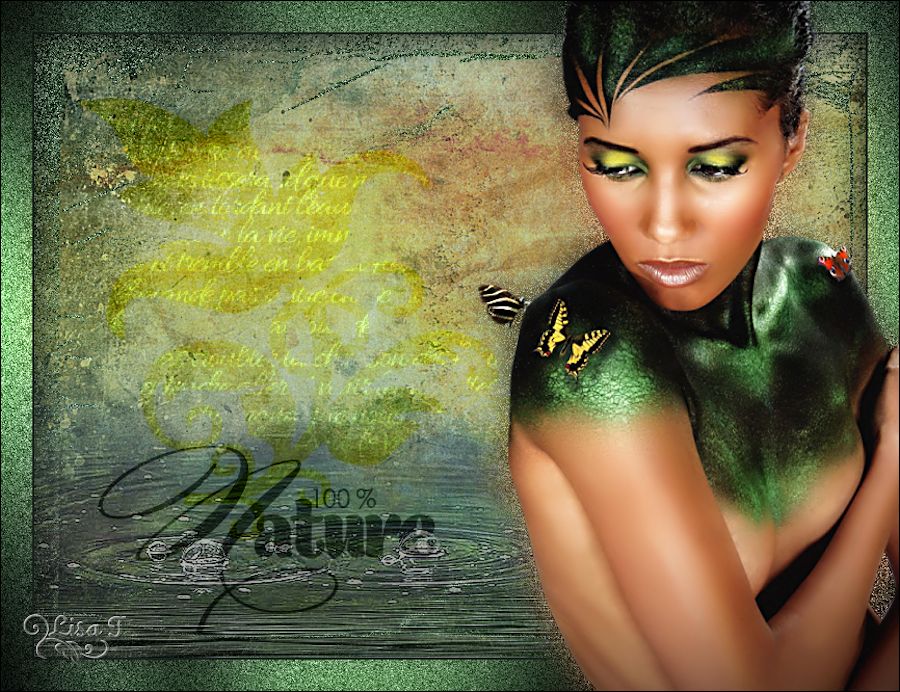
Original tutorial can be found here


This tutorial was created using PSPX2
I use PSPX7
but it can be realized with other versions

General conditions
This tutorial is an original and personal design of Libellule.
any resemblance with another one would be pure coincidence.
You can share your creations, create signatures for your friends or for groups
but you are not allowed to use this tutorial in your site, or claim it as yours
You must indicate the copyrights of the artists.
Thank you to respect the rules.

If you are interested by translating this tutorial in another language
thank you to ask Libellule.
a link towards her site will be asked

It is strictly forbidden to use the material provided for your tutorials
and to share it in groups or forums

Libellule has received the authorizations to use the tubes she provides
see here

Implementation
install the plugins
copy the selections into the folder “selection” of “My PSP Files”
copy the masks in the folder “mask” of “My PSP Files” or open with PSP and minimize it (best method)
open the tubes and duplicate them. Work with the copies, close the originals

Colors
color 1/foreground color/#283d2e
color 2/background color/#5a8b54
color 3 -> #f3edb7

prepare the colors in the materials palette
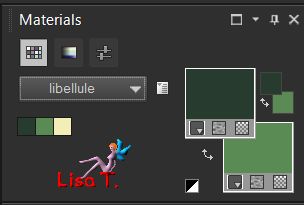
you may change the main colors, according to your tubes
but keep a dark color as color 1 and a light color as color 2
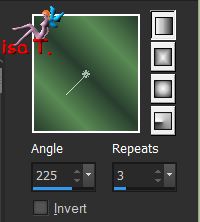
in the materials palette, prepare a linear gradient/angle 225 / repeats 3

Filters
Adjust Variations, Flaming Pear, Graphic Plus, User defined filter


Material
1 color palette, 1 alpha layer (selections),1 tube "femmes" by Cibi Bijoux,
1 tube "Goutte d'eau" by Guismo, 1 mask & 1 brush tip by Libellule, .


Use the Pencil to follow the steps
left click to grab it


Realization
Step 1
open the alpha layer, duplicate and close the original
work with the copy
Step 2
selections/select all
copy/paste into selection the paper « AD_beautiful_earth_pp2 »
selections/select none
Step 3
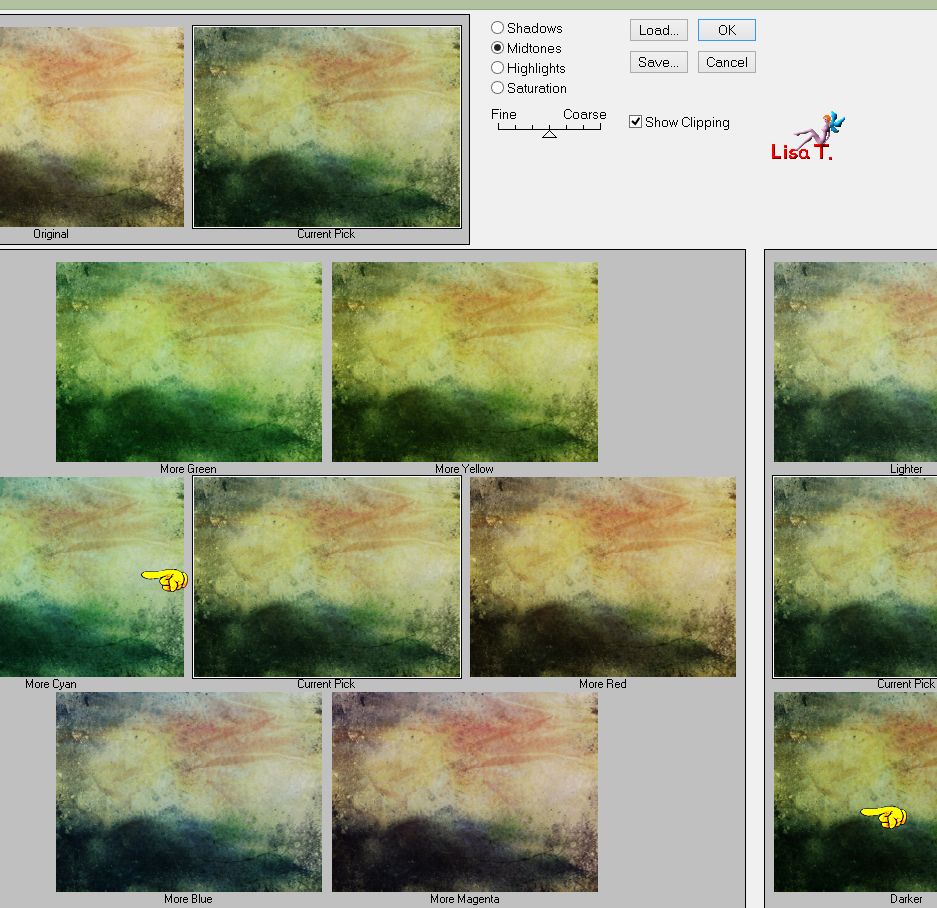
effects/plugins/Adjust/Variations
click once on « mode cyan » and once on « mode darker »
you may change tha variation according to your own colors
Step 4
adjust/sharpness/sharpen more
Step 5
layers/new raster layer
fill with the gradient
adjust/blur/gaussian blur/100
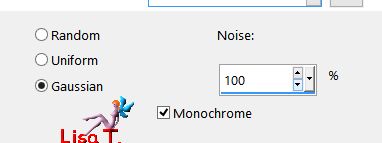
adjust/add-remove noise/add noise
Step 6
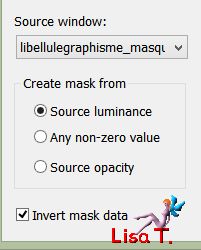
open the mask « libellulegraphisme_masque_100%_nature » and minimize it to tray
layers/new mask layer/from image
Step 7
effects/user defined filter/Emboss 6
layers/merge/merge group
Step 8
layers/new raster layer
Step 9
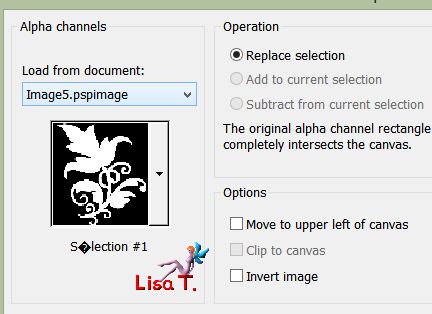
selections/load selection/from alpha channel/selection #1
Step 10
fill selection with color 3, keep selection active
Step 11
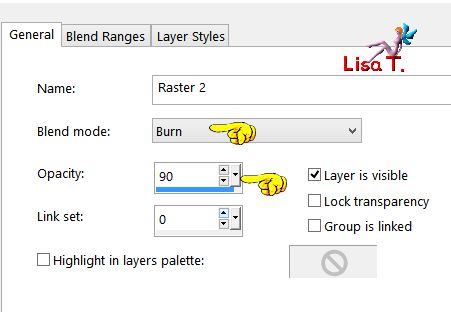
blend mode of the layer : Burn
keep selection active
Step 12
activate the paint brush tool and import the brush porvided « libellule_pinceau_100%nature »
the size must be : 550 pixels

Step 13
layers/new raster layer
set color 1 as foreground color
click once into selection, make sure the brush is in the right place into selection
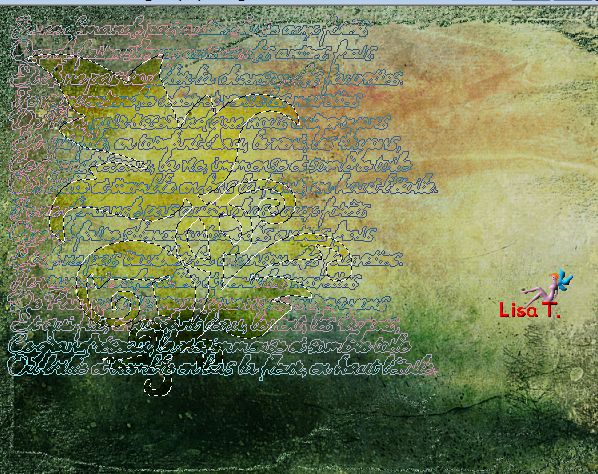
selections/select none
Step 14
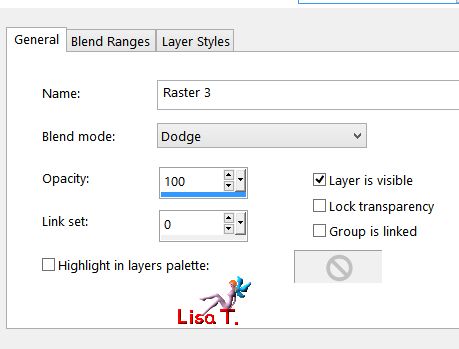
blend mode : Dodge
Step 15
copy/paste as new layer the tube « calguismistgouttesdepluiedansnae22012012 »
Step 16
image/resize/incjeck « resize all layers »/85%
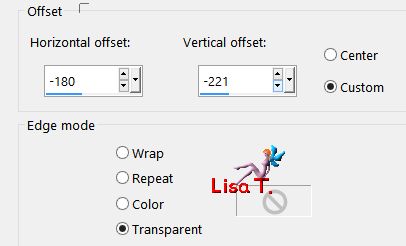
effects/image effects/offset
Step 17
opacity of the layer : 68%
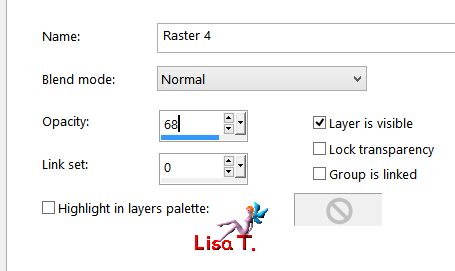
Step 18
layers/arrange/move down twice
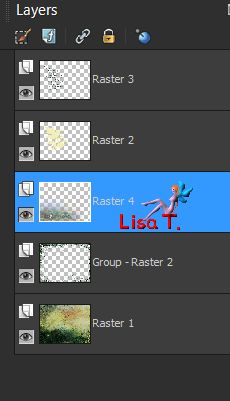
Step 19
selections/load selection/from alpha channel/selection #2
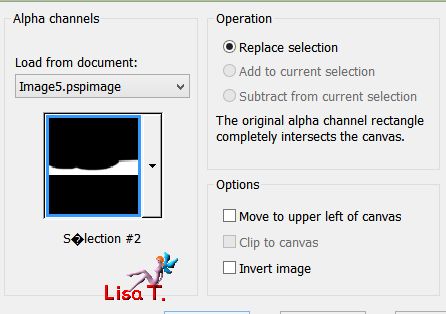
Step 20
effects/plugins/Flaming Pear/Flood
find the preset provided by clicking on the red triangle
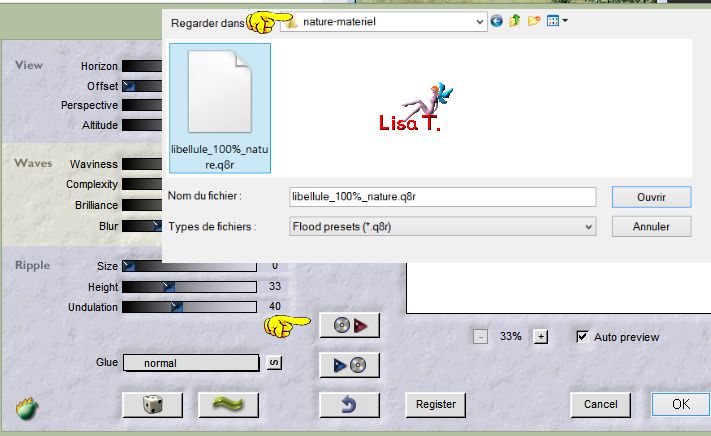
here are the settings
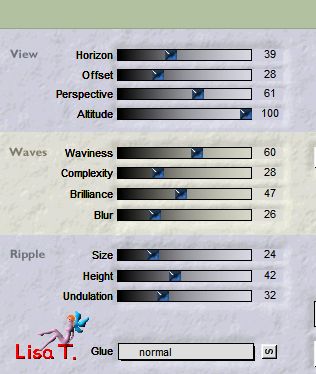
selections/select none
Step 21
copy/paste as new layer the word art provided « libellule_100%nature_mot_art »
move it to the left (see final result)
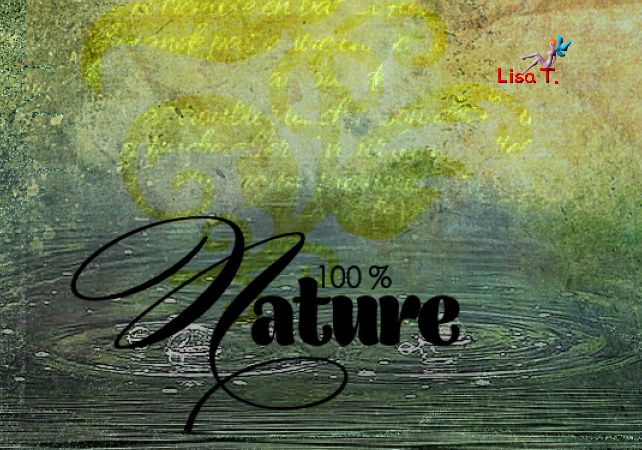
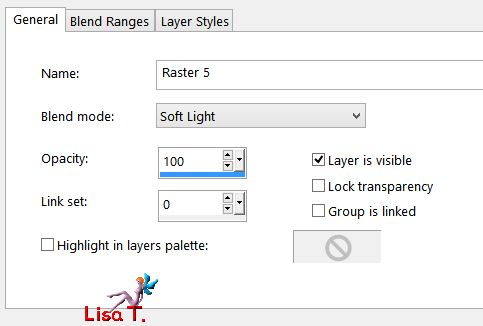
Step 23
blend mode of the layer : soft light
Step 24
image/add borders/2 pixels color 1
selections/select all
Step 25
image/add borders/30 pixels with a contrasting color
selections/invert
fill with the gradient prepared at the begining
adjust/blur/gaussian blur/20
Step 26
adjust/add noise
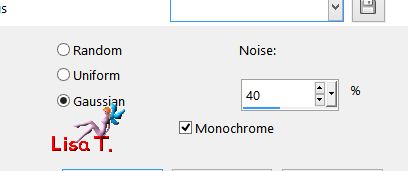
Step 27
effects/plugins/Graphic Plus/Cross Shadow/default settings
keep selection active
Step 28
effcts/3D effects/drop shadow
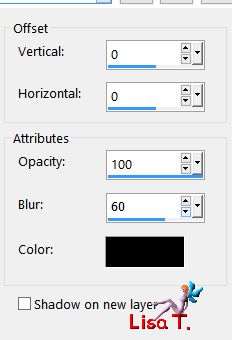
selections/select none
Step 29
copy/paste as new layer the tube « Miss_butterfly2_CibiBijoux »
Step 30
effects/image effects/offset
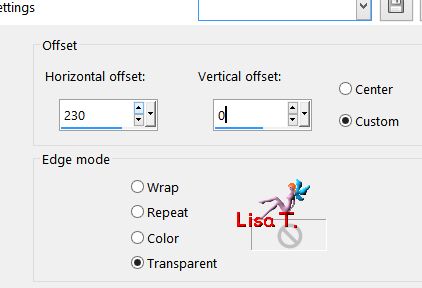
Step 31
adjust/sharpness/unsharp mask

Step 32
layers/duplicate – adjust/blur/gaussian blur/20
Step 33
adjust/add noise
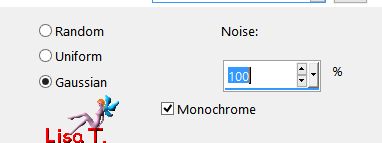
Step 34
layers/arrange/move down
Step 35
image/add borders/1 pixel black
apply your signature
layers/merge/merge all (flatten)

to write to Libellule


If you create a tag with this tutorial, don’t hesitate to send it toLibellule
She will be very glad to see it and present it in her galery
at the end of the tutorial on her site
Your gallery

If you want to be informed about Libellule’s new tutorials and work
join her newsletter


My tag with my tubes
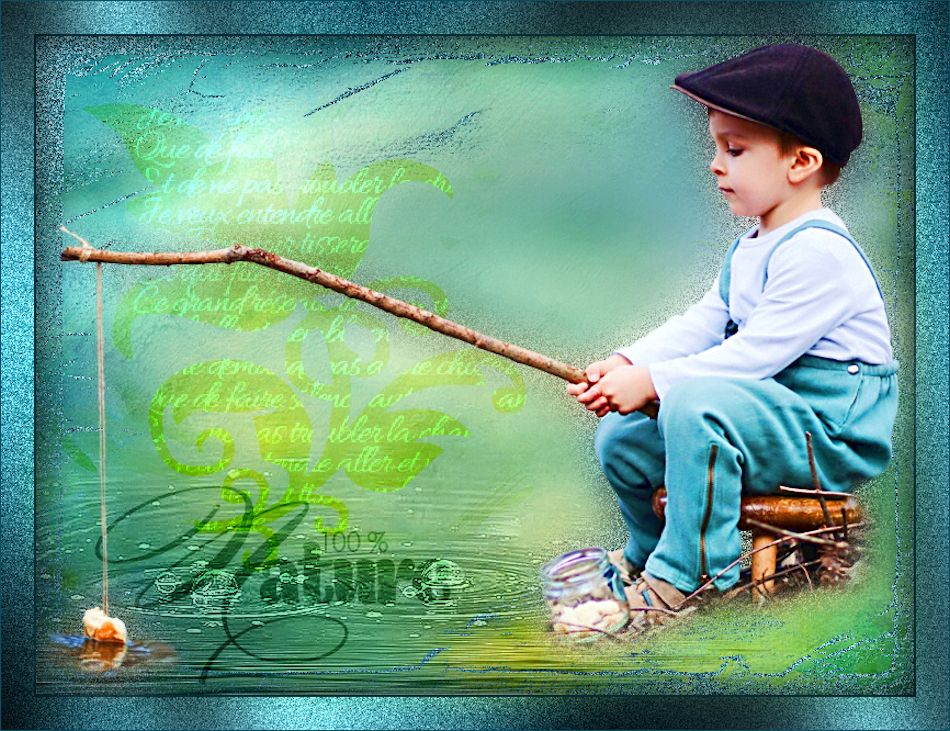
Back to the boards of Libellule’s tutorials
board 1  board 2 board 2 

|