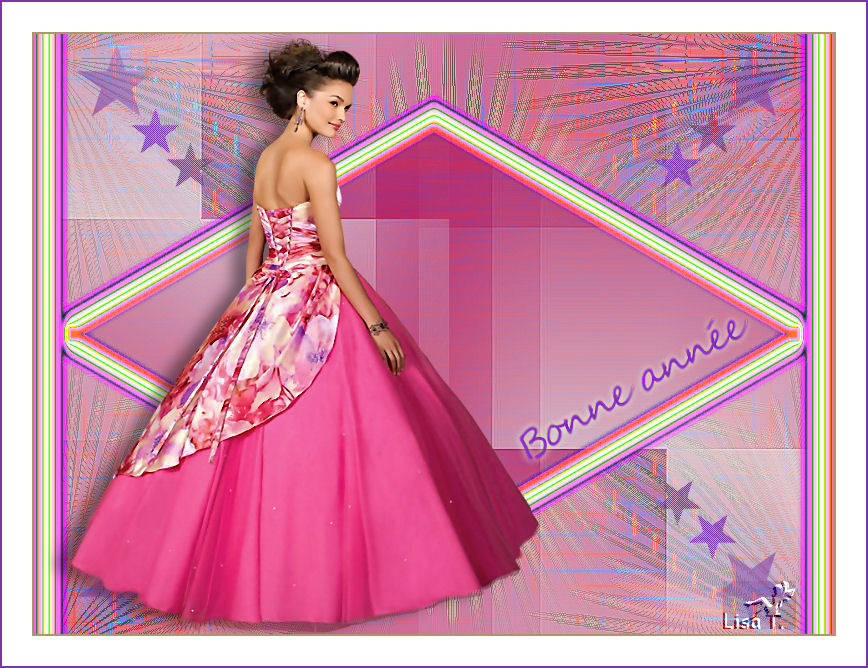
Happy New Year
Original tutorial can be found here
I am member of TWInc
this tutorial is protected

This tutorial was created using PSPX2
but it can be realized with other versions

medium level

General conditions
This tutorial is an original and personal design of Libellule.
any resemblance with another one would be pure coincidence.
You can share your creations, create signatures for your friends or for groups
but you are not allowed to use this tutorial in your site, or claim it as yours
You must indicate the copyrights of the artists.
Thank you to respect the rules.
If you are interested by translating this tutorial in another language
thank you to ask Libellule.
a link towards her site will be asked
Implementation
the mask was created by Nikita
The tube was created by Misticheskaya
click on the name of the plugin to download it, if you don’t have it yet
Unlimited - PhotoshopII - Eliminate White - Sandflower Specials (imported in unlimited)
Mura’s Meister Copies
Material

1 color palette - 1 mask (Nikita) - 1 brush tip (stars) - 2 selections
install the plugins in the special folder of PSP
copy the selections in the special foder of “My PSP Files”
you can copy the mask in the special folder of “My PSP Files”
or just activate it in PSP, then minimize it
Use the Paint Brush to follow the steps
Left click to grab it

Realization
color palette
here are the colors chosen by Libellule
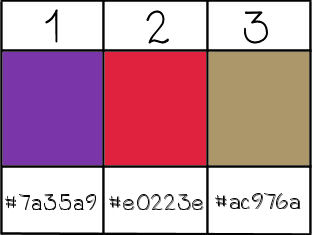
if you change the colors, don’t change color 3
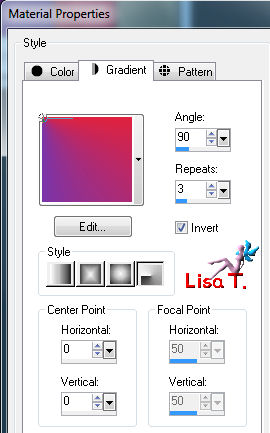
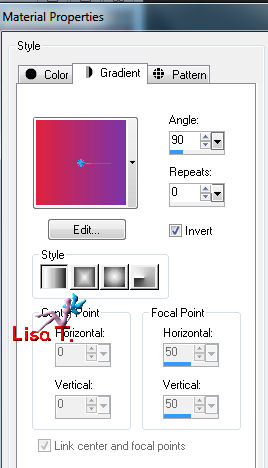
in the materials palette, set color 1 as foreground, and color 2 as background
prepare a radial gradient 90 / 3
Step 1
open a new background layer (transparent) / 800/600 pixels
paint with color 3
Step 2
layers/new raster layer - paint with the gradient
Step 3
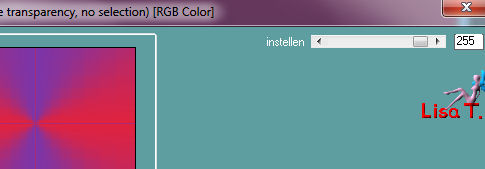
effects/plugins/PhotoshopII/Bethanie
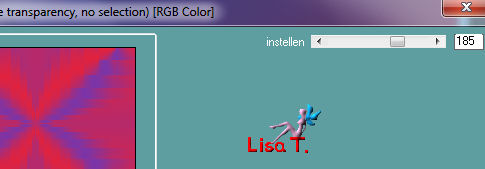
and again, same plugin, with new settings
Step 4
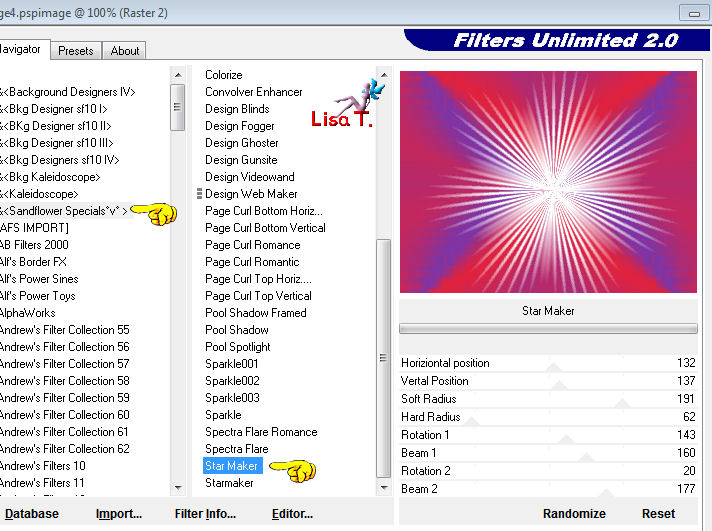
effects/plugins/Unlimited 2/Sandflower Specials “V”/Star Maker
effects/edge effects/enhance
effects/edge effects/enhance more
Step 5
effects/plugins/Transparency/Eliminate White/defautl settings
layers/duplicate
effects/image effects/seamless tiling/default settings
layers/merge/merge visible
in the layers palette, set the opacity on 70%
Step 6
layers/new raster layer/paint with white
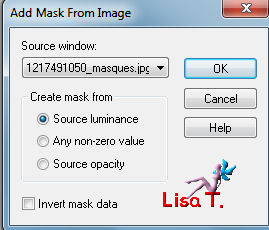
make sure the mask “1217491050_masques” is minimized
lalayers/new mask layer/from image
layers/merge/merge group
Step 7
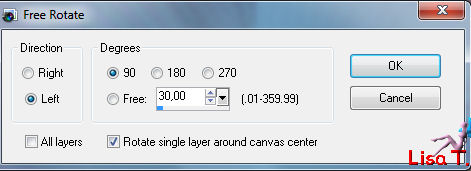
image/free rotate/left/90°
in the layers palette, set the opacity on 75%
Step 8
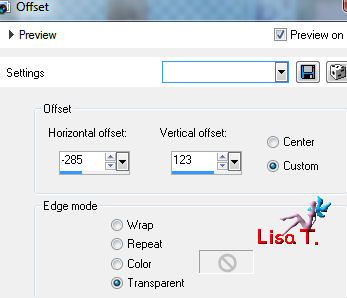
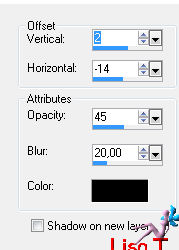
effects/image effects/offset
effects/edge effects/enhance
layers/duplicate - image/mirror - image/flip
layers/merge/merge down
Step 9
layers/new raster layer
selections/load-save selection/from disk/selection “libellule_bonne_annee”
in the materials palette, prepare a linear gradient
paint the selection with the gradient
selections/select none
Step 10
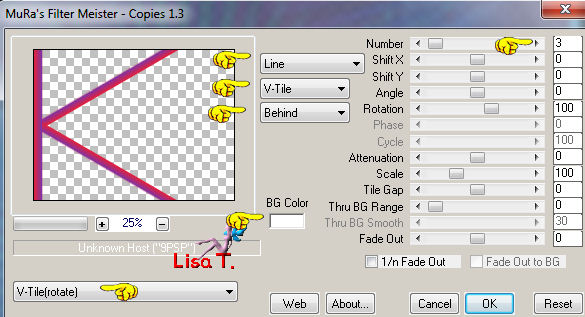
effects/plugins/Mura’s Meister/Copies
Step 11
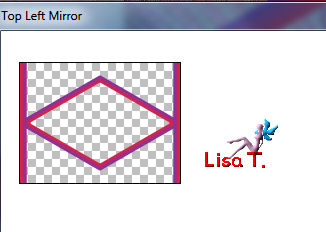
effects/plugins/Unli!ited 2/Simple/Top Left Mirror/default settings
Step 12
layers/duplicate
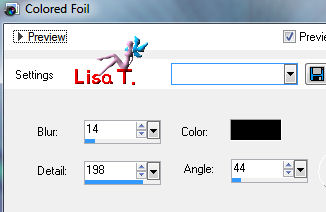
effects/artistic effects/colored foil
layers/arrange/move down
in the layers palette, activate the layer on top of the stack (raster 1)
set the blend mode of this layer on “dodge”
Step 13
layers/new raster layer
selections/load-save selection/from disk/selection “libellule_bonne_annee2”
paint with the gradient prepared at the beginning
selections/select none
Step 14
effects/plugins/Unlimited 2/Render/Wood (tiled-fore/background)/sefault settings
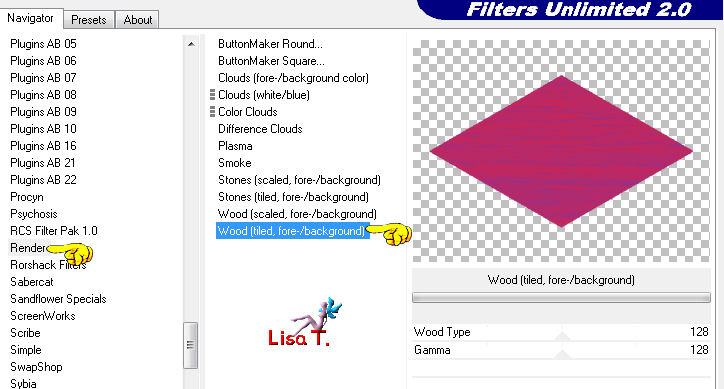
layers/arrange/move down 3 times
the diamond shape must come under the mask (group-raster 1)
Step 15
layers/new raster layer
layers/arrange/bring to top
activate the paint brush tool (B), and find le tip brush named “PmsBrush32006”
place at the top left, and click 4 times (without moving your mouse)
Step 16
layers/duplicate - image/mirror
layers/merge/merge down
layers/duplicate - image/flip
layers/merge/merge down
Step 17
activate your tube
edit/copy - back to your work - edit/paste as a new layer
place at your convenience
effects/3D effects/drop shadow
Step 18
activate the layer “wordart_bonne_annee”, (or write your own text)
edit/copy - back to your work - edit/paste as a new layer
place at your convenience
Step 19
image/add borders/2 pixels/color 3
image/add borders/30 pixels/white
image/add borders/1 pixel/color 1 or 2, as you like
you can resize your tag if necessary (800 pixels, or other…)
don’t forget to apply your watermark
save as… type JPEG
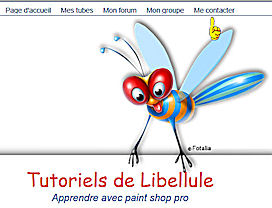
to write to Libellule, open her home page HERE
and click on the link "Me contacter"
If you create a tag with this tutorial, don’t hesitate to send it toLibellule
She will be very glad to see it and present it in her galery
If you want to be informed about Libellule’s new tutorials and work
join her newsletter

My try with another tube and othe colors
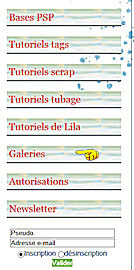
Back to the board of Libellule's tutorials


|