

You will find the original tutorial here :

Thank you Laurette for your permission to translate your work
This tutorial is a personal creation.
Any resemblance with another one would be only pure coincidence.
It is stricly forbidden to modify tubes, to change their name or take off the matermarks,
To present them on your sites or blog,
To share them in groups,
to make a bank of images, or to use them on lucrative purposes.

Thank you to respect Laurette’s work and the tubers work.
Don’t hesitate to warn me if you have any trouble with this translation,
and I’ll try to fix the problem as quickly as I can

Laurette and I work with PSP2020 Ultimate
you can follow this tutorial with another version of PSP, but the result might be slightly different
don’t hesitate to change blend modes and opacities of the layers to match your personal colors and tubes
place the tools and materials provided into the appropriate folders of My COREL PSP general folder
to import presets, double-click on them, or import
open the mask(s) and minimize to tray
duplicate all the tubes and decorations, and alpha layers, and work with the copies to preserve originals
install the plugins necessary
this tutorial is the property of Laurette, and the translation is my property

Supplies
masks – tubes – decorations – palette – woman tube – alpha layer


Hints and Tips
TIP 1 -> if you don’t want to install a font -->
open it in a software as « Nexus Font » (or other font viewer software of you choice)
as long as both windows are opened (software and font), your font will be available in your PSP
TIP 2 -> from PSPX4, in the later versions of PSP the functions « Mirror » and « Flip » have been replaced by -->
« Mirror »has become --> image => mirror => mirror horizontal
« Flip » has become --> image => mirror => mirror vertical

Plugins needed
Medhi Wavy Lab 1.1
Unlimited 2.0 / VM Distorsion / Vision Impossible
Mura's Seamless / Emboss at alpha
VM Instant Art / Tripolis
&<Bkg Designers sf 10 I / Cruncher

colors

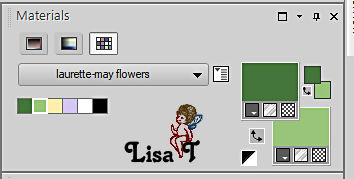
set FG to color 1 and BG to color 2 in materials palette

Use the pencil to mark your place
along the way
hold down left click to grab and move it
 |

1
open the alpha layer, duplicate, close the original and work with the copy
rename « Raster 1 »
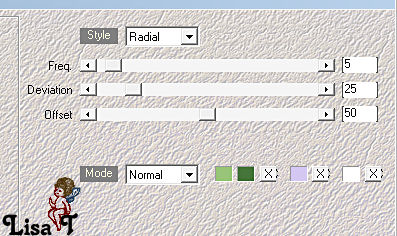
effects => plugins => Mehdi => Wavy Lab 1.1 => colors 2 / 1 / 4 / 5
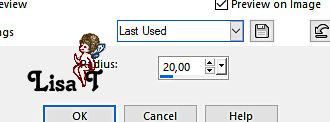
adjust => blur => gaussian blur => 20
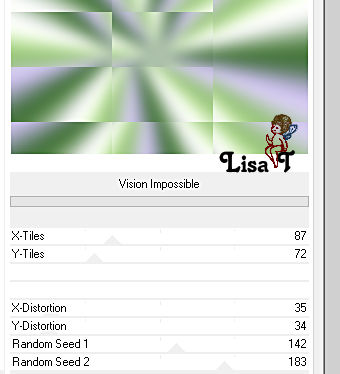
effects => plugins => VM Distortion => Vision Impossible X-Tiles
effects => edge effects => enhance
2
layers => new raster layer
flood fill with color 1
layers => new mask layer => from image
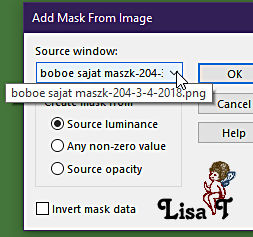
effects => edge effects => enhance
layers => merge => merge group
3
enable the Selection tool / custom selection

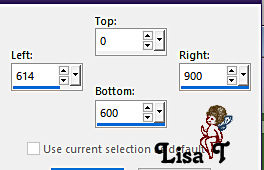
hit the DELETE key of your keyboard
selections => select none
layers => merge => merge down
4
set color 4 as FG color into the materials palette
layers => new raster layer
flood fill with color 4
layers => new mask layer => from image
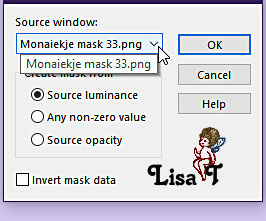
adjust => sharpness => sharpen
layers => merge => merge group
blend mode of the layer : Soft Light
effects => 3D effects => drop shadow => 1 / 1 / 80 / 1 / color 3
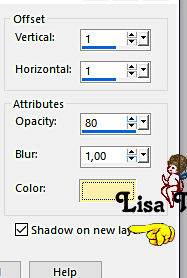
blend mode of the layer (shadow layer) : Soft Light
5
highlight bottom layer
selections => load-save selection => from alpha channel => selection # 1
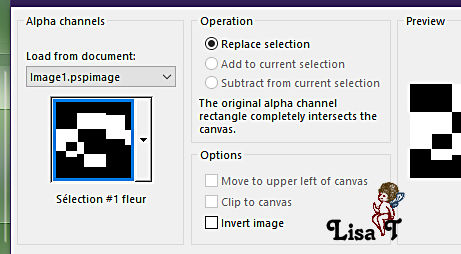
selections => promote selection to layer
layers => arrange => bring to top
effects => plugins => Mura’s Seamless => Emboss at Alpha => default settings
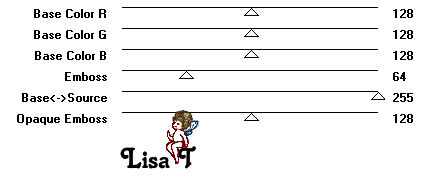
selections => select none
effects => image effects => seamless tiling => default settings
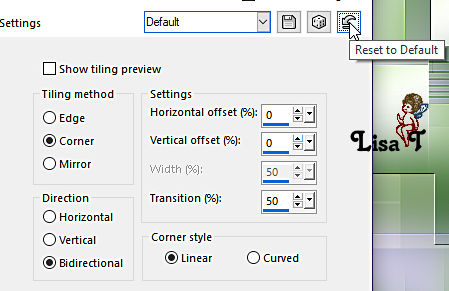
effects => 3D effects => drop shadow => 0 / 0 / 60 / 20 / color 4 / untick « shadow on new layer »
effects => texture effects => blinds / color 3
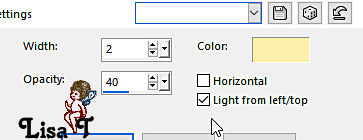
6
highlight bottom layer
copy / paste « fond » as new layer
objects => align => left OR
enable the Pick tool with the following settings, to move the layer acurately => position X : 0 / position Y : 0
effects => 3D effects => drop shadow => 0 / 0 / 80 / 20 / color 4
blend mode of the layer : Soft Light
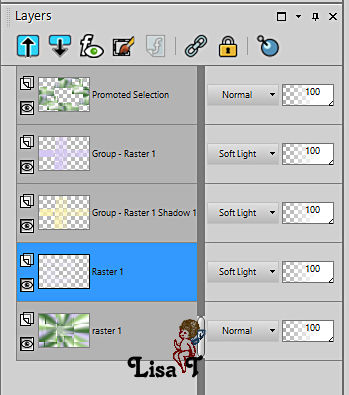
your layers palette looks like this
7
highlight bottom layer
layers => duplicate
effects => plugins => VM Instant Art / Tripolis
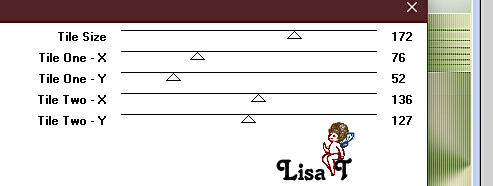
image => mirror => mirror horizontal
effects => edge effects => enhance
selections => load-save selection => from alpha channel => selection # 2
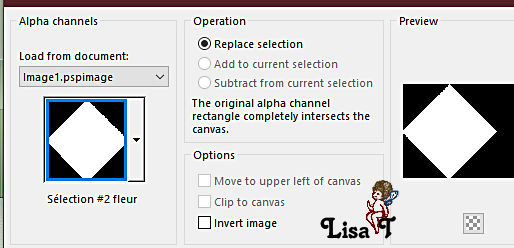
hit the DELETE key of your keyboard
highlight top layer
hit the DELETE key of your keyboard
keep selection active
8
layers => new raster layer « Raster 3 »
set white as FG color into the materials palette
set the opacity of the flood fill tool to 50%
flood fill selection white
selections => modify => contract => 20 px

selections => invert
effects => 3D effects => inner bevel
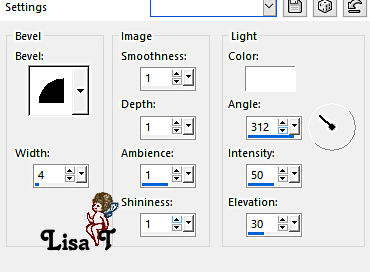
hit the DELETE key of your keyboard
blend mode of the layer : Soft Light
keep selection active
9
layers => new raster layer « Raster 4 »
reset the opacity of the flood fill tool to 100%
flood fill selection whith color 5
selections => modify => contract => 25 px
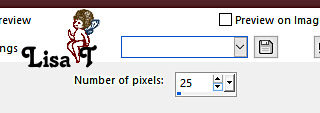
selections => invert
effects => texture effects => weave / colors 5 and 4
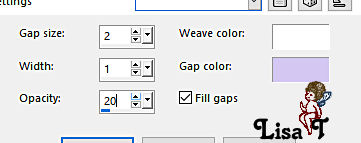
effects => 3D effects => inner bevel ( same settings as previously )
selections => invert
hit the DELETE key of your keyboard
keep selection active
10
layers => new raster layer « Raster 5 »
set the opacity of the flood fill tool to 50%
flood fill selection white
selections => modify => contract => 20 px

selections => invert
blend mode of the layer : Difference
effects => 3D effects => inner bevel ( same settings as previously )
selections => invert
hit the DELETE key of your keyboard
keep selection active
11
layers => new raster layer « Raster 6 »
set the opacity of the flood fill tool to 30%
flood fill selection white
reset the opacity of the flood fill tool to 100%
effects => 3D effects => inner bevel ( same settings as previously )
selections => select none
blend mode of the layer : Soft Light
your layers palette looks like this
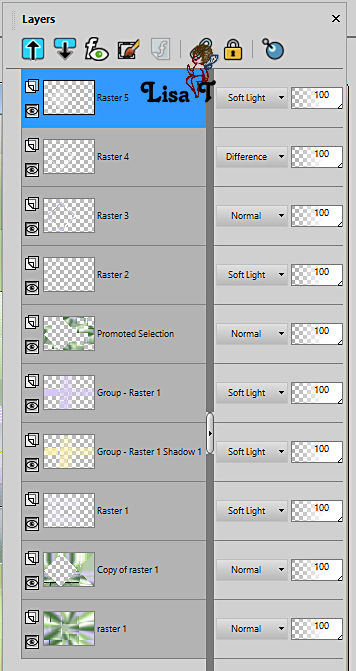
layers => merge => merge visible
12
selections => load-save selection => from alpha channel => selection # 3
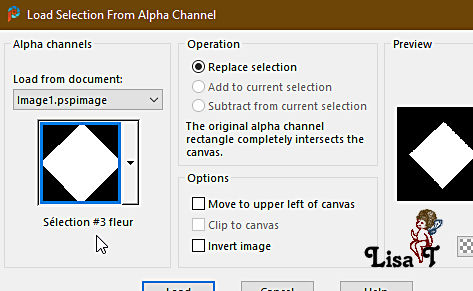
copy / paste « tube muguet grande » as new layer
place in the middle of the triangle
selections => invert
hit the DELETE key of your keyboard
selections => invert
effects => 3D effects => drop shadow => 0 / 0 / 40 / 20 / color 4
selections => select none
13
copy / paste « deco petits cadres » as new layer
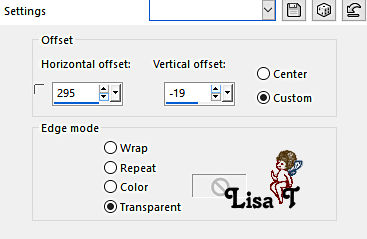
effects => image effects => offset => H : 295 / V : -19 / tick « custom » and « transparent»
effects => 3D effects => drop shadow => 2 / 2 / 40 / 20 / color 1
effects => 3D effects => drop shadow => -2 / -2 / 40 / 20 / color 1
14
copy / paste « petites fleurs » as new layer
effects => image effects => offset => H : 295 / V : -19 / tick « custom » and « transparent »
effects => 3D effects => drop shadow => 1 / 1 / 60 / 1 / color 2
15
copy / paste « ombre sur petits calques » as new layer
effects => image effects => offset => H : 295 / V : -19 / tick « custom » and « transparent »
blend mode of the layer : Soft Light
your layers palette looks like this
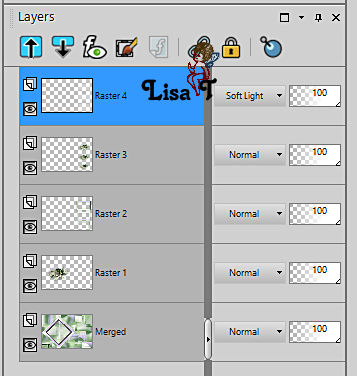
layers => merge => merge visible
16
layers => new raster layer
flood fill layer white (opacity of the flood fill tool : 100%)
layers => new mask layer => from image
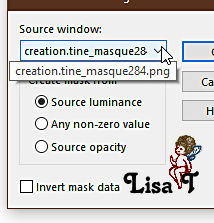
layers => merge => merge group
blend mode of the layer : Luminance (Legacy)
layers => merge => merge visible
17
image => add borders => tick « symmetric » => ...
2 px color 1
2 px color 4
2 px color 1
selections => select all
image => add borders => tick « symmetric » => ...
25 px white
selections => invert
effects => plugins => Unlimited 2 => &<Bkg Designer sf10 I> => Cruncher
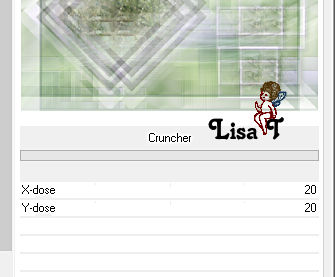
effects => edge effects => enhance
selections => select none
18
image => add borders => tick « symmetric » => ...
2 px color 1
2 px color 4
2 px color 1
selections => select all
image => add borders => tick « symmetric » => ...
40 px white
effects => 3D effects => drop shadow => 0 / 0 / 80 / 40 / color 1
selections => select none
19
image => add borders => tick « symmetric » => ...
2 px color 1
50 px white
selections => select all
selections => modify => contract => 50 px
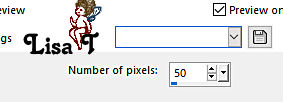
effects => 3D effects => chisel/ color 1
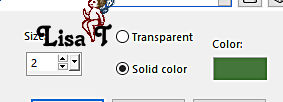
selections => select none
20
copy / paste the character tube as new layer / don’t forget to erase the watermark
place where you like
effects => 3D effects => drop shadow => 0 / 0 / 40 / 40 / black
21
copy / paste the word art tube as new layer
place bottom left
effects => 3D effects => drop shadow => 1 / 1 / 100 / 1 / color 1
layers => merge => merge visible
22
copy / paste « Coins-CL » as new layer
effects => image effects => offset => H : -475 / V : 327 / tick « custom » and « transparent»
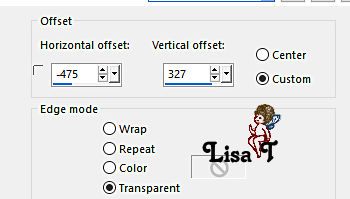
layers => duplicate
image => mirror => mirror horizontal
image => mirror => mirror vertical
layers => merge => merge down
effects => plugins => FM Tile Tools / Blend Emboss/ default settings
layers => merge => merge visible
23
layers => new raster layer
flood fill with color 1
selections => select all
selections => modify => contract => 3 px
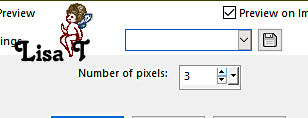
hit the DELETE key of your keyboard
effects => 3D effects => chisel ( same settings as previously )
selections => select none
layers => merge => merge all (flatten)
apply your watermark or signature
write your licence number if you used a licensed tube
image => resize => tick « resize all layers » => 950 px width
file => save your work as... type .jpeg

My tag with a tube created by Ladybird and my misted tube (flowers)

Don't hesitate to write to me if you have any trouble with her tutorial
If you create a tag (using other tubes than those provided) with this tutorial
and wish it to be shown, send it to Laurette !
It will be a real pleasure for her to add it to the gallery at the end of the tutorial


back to the boards of Laurette’s tutorials
board 1


|