

Original tutorial can be found HERE

Material
all tubes created by Jacotte


Hints & Tips
TIP 1 -> if you don’t
want to install a font -->
open it in a software as « Nexus Font » (or
other font viewer software of you choice)
as long as both windows are opened (software and font),
your font will be available in your PSP
TIP 2 -> from PSPX4, in the later versions of PSP the functions « Mirror » and « Flip » have
been replaced by -->
« Mirror » --> mirror -> mirror horizontal
« Flip » --> mirror -> mirror vertical
Filters Used
Thnak you Renée Salon and Cloclo for sharing your plugins
pages

Colors
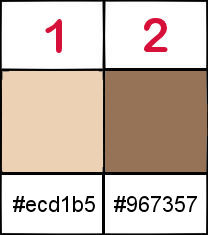
prepare the colors into the materials palette
Use the pencil to follow the steps
hold down left click to grab it and move it
 |
Realization
1
open the alpha layer
duplicate it and work with the copy, to preserve the original
2
flood fill with color 2
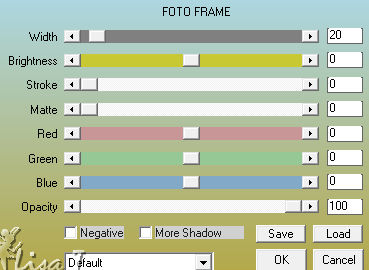
3
effects -> plugins -> AAA Frames / Foto Frame
4
effects -> plugins -> L en K’s / Palmyre

5
copy / paste as new layer the decoration tube
colorize it if necessary, to match your personal colors
6
layers -> new raster layer
selections -> load-save selection -> load selection
-> from alpha channel -> selection #1
7
copy / paste into selection the tube of the train
selections -> select none
8
layers -> arrange -> move down
9
layers -> merge -> merge visible
10
image -> resize -> untick « resize all
layers » -> 85%
11
layers -> new raster layer
flood fill with color 1
12
effects -> plugins -> L en K’s / Palmyre
13
layers -> arrange -> move down
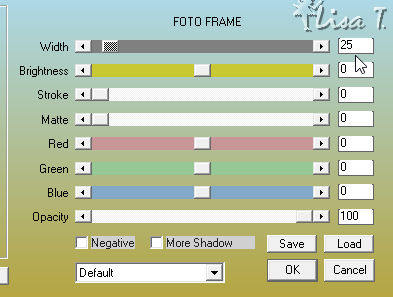
14
effects -> plugins -> AAA Frames / Foto Frame
15
layers -> merge -> merge visible
16
image -> canvas size
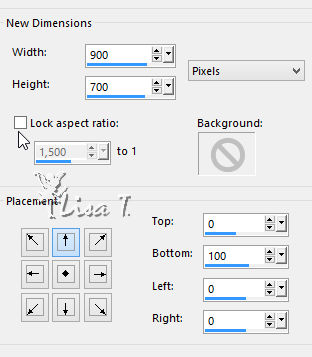
17
select the transparent part of the layer with the magic
wand tool
18
layers -> new raster layer
flood fill with a linear gradient -> 45 / 0
19
effects -> plugins -> Mehdi / Sorting Tiles
adjust -> sharpness -> sharpen
20
selections -> select none
21
layers -> duplicate
22
effects -> plugins -> Mura’s Meister / Perspective
Tiling

effects -> edge effects -> enhance
23
layers -> merge -> merge visible
24
copy / paste as new layer the cildren tube
move it to the right
image -> resize -> untick « resize all layers » -> 80%
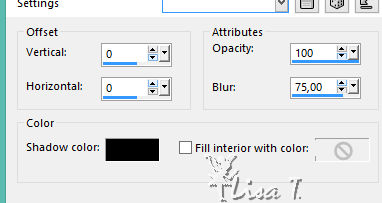
effects -> 3D effects -> drop shadow -> 0 / 0
/ 80 / 30 / black
25
copy / paste as new layer the suitcase tube
move it to the left
effects -> 3D effects -> drop shadow -> 0 / 0
/ 80 / 30 / black
26
layers -> merge -> merge all (flatten)
27
selections -> select all
image -> add borders -> tick « symmetric » -> 30
pixels color 1
28
selections -> invert
flood fill selection with the gradient
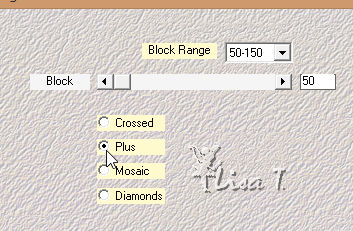
29
effects -> texture effects -> blinds
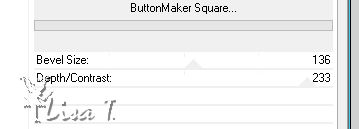
30
effects -> plugins -> Unlimited 2 -> Render /
ButtonMaker Square
31
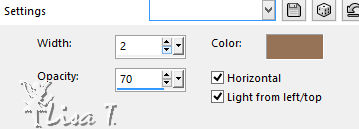
selections -> invert
effects -> 3D effects -> cutout
32
selections -> select none
33
copy / paste as new layer the text tube
move it where you like
34
layers -> merge -> merge all (flatten)
35
image -> resize -> 900 pixels (width) (or other)
36
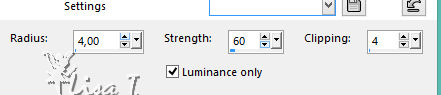
adjust -> sharpness -> unsharp mask
37
apply your watermark and save as... type .jpeg
Your tag is finished
Thank you for following it
My tag with my tubes

don’t hesitate to write to me if you have any trouble
with this translation
MY 
you can send your creations to Jacotte,
she will be very glad to see them
Jacotte's
And to present them on her blog
If you want to be informed about Jacotte’s new
creations
subscribe to her newsletter (fill the box at the
bottom of her home page)

back to the boards of Jacotte’s tutorials
board 1  board
2 board
3 board
4 board
2 board
3 board
4

|