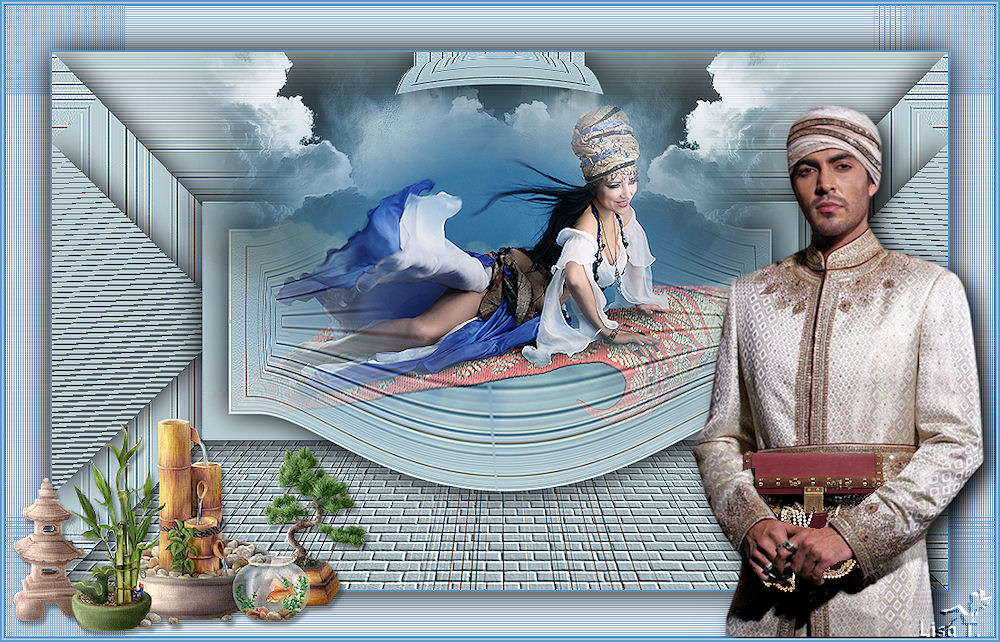
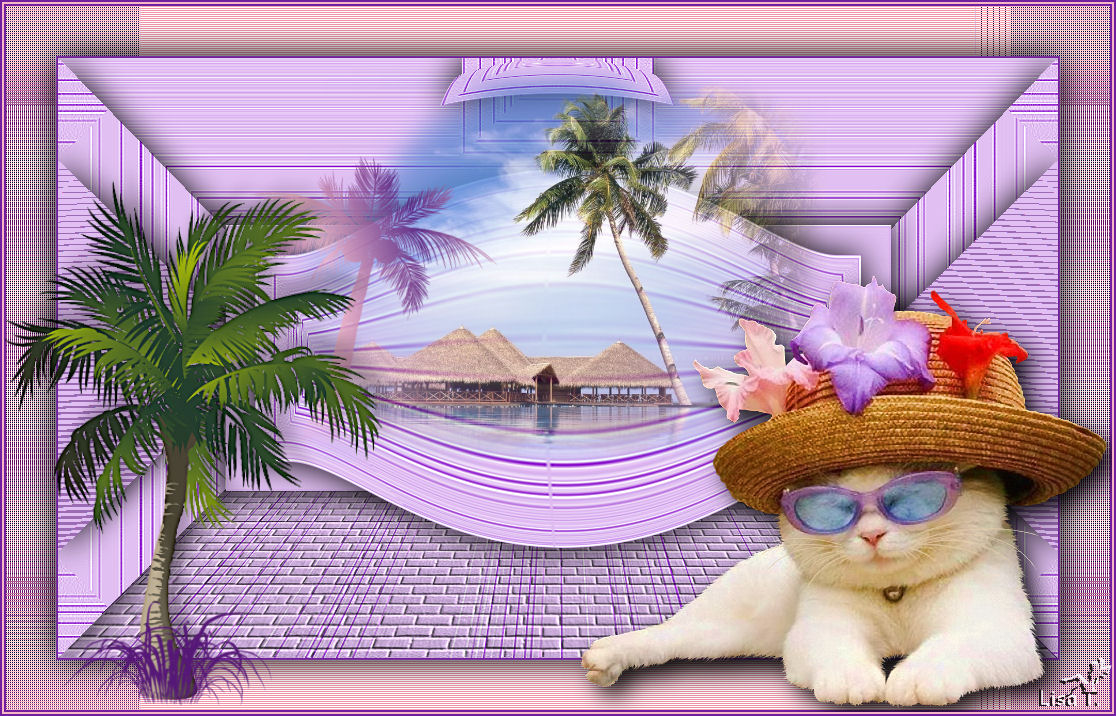
Jasmine
Original tutorial can be found HERE

I am member of TWInc
This translation is protected


Filter used
Simple/Pizza Slice Mirror
Unlimited2/Tiles and Mirror/Quadrant Mirror
L en K’s Elvida
Mura’s Meister/Perspective Tiling
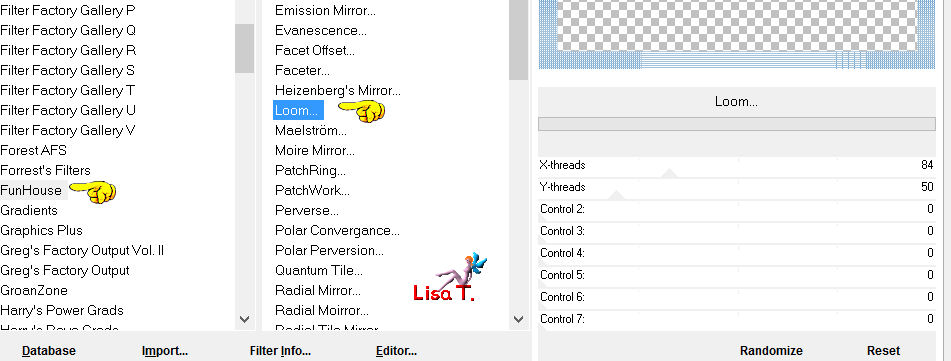
Unlimited 2/Funhouse Loom
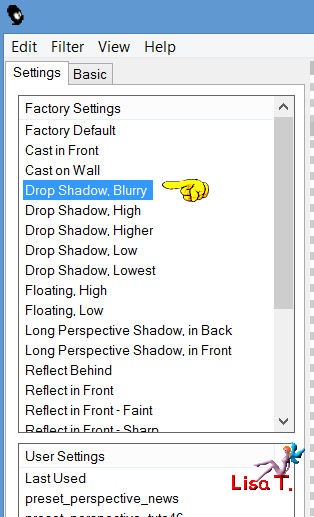
Alien Skin Impact/Perspective Shadow/Drop Shadow Blurry
Material

copy the “brick texture” and paste it in the special folder “textures” of “My PSP Files”
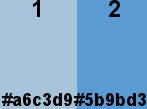
Colors
foreground color --> color 1 --> #a6c3d9
background color --> color 2 --> #5b9bd3
Use the paint brush to follow the steps
Left click to grab it

Realization
Step 1
open tha alpha layer « alpha-jasmine »
window/duplicate
close the original, we will work with the copy
selections/select all
Step 2
open the background layer “fond”
colorize it if you change the colors
edit/copy - back on your work - edit/paste into selection
selections/select none
effects/edge effects/enhance
Step 3
layers/duplicate
effects/plugins/Simple/Blintz
Step 4
effects/plugins/Simple/Pizza Slice Mirror
Step 5
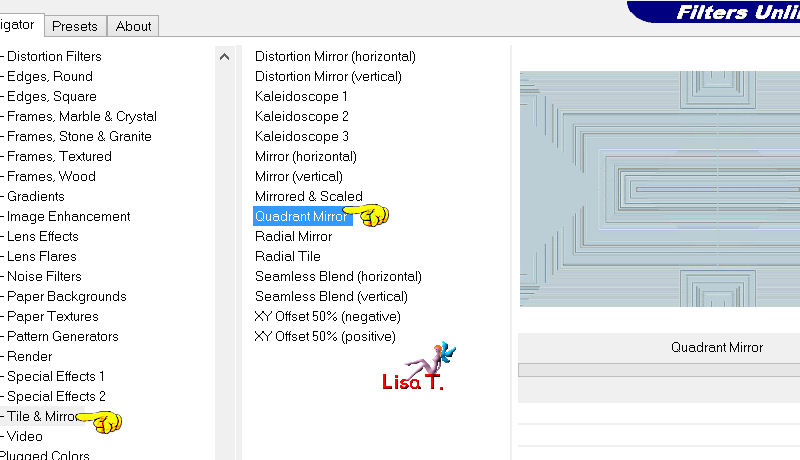
effects/plugins/Ulimited 2/Tile & Mirror/Quadrant mirror
Step 6
selections/load-save selection/from alpha channel/selection #1
selections/promote selection to layer
selections/select none
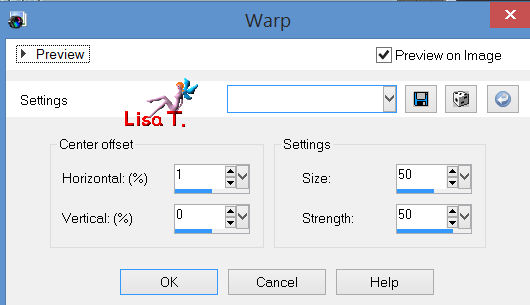
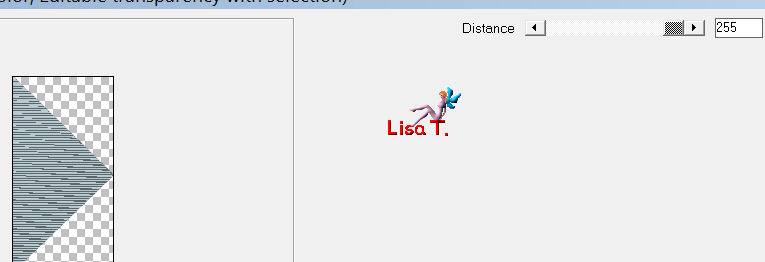
effects/distortion effects/warp
Step 7
effects/3D effects/drop shadow/ 0 / 0 / 100 / 50 / black
Step 8
in the layers palette, activate the layer underneath (copy of alpha-jasmine)
selections/load-save selection/from alpha channel/selection #2
selections/promote selection to layer
effects/3D effects/drop shadow as before
selections/select none
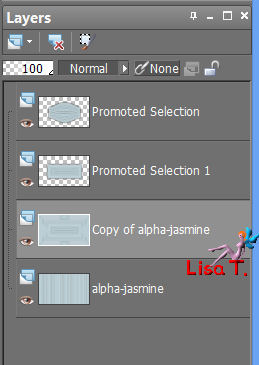
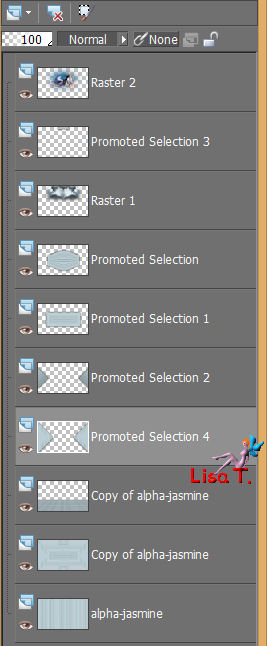
your layers palette must be like this
Step 9
in the layers palette, activate the layer “copy of apha-jasmine”
selections/load-save selection/from alpha channel/selection #3
selections/promote selection to layer
effects/plugins/L en K Elvida
selections/select none
effects/3D effects/drop shadow as before
Step 10
layers/duplicate - image/mirror
layers/merge/merge down
Step 11
in the layers palette, activate the layer “copy of alpha-jasmine” (2nd from the bottom)
selections/load-save selection/from alpha channel/selection #4
selections/promote selection to layer
selections/select none
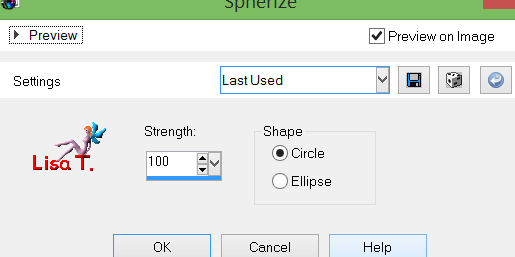
effects/geometric effects/spherize
effects/3D effects/drop shadow as before
layers/arrange/bring to top
Step 12
in the layers palette, the upper layer is activated
activate the tube of the clouds
edit/copy - back to your work - edit/paste as a new layer
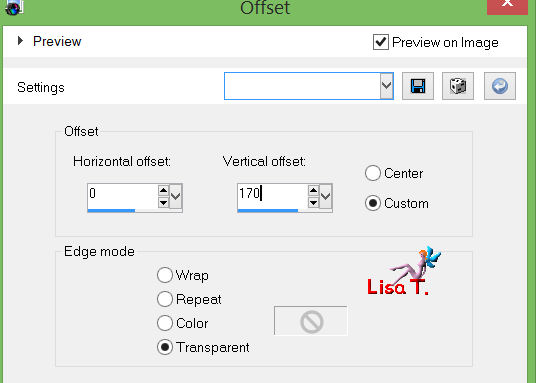
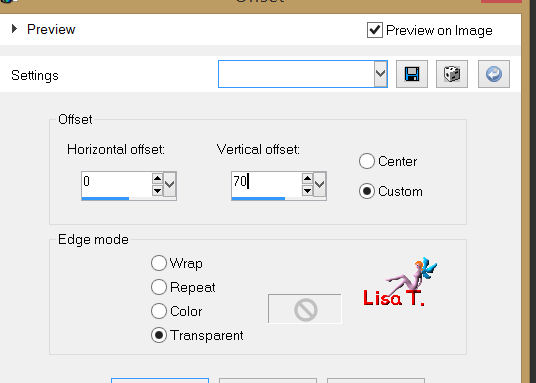
effects/image effects/offset
layers/arrange/move down
Step 13
in the layers palette, activate the upper layer
activate the tube “jasmine”
edit/copy - back to your work - edit/paste as a new layer
effects/image effects/offset
Step 14
in the layers palette, activate the layer at the bottom of the stack
(layer “alpha-jasmine”)
layers/duplicate
Step 15
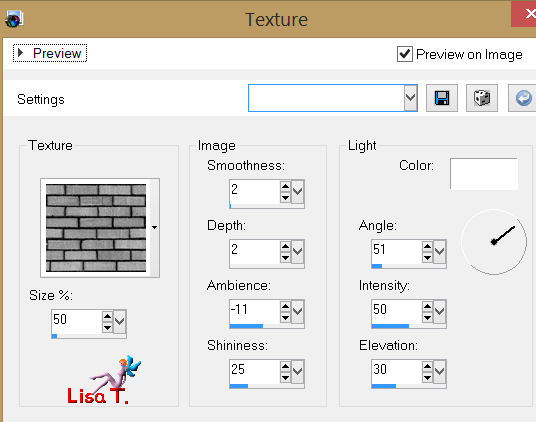
effects/texture effects/texture/choose the texture “brick” (provided)
Step 16
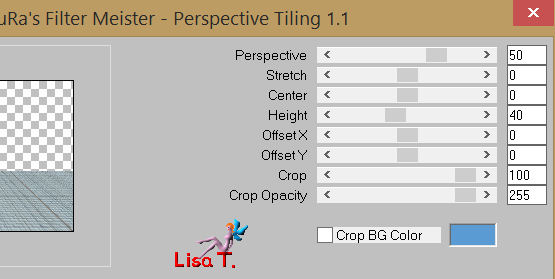
effects/plugins/Mura’s Meister/Perspective Tiling
layers/arrange/bring to top
Step 17
in the layers palette, activate the layer “alpha-jasmine (2nd from the bottom)
selections/load-save selection/from alpha channel/selection #5
selections/promote selection to layer
selections/select none
efefcts/3D effects/drop shadow as before
layers/arrange/move up
layers/duplicate
image/mirror
layers/merge/merge down
your layers palette must be like this
layers/merge/merge all (flatten)
Step 18
image/add borders/2 pixels/color 2 (dark) (check symmetric)
image/add borders/50 pixels/color 1 (light)
select this border with the magic wand
paint with a linear gradient 180/5 (uncheck “invert”)
selections/promote selection to layer
effects/plugins/Unlimited 2/FunHouse/Loom
adjust/sharpness/sharpen more
layers/merge/merge down
Step 19
selections/invert
effects/3D effects/drop shadow as before
selections/select none
Step 20
image/add borders/2 pixels/color 2
Step 21
activate the tube “aladin”
edit/copy - back to your work - edit/paste as a new layer
move to the right (see example)
effects/plugins/Alien Skin Impact/Perspective Shadow/Drop Shadow Blurry
Step 22
activate the tube “jardinzen”
edit/copy - back to your work - edit/paste as a new layer
image/resize/75% (uncheck “resize all layers”)
move to the left (see final result)
effects/3D effects/drop shadow/ 5 / 5 / 34 / 5 / black
Step 23
image/add borders
2 pixels color 1
2 pixels color 2
Step 24
image/resize/900 pixels width
adjust/sharpness/sharpen
apply your signature, and save as .... type jpeg
Your tag is now finished
Thank you to have realized this tutorial
Do not hesitate to send your tags to Jacotte
she will be very glad to see it
and to present it on her site, with your permission of course.

If you want to be informed about Jacotte’s latest tutorials
join her NewsLetter

My creation with my tubes
Back to the boards of Jacotte's tutorials
board 1  board 2 board 2

|