Blue

Original tutorial can be found HERE


Material
tubes - alpha layer (selections) - color palette

open all tubes and duplicate them. Always work with copies
in case you have to redo your work
Filters
Mura Meister : Cloud
Sapphire 03 : Sapphire plugin 0238
Simple : Pizza slice miror
L en K's : Adonis
AAA Frame : Foto Frame
Alien Skin Impact : Extrude
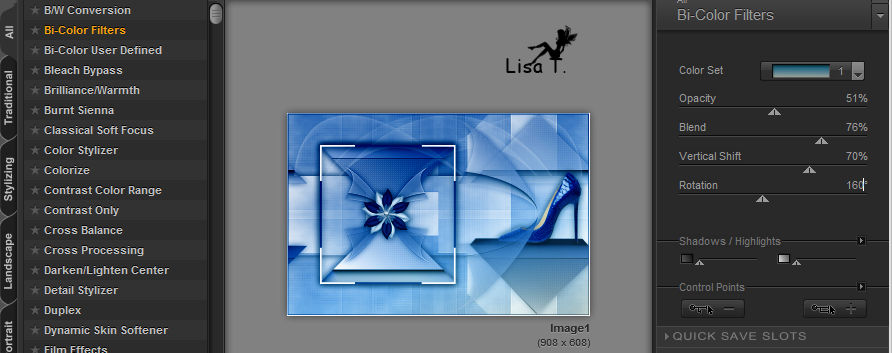
Nick Software Color efex 3.0 : Bi-Color Filters
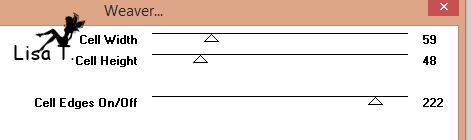
Unlimited 2 : Toadies Weaver
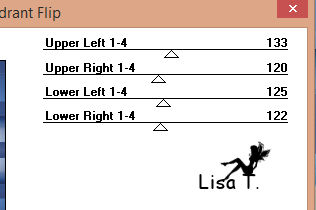
Miror Rave : Quadrant Flip
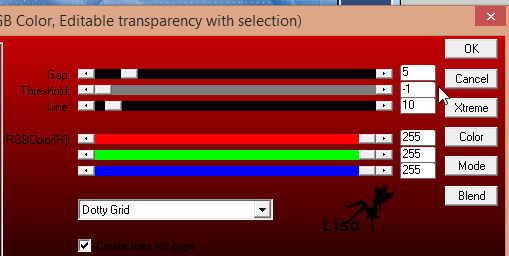
AP 01 Innovation : Lines Silverlining : Dotty Grid
Thank you Cloclo and Renée for sharing their filters pages

Colors
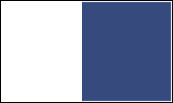
use the pencil to follow the steps
hold down left click to grab it and move it

Realization
1
open alpha layer
2
selections -> select all
3
copy / paste into selection background image « fond.bleu »
selections -> select none
4
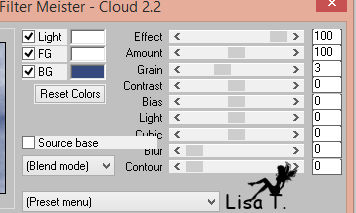
layers -> new raster layer
effects -> plugins -> Mura’s Meister -> Cloud
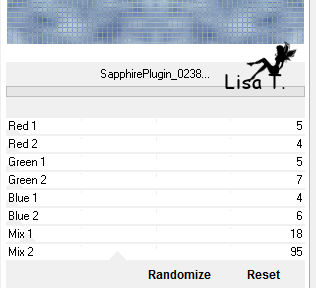
5
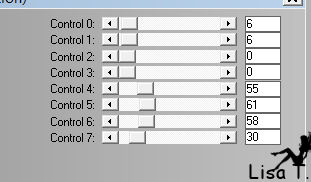
effects -> plugins -> Sapphire 03 -> Sapphire
Plugins 0238
6
layer’s opacity : 50%
7
copy / paste as new layer « element 1 »
don’t move it
8
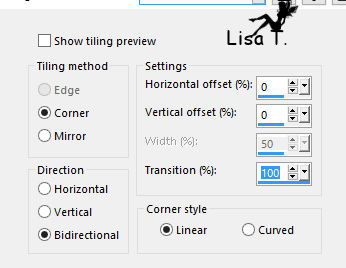
effects -> plugins -> Simple / Pizza Slice Mirror
9
selections -> load-save selection -> from alpha channel
-> selection #1
layers -> new raster layer
flood fill selection with a linear gradient 45 /
0 - uncheck « invert »
10
effects -> plugins -> L en K’s Adonis
11
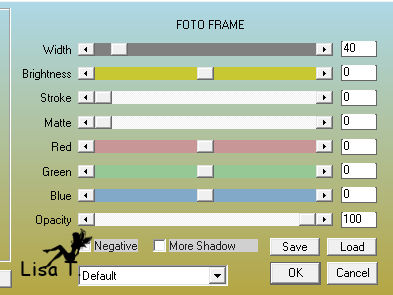
effects -> plugins -> AAA Frame / Foto Frame
keeep selection active
12
effects -> image effects -> seamless tiling
effects -> 3D effects -> drop shadow -> 0 / 0
/ 50 / 25 / black
13
layers -> duplicate
effects -> geometric effects -> circle
14
selections -> load-save selection -> from alpha channel
-> selection #2
DELETE (press Delete key of your keyboard)
selections -> select none
15
effects -> 3D effects -> drop shadow -> 0 / 0
/ 60 / 30 / color 2
16
highlight Raster 3
effects -> 3D effects -> drop shadow -> 0 / 0
/ 60 / 30 / color 2
17
highlight Raster « copy of raster 3 »
layers -> duplicate
image -> resize -> uncheck « resize all
layers » -> 50%
18
effects -> image effects -> offset
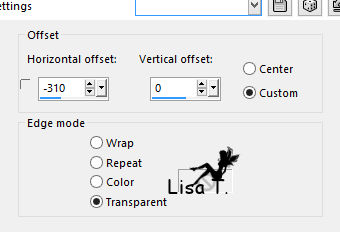
19
layers -> duplicate
image -> mirror -> mirror horizontal
20
effects -> image effects -> offset
21
layers -> merge -> merge down
22
effects -> 3D effects -> drop shadow -> 0 / 0
/ 60 / 30 / BG color
adjust -> sharpness -> sharpen more
23
highlight Raster 3
selections -> load-save selection -> from alpha channel
-> selection #3
effects -> 3D effects -> drop shadow -> 0 / 0
/ 60 / 30 / black
24
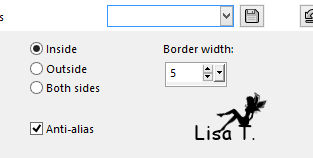
selections -> modify -> select selection borders
25
layers -> new raster layer
flood fill with color 2
26
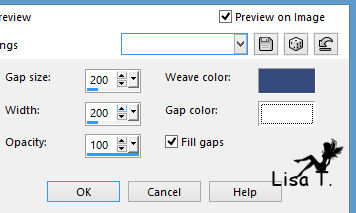
effects -> texture effects -> weave - > colors
1 and 2
27
effects -> 3D effects -> drop shadow -> 0 / 0
/ 60 / 30 / black
layers -> arrange -> bring to top
selections -> select none
28
highlight Raster 3
selections -> load-save selection -> from alpha channel
-> selection #4
selections -> promote selection to layer
29
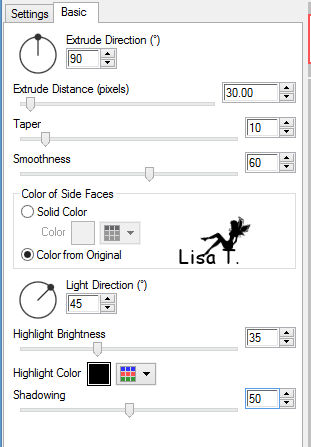
effects -> plugins -> Alien Skin Eye Candy 5 Impact
-> Extrude
selections -> select none
30
highlight Raster 2 (third from bottom)
selections -> load-save selection -> from alpha channel
-> selection #5
effects -> 3D effects -> drop shadow -> 0 / 0
/ 60 / 30 / black
selections -> select none
31
highlight Raster 3
coipy / paste shoe tube as new layer
32
effects -> image effects -> offset
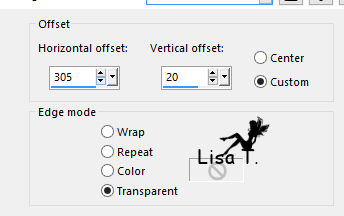
effects -> 3D effects -> drop shadow -> 0 / 0
/ 60 / 30 / black
layers -> arrange -> move up
33
coppy / paste as new layer flower tube
34
effects -> image effects -> offset
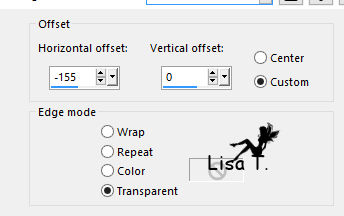
effects -> 3D effects -> drop shadow -> 0 / 0
/ 60 / 30 / black
layers -> arrange -> bring to top
35
highlight Raster 3 (fourth from top)
copy / paste as ne wlayer element 2
36
effects -> image effects -> offset
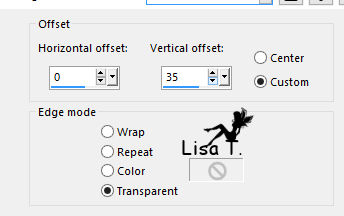
adjust -> sharpness -> sharpen
layer’s opacity : 70%
37
activate selection tool -> custom selection
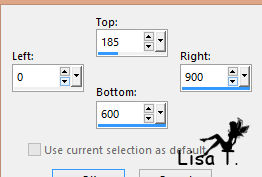
DELETE
selections -> select none
38
layers -> merge -> merge all (flatten)
39
image -> add borders -> checki « symmetric » -> 2
pixels color 2 and 2 pixels color 1
40
effects -> plugins -> Nick Software Color Efex 3.0
Complete -> Bi-Color Filters
(adapt settings to your colors)
41
image -> add borders -> 50 pixels color 2
42
select large border with magic wand tool
43
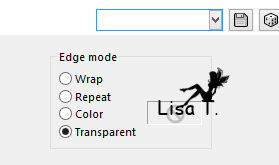
effects -> plugins -> Unlimited 2 -> Toadies /
Weaver
44
image -> rotate -> left
effects -> Unlimited 2 -> Toadies / Weaver as before
image -> rotate -> right
45
effects -> plugins -> Mirror Rave / Quadrant Flip
adjust -> sharpness -> sharpen more
keep selection active
46
layers -> new raster layer
effects -> plugins -> AP 01 Innovations / Lines Silverlining
/ Dotty Grid
layer’s blend mode : Overlay
layers -> merge -> merge down
47
selection -> invert
effects -> 3D effects -> drop shadow -> 0 / 0
/ 100 / 50 / black -> TWICE
selections -> select none
48
copy / paset as new layer perfume tube
place it where you like
drop a light shadow
49
layers -> merge -> merge all (flatten)
image -> add borders -> 2 pixels color 1 and 2 pixels
color 2
50
image -> resize -> 900 pixels (width)
51
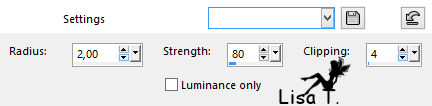
adjust -> sharpness -> unsharp mask
apply your watermark
file -> save as... type .jpeg
apply your watermark and save as... type .jpeg
Your tag is finished
Thank you for following it
don’t hesitate to write to me if you have any trouble
with this translation
 to
Lisa T to
Lisa T
you can send your creations to Jacotte, she will be very
glad to see them
to
Jacotte
And to present them on her blog

If you want to be informed about Jacotte’s new creations
subscribe to her newsletter (fill the box at the bottom
of her home page)

my tag with my tubes

back to the boards of Jacotte’s tutorials
board 1  board
2 board
3 board
2 board
3

|