

Original
can be found here

Franie works with PSPX3, and I use PSP 2019
But this tutorial can be realized with another version
of PSP
however, some differences might be noticed according to
the version you use

If you want to present
Franie’s tutorials on your
forums or sites
please ask her first
If you publish your creation on a site or a blog
please put a link towards the tutorial if you create a
tag
Thank you to understand and respect the rules.
The tubes Franie uses have
been sent by the authors on different groups
And she has their permission to use them
If you see a tube that might belong to you, contact Franie
or myself
And a link towards your site will be added if necessary
Please, don’t use tubes found on the web with no
watermark
all tubers apply their watermark without any exception !!!!!
no watermark ---> stolen tube
Hints and Tips
TIP 1-> if you don’t
want to install a font -->
open it in a software as « Nexus Font » (or
other font viewer software of you choice)
as long as both windows are opened (software and font),
your font will be available in your PSP
TIP 2 -> from PSPX4, in the later versions of PSP the functions « Mirror » and « Flip » have
been replaced by -->
image -> Mirror - has become ===> image
=> mirror => mirror horizontal
image -> Flip - has become ===> image
=> mirror => mirror vertical
plugins
Unlimited 2.0
VM Expérimental - Love and Hate
AP [Lines - Silver Lining]
Toadies - What Are You ?...
Graphics Plus - Quick Tile

Material
2 character tubes
2 misted landscapes
1 plugin => install into Unlimited 2.0
1 font - 1 text
1 texture => install into « Textures » of My
PSP
1 Alpha_layer_selections
1 color palette

Tubers’ authorizations

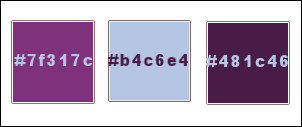
Franie’s colors
Don’t hesitate to change colors and blend modes of
the layers
to match your tubes and images
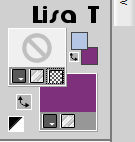
color 1 => #1f317c
color 2=> #4bc6e4
color 3 => #481c46
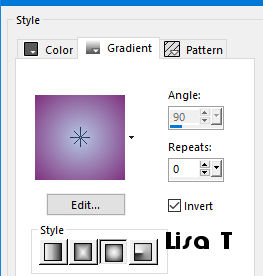
prepare sunburst gradient
into the materials palette (colors 1 and 2)

Use this pencil to follow
the steps
hold down left click to grab and move it
Use the pencil to mark your place
along the way
hold down left click to grab and move
 |
Realization
1
open the alpha layer => window => duplicate
close the original, and work with the copy
flood fill with the gradient
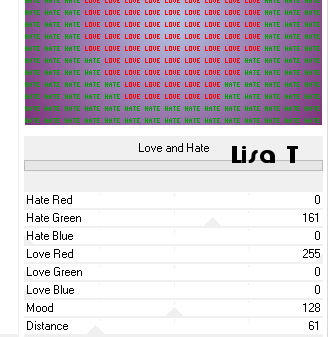
effects => plugins => Unlimited 2 => VM Experimental
/ Love And Hate
2
layers => new raster layer
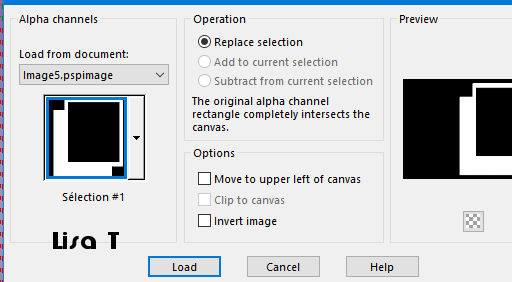
selections => load-save selection => load selection
=> from alpha channel => selection #1
flood fill selection with
color 2
effects => texture effects => Texture => TissuTextile336
effects => 3D effects => drop shadow => 4 / 4
/ 100 / 20 / color 1
effects => 3D effects => drop shadow => -4 / -4
/ 100 / 20 / color 1
selections => select none
3
layers => new raster layer
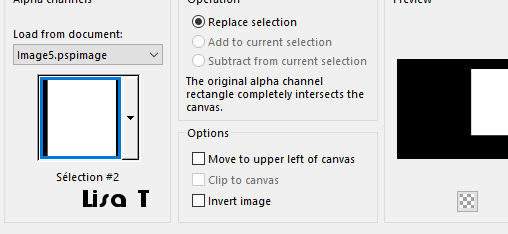
selections => load-save selection => load selection
=> from alpha channel => selection #2
flood fill selection with
the sunburst gradient
keep selection active
layers => new raster layer
copy / paste into selection the misted landscape 474
adjust => sharpness => sharpen more
layers => merge => merge down
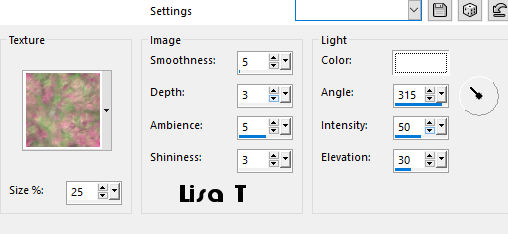
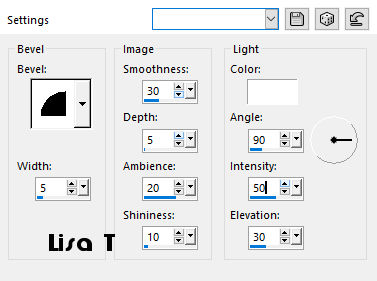
effects => 3D effects => inner bevel
selections => select none
layers => arrange => move down
image => resize => untick « resize all
layers » => 105 %
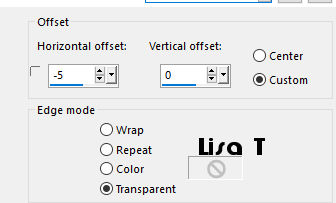
effects => image effects => offset
4
highlight Raster 2 (top layer)
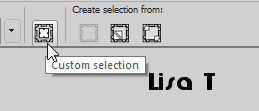
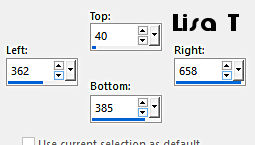
enable the Pick tool => custom selection
effects => 3D effects => buttonize => color
3

selections => select none
5
layers => new raster layer
selections => load-save selection => load selection
=> from alpha channel => selection #3

flood fill selection with
color 1
selections => select none
6
layers => new raster layer
selections => load-save selection => load selection
=> from alpha channel => selection #4
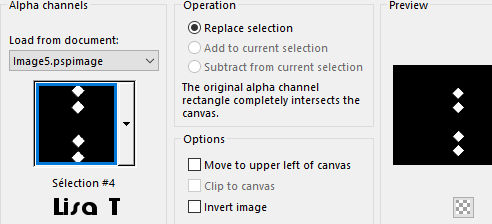
flood fill selection with
the sunburst gradient
selections => select none
effects => 3D effects => drop shadow => 0 / 0
/ 60 / 10 / color 3
layers => merge => merge down
effects => 3D effects => drop shadow => 0 / 0
/ 60 / 10 / color 3
7
layers => new raster layer
selections => load-save selection => load selection
=> from alpha channel => selection #5
flood fill selection with the sunburst gradient
effects => 3D effects => drop shadow => 0 / 0
/ 60 / 10 / color 3
selections => select none
layers => merge => merge down
8
layers => new raster layer
selections => load-save selection => load selection
=> from alpha channel => selection #6
flood fill selection with color 1
selections => modify => contract / 8 px
effects => 3D effects => drop shadow => 0 / 0
/ 60 / 10 / color 3
selections => select none
9
set color 1 as BG color into the materials palette
close FG’s box
enable the Text tool
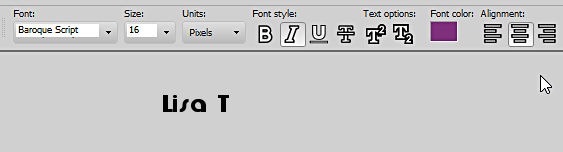
write your text ( « my friend » or
another text ofd your choice)
layers => convert to raster layer
effects => 3D effects => drop shadow => 0 / 0
/ 100 / 2 / color 3
10
highlight bottom layer
copy / paste the decoration tube as new layer
effects => image effects => seamless tiling => default
settings
effects => image effects => seamless tiling => shutter
diagonal
blend mode of the layer : Screen - opacity :
40%
11
layers => new raster layer
selections => load-save selection => load selection
=> from alpha channel => selection #7
flood fill selection with color 1
effects => plugins => AP Lines / Lines Silverlining
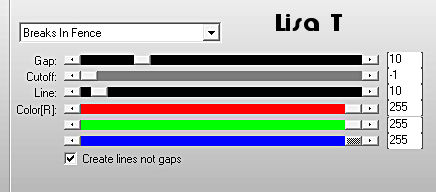
selections => select none
layers => duplicate
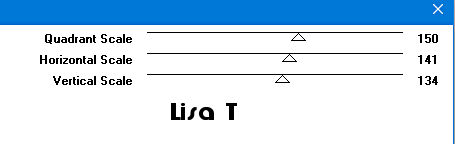
effects => plugins => Toadies / What Are You ?...
=> X dose : 10 / Y dose : 10
layers => arrange => move down
blend mode of the layer : Screen
effects => 3D effects => drop shadow => 0 / 0
/ 50 / 10 / color 3
layers => merge => merge visible
12
image => add borders => tick « symmetric » => ...
3 px color 1
5 px color 2
3 px color 1
20 px white
select the white border with the magic wand tool
effects => plugins => Graphic Plus / Quick Tile
1
selections => invert
effects => 3D effects => drop shadow => 0 / 0
/ 100 / 10 / black
selections => select none
image => add borders => tick « symmetric » => ...
3 px color 1
5 px color 2
3 px color 1
13
copy / paste the character tube as new layer
image => mirror => mirror horizontal
image => resize => untick « resize all layers » => 85
%
move as shown on final result
adjust => sharpness => sharpen more
layers => duplicate
highlight layer just below
adjust => blur => gaussian blur / 20
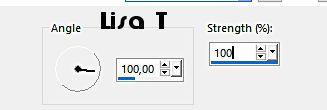
adjust => blur => motion blur
14
apply your watermark or signature
layers => merge => merge all (flatten)
save your work as... type .jpeg
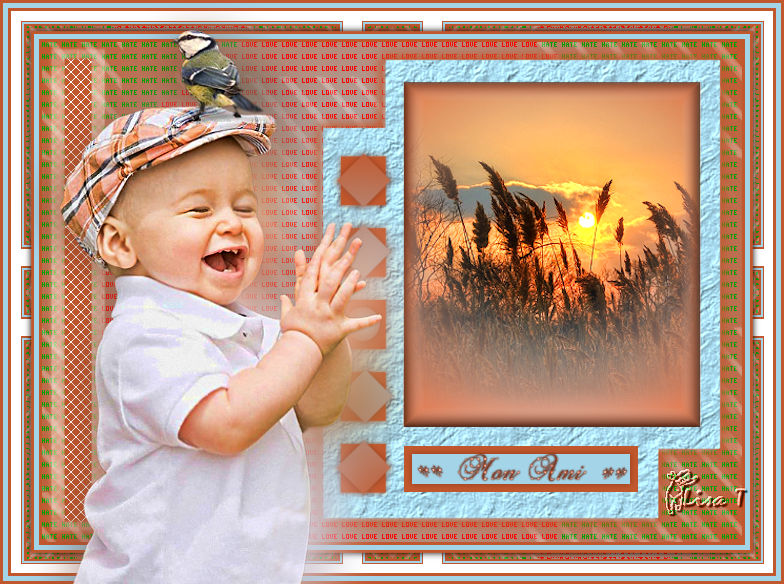
My tag with my tubes
write the copyright © license number if you worked
with a licensed tube
apply your watermark
layers => merge => merge all (flatten)
save as... type .jpeg
Thank you for following
this tutorial
You can send your creations to Franie.
 =>
Franie =>
Franie
It will be a real pleasure for her to show it in the gallery
of the tutorial
If you have any trouble
with this translation, if you notice something wrong
don’t hesitate to contact me, I will do my best to
fix the problem
=>
me
If you want to be informed
about Franie’s new tutorials
subscribe to her newsLetter

Back to the boards of Franie’s tutorials
board 1 board
2 board
3 board
4 board
5 board
6 board
2 board
3 board
4 board
5 board
6


|