Lonely heart

Original can be found here

Franie works with PSP 13, and I use PSP 19
But this tutorial can be realized with another version of PSP

If you want to present her tutorials on your forums or sites
please ask her first.
If you publish your creation on a site or a blog
please put a link towards the tutorial.
Thank you to understand and respect the rules.
The tubes Franie uses have been sent by the authors in different sharing groups
And she has their permission to use them
she also creates her own tubes
If you see a tube that belongs to you, contact Franie or myself
And a link towards your site will be added.
Filters used
Mehdi / Wavy Lab 1.1
Simple / Pizza Slice Mirror
Simple / Quick Tile
MuRa's Seamless / Emboss at Alpha
Graphics Plus / Quick Tile I
AAA Frames / Texture

Material
1 layer « Alpha_selections »
2 tubes « man »
2 elements
1 text
1 texture (install it into the forder « selections » of Corel Folder)
1 color palette

Tubers’ authorizations 
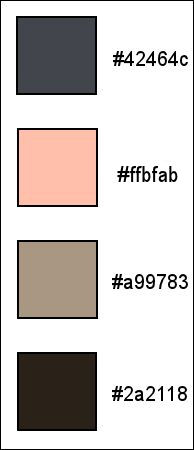
Franie’s colors
Don’t hesitate to change them and to change the blend modes of the layers
According to your tubes and images
color 1 -> foreground color --> FG --> #a42464c
color 2 -> background color --> BG -> #ffdfab
color 3 -> #a99783
color 4 --> #2a2118
Use the pencil to follow the steps
hold down left click to grab it and move it

Realization
1
open tha elpha layer-selections, duplicate
close the original, work with the copy
name your layer « Raster 1 »
2
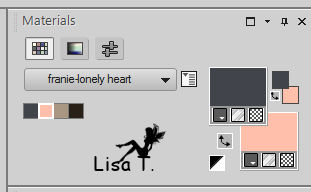
in the materials palette, prepare colors 1 & 2 as FG and BG colors
3
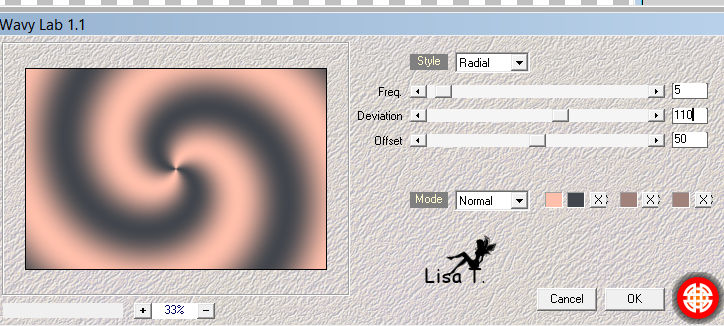
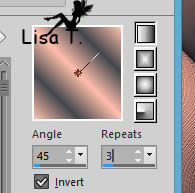
effects -> plugins -> Mehdi / Wavy Lab 1.1
layers -> duplicate
image -> mirror -> mirror horizontal
blend mode of the layer : Overlay
layers -> merge -> merge down
adjust -> blur -> gaussian blur
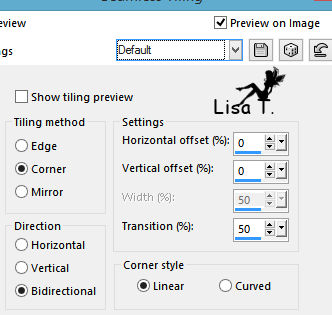
effects -> image effects -> seamless tiling
4
layers -> duplicate
effects -< plugisn -> Simple / Pizza Slice Mirror
effects -> plugins -> Simple / Quick Tile

5
selections -> load-save selection -> from alpha channel -> selection #1
selections -> promote selection to layer
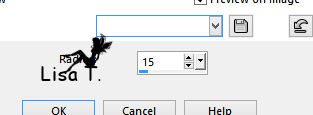
adjust -> blur -> gaussian blur -> 30
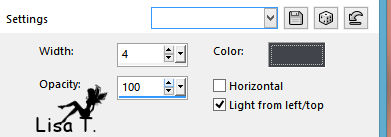
effects -> texture effects -> blinds -> color 1
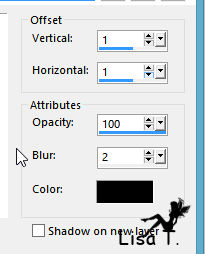
effects -> 3D effec ts -> drop shadow -> 0 / 0 / 100 / 20 / black
selections -> select none
6
layers -> new raster layer
selections -> load-save selection -> from alpha channel -> selection #2
flood fill selection with color 2
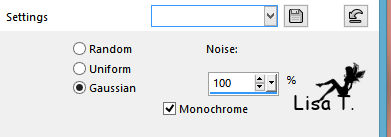
adjust -> add-remove noise -> add noise
effects -> plugins -> Alien Sin Eye Candy 5 Impact / Glass / Clear (default settings)
effects -> 3D effects as before (don’t change the settings)
selections -> select none
7
highlight « copy of raster 1 »
selections -> load-save selection -> from alpha channel -> selection #5
selections -> promote selection to layer
effects -> texture effects -> soft plastic -> color 2
effects -> 3D effects -> drop shadow -> 0 / 0 / 100 / 20 / black
selections -> select none
8
copy / paste as new layer « element 1 »
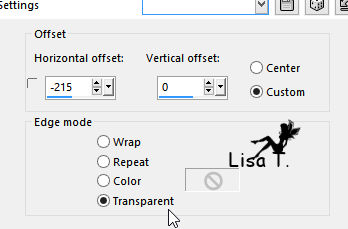
effects -> image effects -> offset

9
highlight top layer
in the materials palette, prepare a linear gradient
layers -> new raster layer
selections -> load-save selection -> from alpha channel -> selection #6
flood fill selection with the gradient
adjust -> add noise as in step 5
selections -> select none
layers -> duplicate
image -> mirroir -> mirror vertical
layers -> merge -> merge down
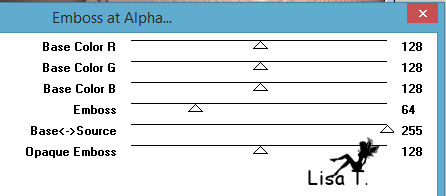
effects -> plugins -> Mura’s Seamless / Emboss at Alpha
effects -> 3D effects -> drop shadow
10
copy / paste as new layer « element 2 »
effects -> image effects -> offset
effects -> plugins -> Mura’s Seamless / Emboss at Alpha as before
effects -> 3D effects -> drop shadow as before
11
highlight « Copy of Raster 1 »
selections -> load-save selection -> from alpha channel -> selection #4
selections -> promote selection to layer
adjust -> blur -> gaussian blur / 30
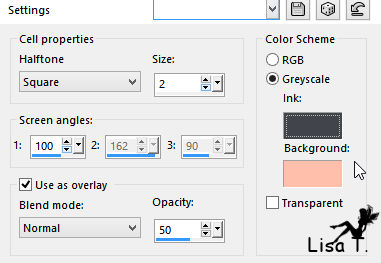
effects -> artistic effects -> halftone -> colors 1 and 2
effects -> 3D effects -> drop shadow -> 0 / 0 / 100 / 20 / black
selections -> select none
12
highlight top layer
in the materials palette, set color 4 as FG color
layers -> new raster layer
activate the text tube
file -> export -> custom brush -> name the brush tip « affairs of the heart text brushes_15 »
activate the paint brush tool, apply on the right (see final result) -> size 354

effects -> plugins -> Mura’s Seamless / Emboss at Alpha / default settings
move it as shown
effects -> 3D effects -> drop shadow -> 1 / 1 / 100 / 2 / black
13
highlight « Copy of Raster 1 »
selections -> load-save selection -> from alpha channel -> selection #3
selections -> promote selection to layer
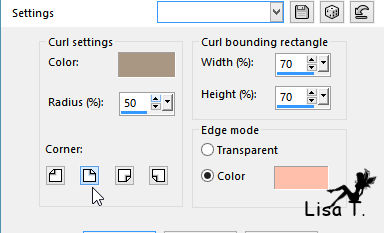
effects -> image effects -> page curl -> color 3 and 2
selections -> select none
layers -> duplicate
image -> mirror -> vertical mirror
14
highlight « Copy of Raster 1 »
adjust -> blur -> gaussian blur / 50
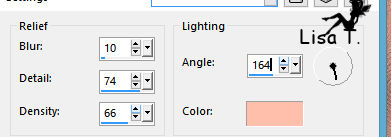
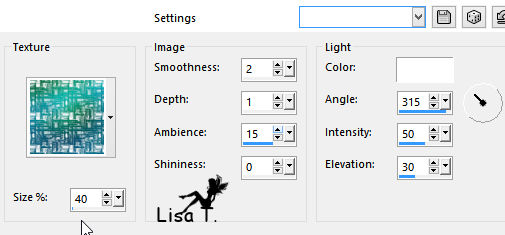
effects -> texture effects -> texture
15
close the eye of bottom layer (Raster 1)
keep top layer highlighted
layers -> merge -> merge visible
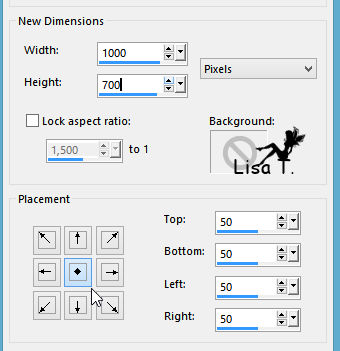
image -> canvas size
16
select the transparent border with the magic wand tool
selections -> invert
layers -> new raster layer
set color 4 as FG color
flood fill selection with color 4 (left click)
selections -> modify -> contract / 5 pixels
DELETE
effects -> 3D effects -> cutout

layers -> merge -> merge down
selections -> select none
17
« Raster 1 » is highlighted - open the eye of Raster 1
image -> resize -> uncheck « resize all layers » -> 120%
image -> add borders -> check « symmetric » -> color 4
18
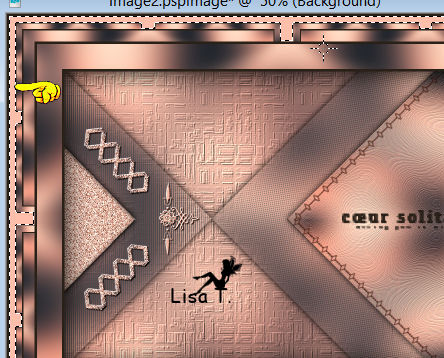
image -> add borders -> 50 pixels color 2
select this border with the magic wand tool
effects -> plugins -> Graphic Plus / Quick Tile 1
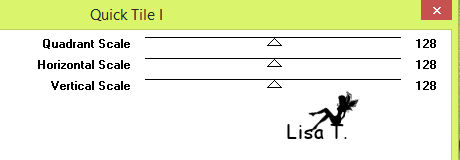
apply this effect once more
selections -> invert
effects -> 3D effects -> drop shadow -> 0 / 0 / 100 / 15 / black
selections -> select none
19
image -> add borders -> 5 pixels color 4
select the light border with the magic wand tool
effects -< plugns -> AAA Frames / Texture Frame
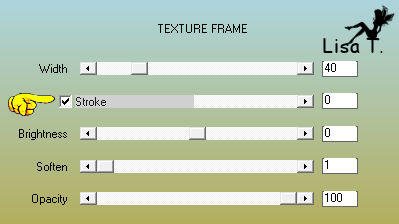
selections -> select none
20
copy / paste as new layer « man_281 »
place it as shown on the final result
adjust -> sharpness -> sharpen
effects -> 3D effects -> drop shadow -> 0 / 15 / 50 / 20 / black
apply your watermark
Your tag is finished
You can send your creation to Franie.
It will be a real pleasure for her to show it on her site

If you have any trouble following this tutorial
don’t hesitate to Contact Franie
If you want to be informed about Franie’s new tutorials
Join her newsLetter

You will find your creations here

My tag with my tube

Back to the boards of Franie’s tutorials
board 1  board 2 board 3 board 4 board 2 board 3 board 4


|