Fall

The original tutorial can be found HERE

Conditions of use of the material provided
It is forbidden to modifiy, change the name, take off the
watermarks or alter the tubes.
It is forbidden to share them in groups or offer them on
your site, blog or forum.
If you want to use them to create a tutorial, you must
ask the permission to the authors.

Material
1 mask BDN
1 Mist (personal)
1 Selection for the animation
1 Image Landscape found on the Net
you will also need (not provided) : :
1 Tube (character or other, as main tube)
1 tube decoration - grass, flowers, reeds...)

open all tubes and duplicate them
work with copies to preserve originals
open mask and minimize it to tray
copy / paste selection into the « selections » folder
of Corel PSP
Filters Used
Filters Unlimited.2
B&K.Designer sf 10 IV/The Blast
Alf's Power Grad
Distorsion Filter / Ink Blots
Graphic Plus / Cross Shadow
Modules Externes
Eyes Candy 4000 / Jiggle

translator’s note
Belle de Nuit works with PSP X, I use PSPX9 to create
my tag and write my translation
but this tutorial can be realized with another version
according to the version of PSP you use, the results might
be slightly differents
don’t hesitate to change the blend modes of the layers
to match your tubes and colors
Colors
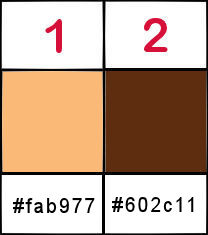
color 1 --> foreground color --> FG --> left
click --> #fab977
color 2 --> background color --> BG --> right
click --> #5e2d0f
Use the pencil to follow the steps
hold down left click to grab it and move it

Realization
1
open a new transparent layer 900 * 500 pixels
2
selections -> select all
copy / paste into selection the Landscape image
3
selections -> select none
adjust -> blur -> gaussian blur / 15
4
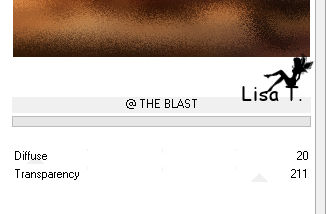
effects -> plugins -> Unlimited 2 -> &Bkg
Designers sf10 IV -> @The Blast
5
layers -> duplicate
6
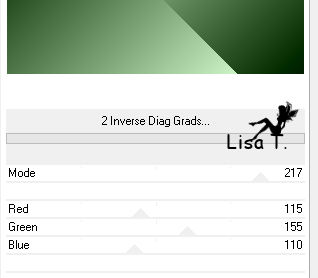
effects -> plugins -> Unlimited 2 -> Alf’s
Power Grad / 2 Invers Diag Grads
7
blend mode of the layer : Luminance (Legacy) - opacity :
27%
8
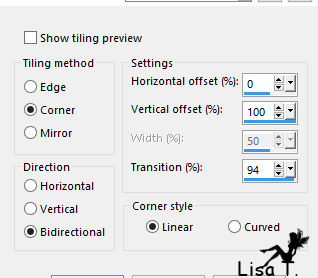
effects -> image effects -> seamless tiling
9
effects -> edge effects -> enhance
10
layers -> new raster layer
11
flood fill new layer with wolor 2
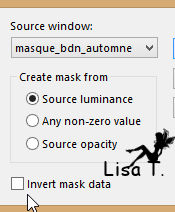
layers -> new mask layer -> from image
12
13
right click on the mask -> duplicate
14
layers -> merge -> merge group
effects -> edge effects -> enhance
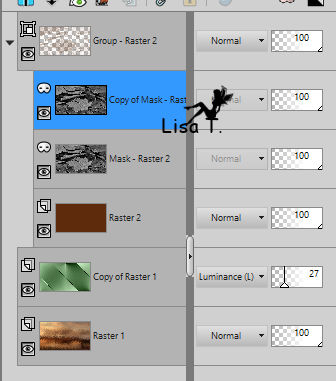
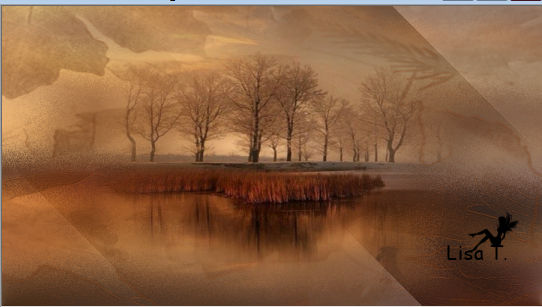
15
copy / paste as new layer misted image
your tag looks like this
16
highlight Raster 1
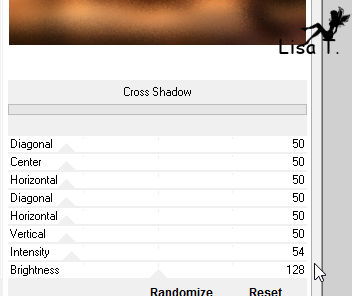
17
effects -> plugins -> Unlimited 2 -> Graphic Plus
/ Cross Shadow
18
image -> add borders -> check « symmetric » -> 1
pixel color 2
19
image -> add borders -> check « symmetric » -> 1
pixel color 1
20
image -> add borders -> check « symmetric » -> 1
pixel color 2
21
edit -> COPY
22
selections -> select all
23
image -> add borders -> check « symmetric » -> 50 pixels
color 1
24
selections -> invert
edit -> paste into selection
25
adjust -> blur -> gaussian blur / 15
26
selections -> promote selection to layer
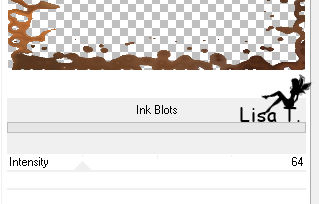
27
effects -> plugins -> Unlimited 2 -> Distortion
Filter / Ink Blots
28
adjust -> sharpness -> sharpen
29
selections -> invert
effects -> 3D effects -> drop shadow / black
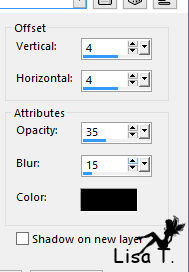
30
effects -> drop shadow -> same settings but change
(4) by (-4)
selections -> select none
31
copy / passte your main tube
move it right and drop a shadow of your choice
32
copy / paset decoration tube and move it left
33
effects -> 3D effects -> drop a shadow of your choice
34
apply your watermark
if you don’t want to animate your tag, add a black
border of 1 pixel
save as.. type .jpeg
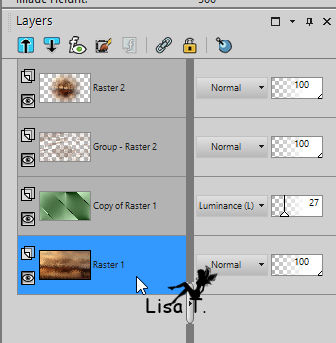
Animation With Animation Shop
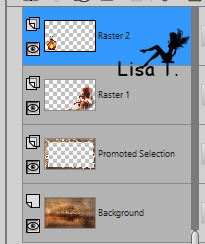
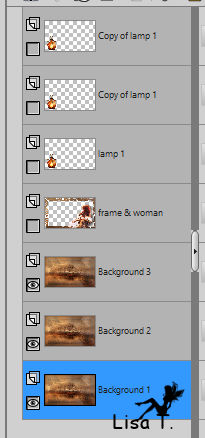
your layers palette looks like this
1
close the eye of decoration tube
layers -> merge -> merge visible
translator’s note :
I merged woman and frame and kept decoration and background layers
2
selections -> load selection from disk -> find the
animation provided in the material
you can change this selection according to the landscape
you chose
translator’s note : I created my own selection using freehand
selection tool, feather 9 and smoothing 5
I added an illumination effect on the decoration layer
3
layers -> duplicate bacground TWICE
rename your layers : Background 1 2 and
3
4
open the eye of decoration tube and duplicate TWICE
rename these layers : 1 2 and 3
5
your layers palette looks like this
6
effects -> plugins -> Eye Candy 4000 / Jiggle /
Bubbles / Random 1
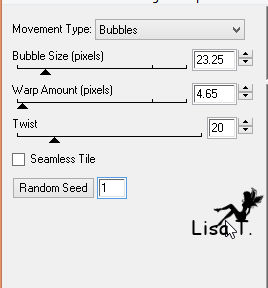
translator’s note :
I chose different settings ( 10 / 3 / 5 )
7
close the eye of Background 1
highlight Backgroung 2
open the eye
8
effects -> plugins -> Eye Candy 4000 / Jiggle /
Bubbles / click on « Random seed »
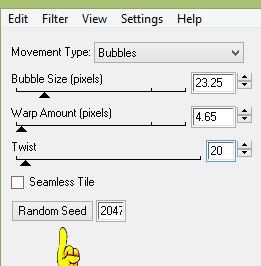
9
close the eye of Background 2
highlight Background 3
open the eye
10
effects -> plugins -> Eye Candy 4000 / Jiggle /
Bubbles / click on « Random seed »
11
selections -> select none
12
close the eyes of layers 2 and 3 and Background 2 and 3
open the eyes of Background 1 and layer 1 and open the
eye of womand and frame if you kept it
13
highlight Background 1
edit / copy special / copy merged
edit -> paste as new image
14
add a black border of 1 pixel
edit -> copy
open Animation Shop
paste as new animation
15
back in PSP
close the image you created in step 13
16
close the eyes of Background 1 and layer 1
open the eyes of Background 2 and layer 2
highlight Background 2
edit -> copy special -> copy merged
edit -> paste as new image
add a black border of 1 pixel
dit -> copy
open Animation Shop
paste after current frame
redo this work with Background 3 and layer 3
in AS your work looks like this
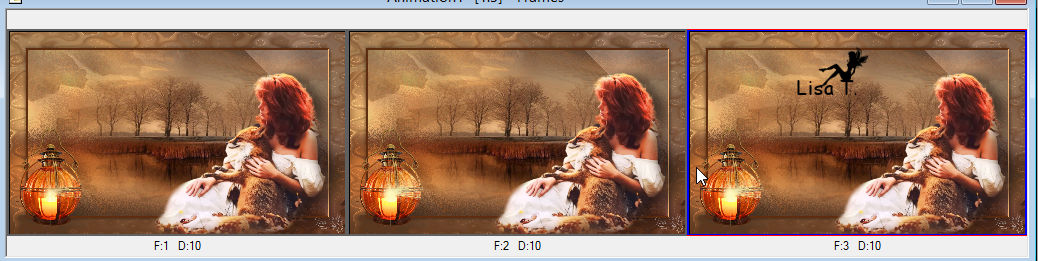
17
edit -> select all
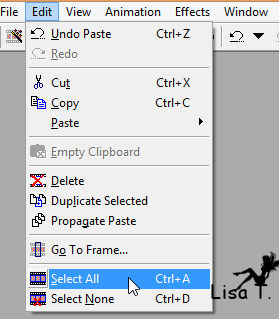
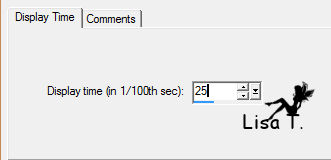
18
animation -> frames properties / 25
19
edit -> select none
view your animation
if everything is allright, save your work as... type .gif
Your tag is finished.
Thank you for following this tutorial
Don’t forget to sign (to avoid plagiarism) and save
file as… type JPEG
Don’t hesitate to send your creations
to Belle de Nuit
mailto: belledenuitpsp@gmail.com
It will be a real pleasure for her to show them in the
gallery at the bottom of the tutorial page
Don’t forget to indicate her your name and the adress
of your blog or site if you have one
If you want to receive Belle de Nuit’s Newsletter,
sign up ...

Back to the boards of Belle de Nuit's tutorials
Board 1 

|