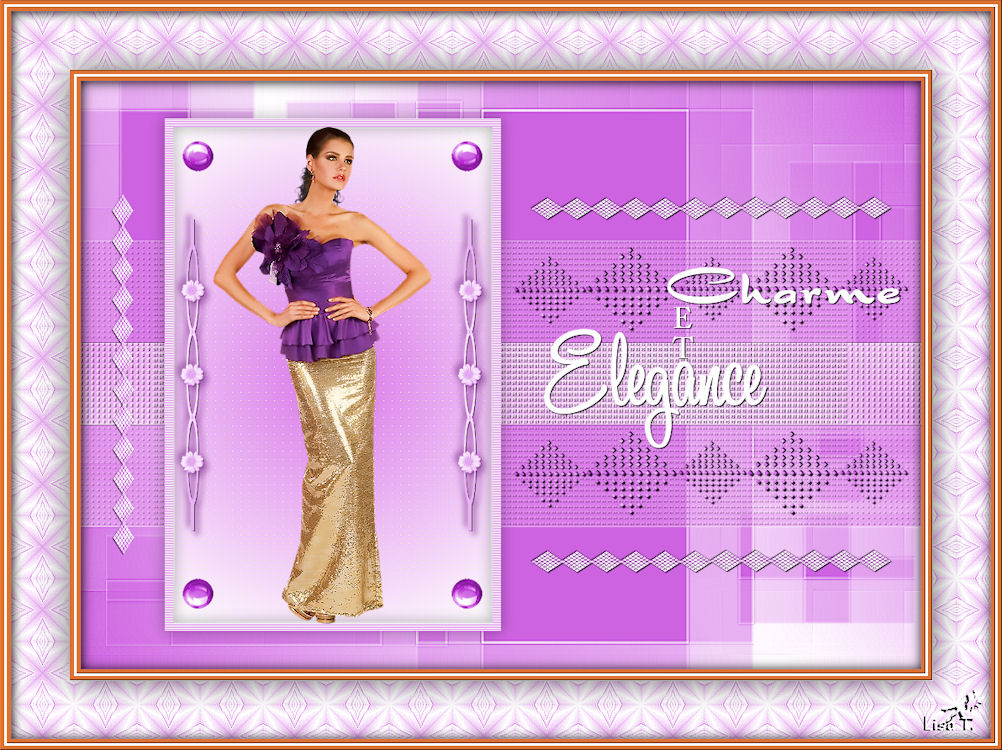
Charm and Elegance

Original tutorial can be found HERE

I am member of TWInc
This translation is protected


Filters used
Toadies/What are You?
AP Innovations/Lines SilverLining/Dotty Grid
Material
copy the textures in the special folder of “my PSP files”
(texte grille and texture)

Colors

foreground color : color 1 :whtie
background color/#579f25 (green)/color 2
#c7002e (pink)
Realization
Use the paintbrush to follow the steps
left click to grab it
 |
Step 1
activate the layer « alpha-charme »
window/duplicate
close the original and work on the copy
Step 2
selections/select all
activate the layer “fond jacotte”
if necessary colorize it according to your tubes
edit/copy - back on your work - edit/paste into selection
selections/select none
Step 3
selections/load-save selection/from alpha channel/selections #1
layers/new raster layer
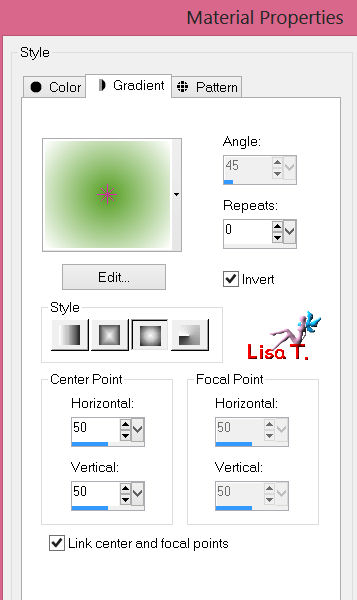
paint with a linear gradient 45/5 (uncheck “invert”) (use colors 1 and 2)
Step 4
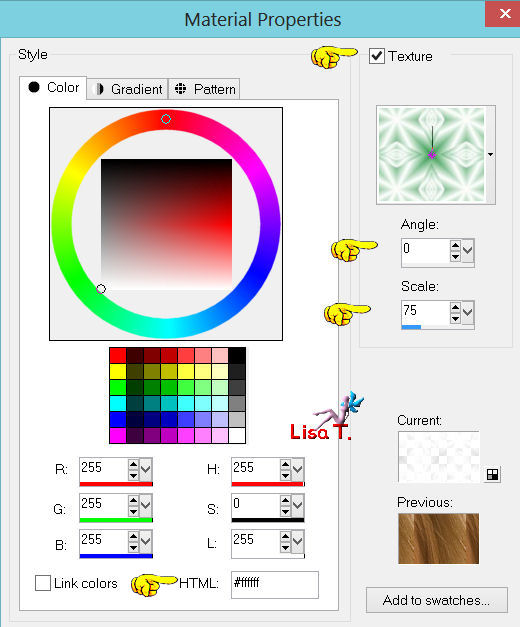
effects/texture effects/texture
choose the texture “texte grille”
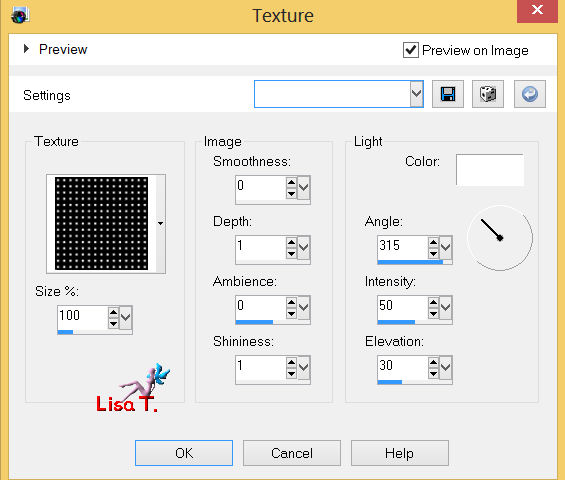
selections/select none
Step 4
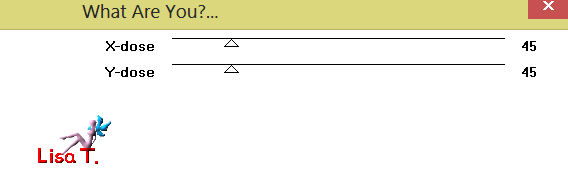
effects/plugins/Toadies/What are You?
effects/edge effects/enhance
layers/merge/merge visible
Step 5
layers/new raster layer
selection tool/rectangle/custom selection

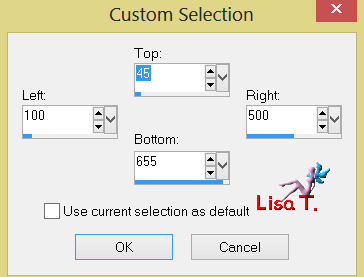
paint with white
selections/modify/contract/10
press the delete key of your keyboard
selections/select none
Step 6
select the white border with the magic wand
effects/texture effects/blinds/color 2
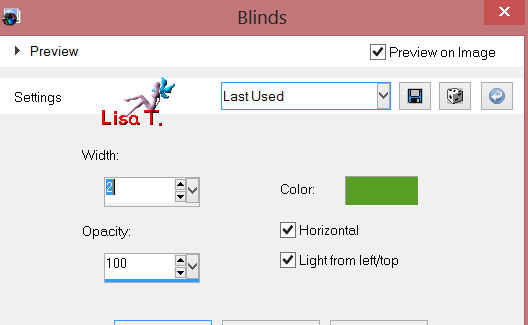
selections/select none
Step 7
activate the magic wand tool and select the inside of the frame
layers/new raster layer
paint with a sunbrurst gradient
selections/select none
layers/arrange/move down
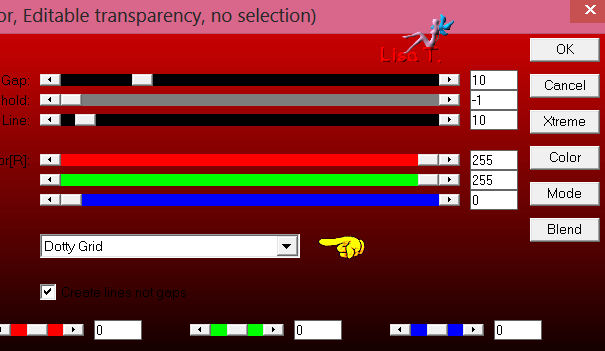
effects/plugins/AP Innovations/Lines Silverlining/Dotty Grid
adjust/sharpness/sharpen more
Step 8
activate the upper layer (raster 1)(the white frame)
effects/3D effects/drop shadow : 0 / 0 / 40 / 25 / black
layers/merge/merge down
Step 9
open the tube of the woman, copy
and paste on your work as a new layer
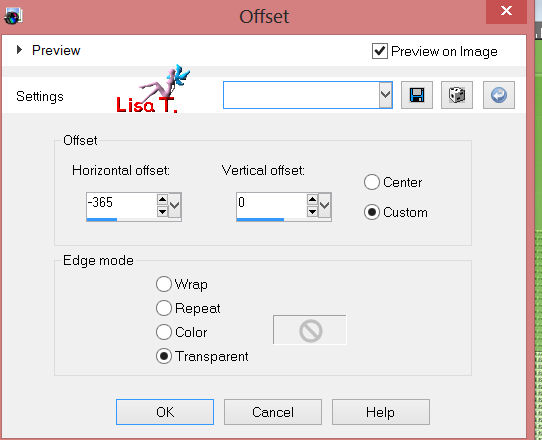
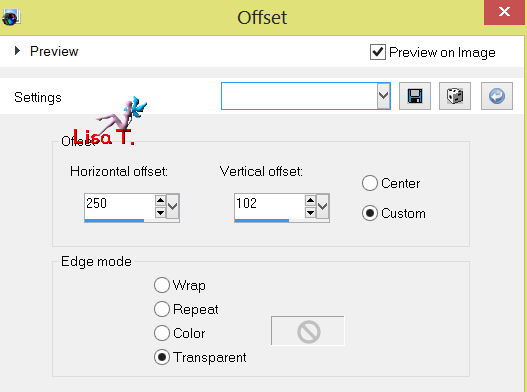
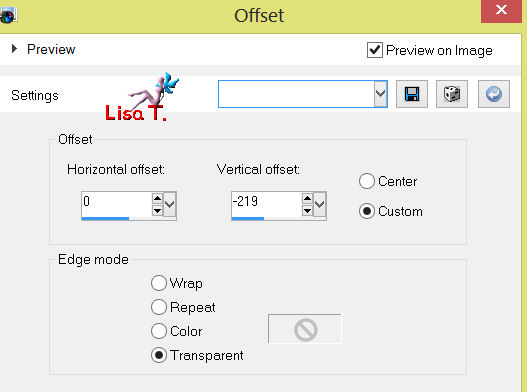
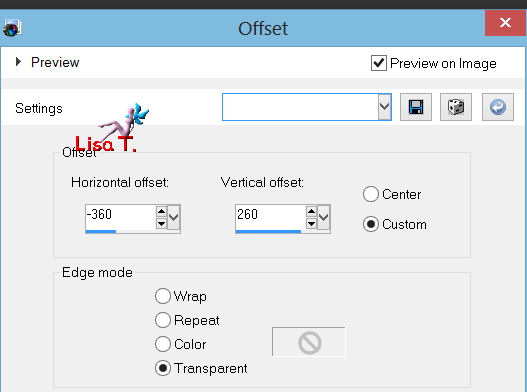
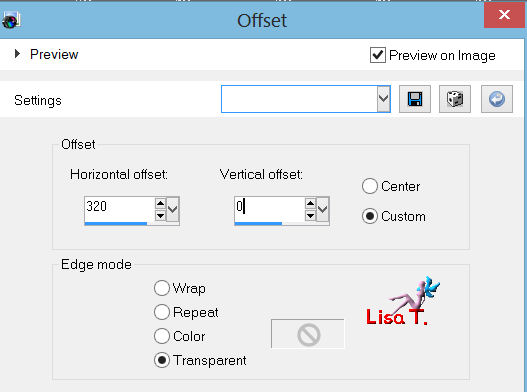
effects/image effects/offset

Step 10
open the tube “deco 1”
colorize if necessary
edit/copy
back on you work
edit/paste as new layer
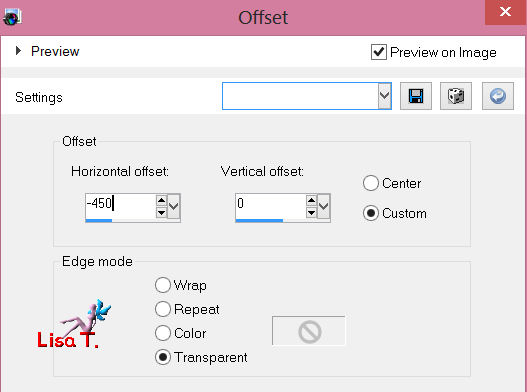
effects/image effects/offset
layers/duplicate
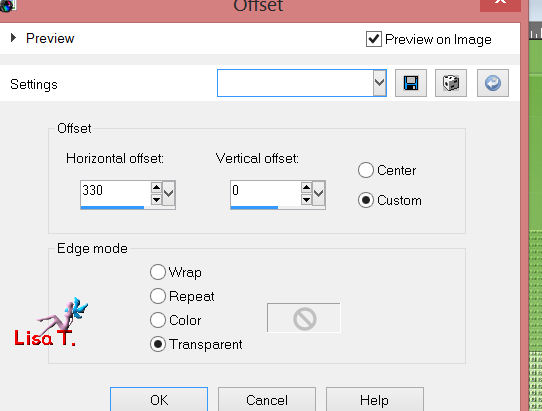
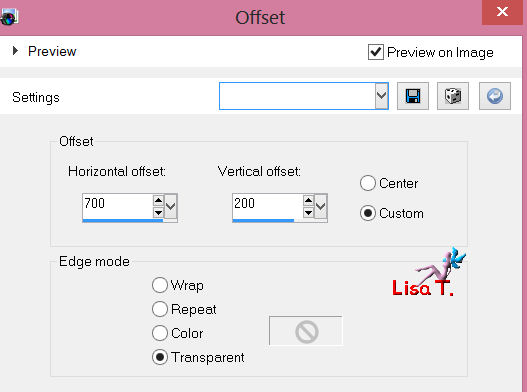
effects/image effects/offset
layers/merge/merge down
effects/3D effects/drop shadow (dark color)
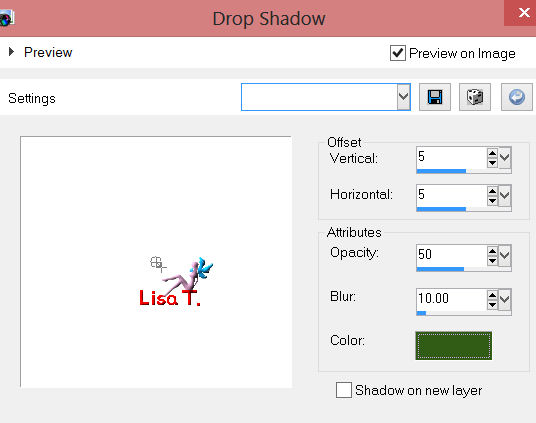
and again drop shadow, changing 5 / 5 -> (-5) / (-5)
Step 11
open the tube “deco 2”, edit/copy
back on your work - edit/paste as a new layer
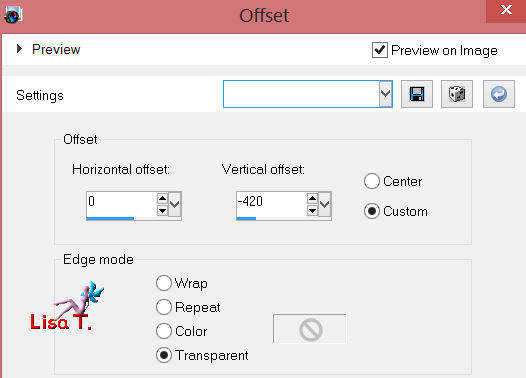
effects/iamge effects/offset
effects/3D effects/drop shadow : 1 / 1 / 100 / 1 / black
layers/duplicate
effects/image effects/offset
layers/merge/merge down
Step 12
open the tube of the button (bouton), copy
and paste on your work as a new layer
effects/image effects/offset
layers/duplicate
effects/image effects/offset
layers/merge/merge down
layers/duplicate - image/flip
laeyrs/merge/merge down
Step 13
open the tube “deco 3”, copy
and paste on your work as a new layer
effects/image effects/offset
layers/duplicate
image/free rotate/right/90°
effects/image effects/offset
layers/duplicate
effects/image effects/offset
layers/merge/merge down
Step 14
activate the custom brush (image 2)
file/export/custom brush
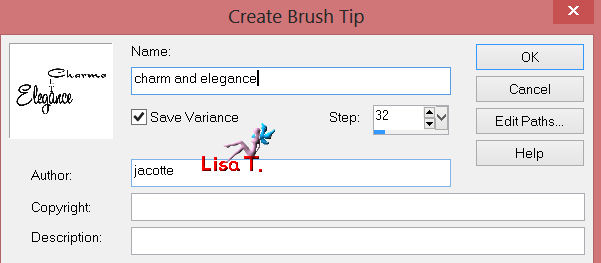
give a name to your brush
back on your work
layers/new raster layer
apply the brush using color 1 (or a light color) to the right of the frame
effects/3D effects/drop shadow/ 1 / 1 / 100 / 1 / black
Step 15
layers/merge/merge all
Step 16
image/add borders/check symmetric/5 pixels/color 3
select this border with the magic wand
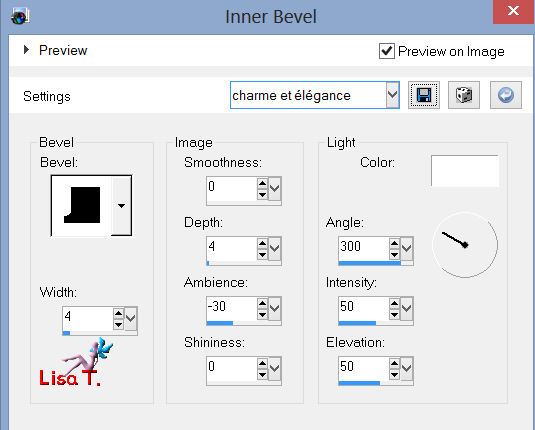
effects/3D effects/inner bevel
selections/invert
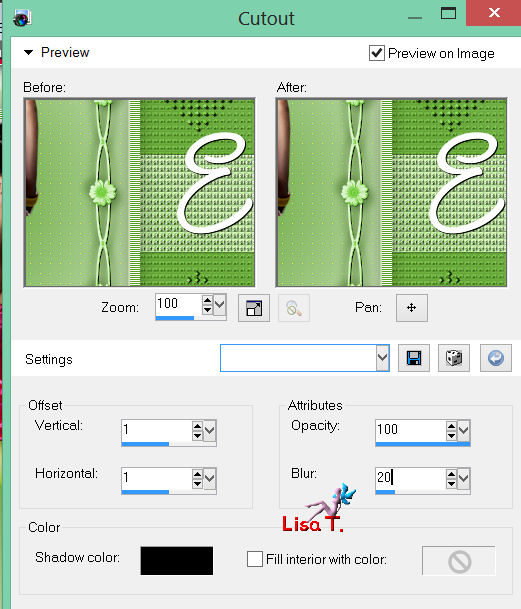
effects/3D effects/cutout
selections/select none
Step 17
image/add borders/3 pixels color 1
Step 18
image/add borders/5 pixels color 3 (pink in the example)
select this border with the magic wand
efects/3D effects/inner bevel/same as in step 16
selections/select none
Step 19
place the texture in the special texture file of “My PSP Files”
add borders/70 pixels/color 2
select this border with the magic wand
apply the texture with the left click of your mouse
effects/edge effects/enhance more
selections/invert
effects/3D effects/drop shadow/ 0 / 0 / 60 / 60 / black
selections/select none
Step 20
image/add borders/5 pixels color 3
select this border
effects/3D effects/inner bevel (same as before)
selections/invert
effects/3D effects/cutout (as in step 16)
selections/select none
Step 21
image/add borders/3 pixels color 1
Step 22
image/add borders/5 ixels color 3
select this border
effects/3D effects/inner bevel (as before)
selections/select none
Step 23
imaage/resize to 900 pixels width
adjust/sharpness/sharpen
Step 24
sign and save as... type jpeg
Your tag is now finished
Thank you to have realized this tutorial
Do not hesitate to send your tags to Jacotte

she will be very glad to see it
and to present it on her site, with your permission of course.

If you want to be informed about Jacotte’s latest tutorials
join her NewsLetter

My try with my tubes
Back to the board of Jacotte's tutorials


|