

The original tutorial can be found HERE

Conditions of use of the material provided
It is forbidden to modifiy, change the name, take off the
watermarks or alter the tubes.
It is forbidden to share them in groups or offer them on
your site, blog or forum.
If you want to use them to create a tutorial, you must
ask the permission to the authors.
the tubes used for this tutorial have been received in
sharing groups
Béa has the permission of the tubers to use them

respect the tubers’ work : never use tubes without
a watermark or a signature : they are stolen tubes
the tubes you find « on the web » without
the tuber’s name are ALWAYS stolen tubes
if you think Bea used one of your tubes, please let her
know,
and if this proves to be true, a link to your site or blog
will ba added.
Or if you prefer, the tube wil be removed from the material’s
folder

Tips and Hints
TIP 1-> if you don’t
want to install a font -->
open it in a software as « Nexus Font » (or
other font viewer software of you choice)
as long as the software’s window is opened, your
font will be available in your PSP
TIP 2 -> from PSPX4,
in the later versions of PSP the functions « Mirror » and « Flip » have
been replaced by -->
« Mirror » --> image => mirror
=> mirror horizontal
« Flip » --> image => mirror => mirror
vertical
Supplies
masks - alpha layer- tubes - palette

duplicate all the tubes, work with the
originals
open the masks, and minimze to tray
colors
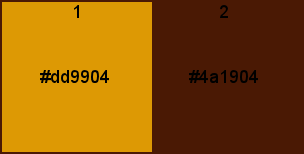
prepare both colors as FG and BG colors
into the materials palette
Plugins needed
Carolaine and Sensibility - Mehdi -
Unlimited - AAA Frames -
Alien skin eye Candy 5 Impact -
Graphic
Plus - Déformation
translator’s note
I use PSP2019 to create my tag and write my translation
but this tutorial can be realized with another version
according to the version of PSP you use, the results might
be slightly different
don’t hesitate to change blend modes and opacities
of the layers to match your tubes and colors
Use the pencil to mark your place
along the way
hold down left click to grab and move it
 |
Realization
1
open the alpha layer
window => duplicate
close the original and work with the copy
2
selections => select all
copy / paste into selection the misted tube - don’t
forget to erase the watermark
selections => select none
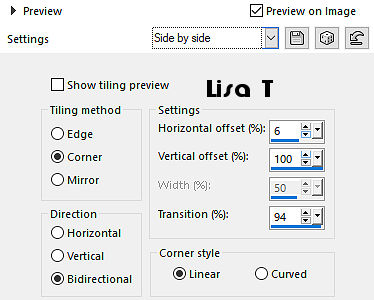
effects => image effects => seamless tiling => side
by side
effects => image effects => seamless tiling => default
settings
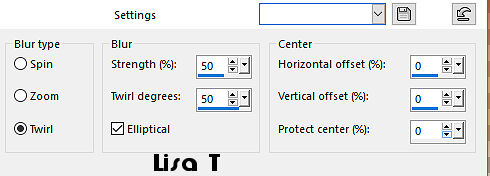
adjust => blur => radial blur
3
layers => merge => merge all (flatten)
effects => image effects => seamless tiling => default
settings
4
layers => new raster layer
flood fill with color 1
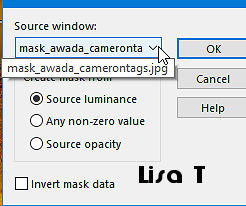
layers => new mask layer => from image
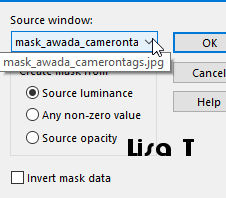
layers => merge => merge group
effects => edge effects => enhance more
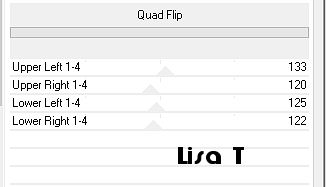
effects => plugins => Unlimited 2 => &<Bkg
kaleidoscope / Quad Flip
5
selections => load-save selection => from alpha channel
=> selection # 1
selections => promote selection to layer
effects => plugins => Carolaine and Sensibility => CS_Halloween2
selections => select none
6
highlight middle layer
selections => load-save selection => from alpha channel
=> selection # 2
selections => promote selection to layer
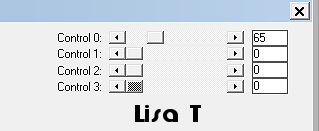
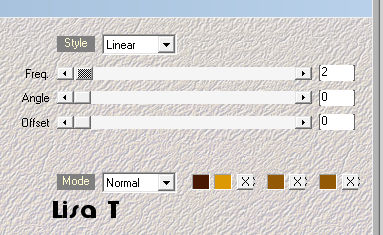
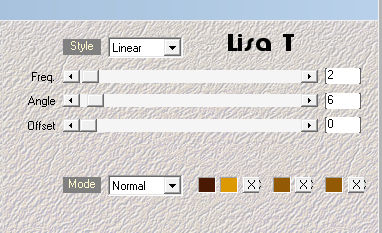
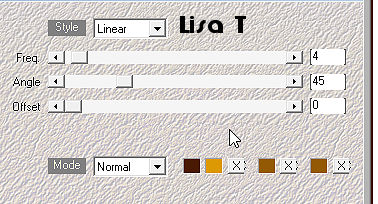
effects => plugins => Mehdi => Wavy Lab 1.1
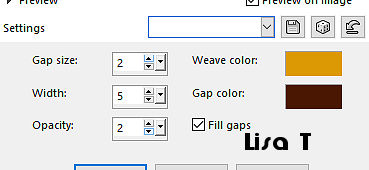
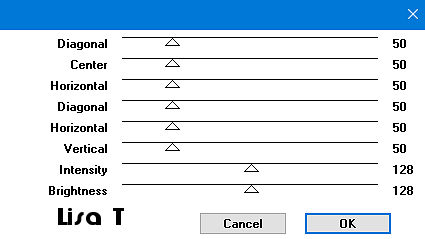
effects => texture effects => weave
/ colors 1 and 2
selections => select none
7
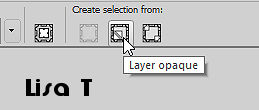
enable the Selection tool / layer opaque
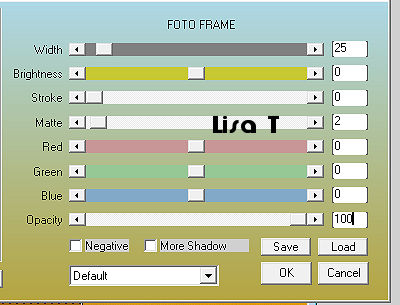
effects => plugins => AAA Frames => Foto
Frame
selections => modify => contract => 25 px
selections => invert
effects => texture effects => weave (same settings
as before)
effects => 3D effects => drop shadow => 0 / 0
/ 70 / 20 / black
selections => select none
8
select the middle of the frame with the magic wand tool
copy / paste the misted landscape as new layer
image => resize => untick « resize all layers » => 65
%
selections => invert
hit the DELETE key of your keyboard
selections => select none
9
layers => arrange => move down
highlight layer above (frame - promoted selection 1 )
layers => merge => merge down
effects => 3D effects => drop shadow => 0 / 0
/ 70 / 20 / black
10
highlight layer below
selections => load-save selection => from alpha channel
=> selection # 3
layers => new raster layer
copy / paste into selection the misted landscape
selections => select none
effects => image effects => seamless tiling => side
by side
blend mode of the layer : Hard Light / opacity : 100%
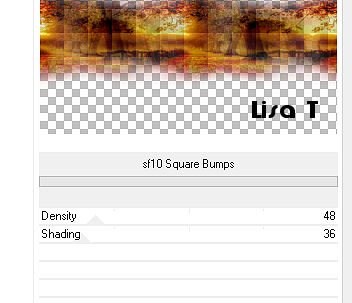
effects => plugins => Unlimited 2 => &<Bkg
Designer IV> => sf10 Square Bumps
adjust => sharpness => sharpen more
11
highlight bottom layer
layers => new raster layer
flood fill with color 2
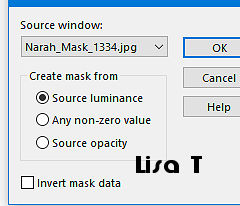
layers => new mask layer => from image
effects => edge effects => enhance
layers => merge => merge group
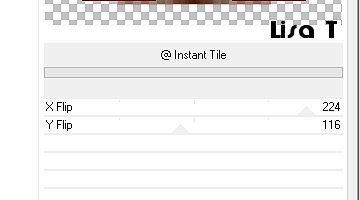
effects => plugins => Unlimited 2 => &<Bkg
Designer sf10 IV> => @Instant Tile
blend mode of the layer : Soft Light (or
other)
effects => plugins => Tramages / Tow The Line

opacity of the layer : 50%
12
highlight bottom layer
adjust => blur => gaussian blur / 10
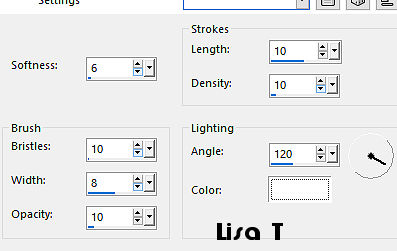
effects => Art Media Effects => brush strokes
13
highlight top layer
layers => new raster layer
flood fill white
layers => new mask layer => from image
layers => merge => merge group
enable the Pick tool with the following settings, to move
the layer acurately => position X : 0 / position Y :
-186
layers => duplicate
image => mirror => mirror horizontal
image => mirror => mirror vertical
layers => merge => merge down
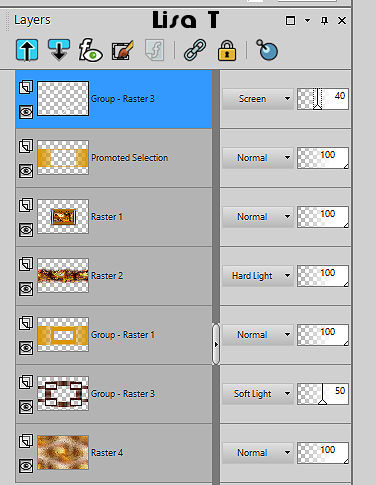
blend mode of the layer : Screen / opacity : 40%
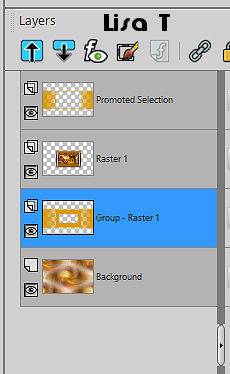
your layers palette looks like this
14
layers => new raster layer
in the materials palette, set colors 1 & 2 as FG and
BG colors
selections => load-save selection => from alpha channel
=> selection # 4
effects => plugins => Mehdi => Wavy Lab 1.1
effects => plugins => Alien Skin
Eye Candy 5 Impact / Extrude
selections => select none
effects => 3D effects => drop shadow => 0 / 0
/ 70 / 20 / black
15
copy / paste the woman tube as new layer
image => mirror => mirror horizontal
place as shown in final result
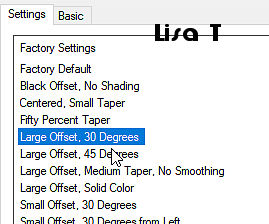
effects => plugins => Alien Skin Eye Candy 5 Impact
/ Perspective Shadow
settings tab => Drop Shadow Blurry
16
open the Word Art / text is already selected
layers => new raster layer
effects => plugins => Mehdi => Wavy Lab 1.1
selections => select none
effects => 3D effects => drop shadow => 2 / 2
/ 50 / 2 / black
edit => copy special => copy merged
back to your work
edit => paste as new layer
image => resize => untick « resize all layers » => 65%
enable the Pick tool with the following settings, to move
the layer acurately => position X : 14 / position Y
: 112
17
copy / paste « Deco » as new layer
enable the Pick tool with the following settings, to move
the layer acurately => position X : 108 / position
Y : 34
selections => select all
selections => float - selections => defloat
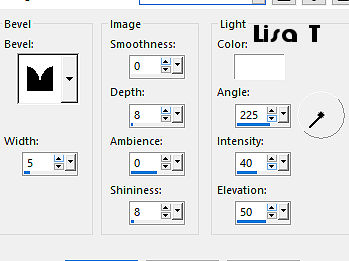
effects => 3D effects => inner bevel
effects => 3D effects => drop shadow => 2 / 2
/ 50 / 2 / black
selections => select none
18
copy / paste « feuilles » as new layer
image => mirror => mirror horizontal
if you want to change the color ==>...
selections => select all
selections => float - selections => defloat
flood fill with the color of your choice
selections => select none
effects => 3D effects => inner bevel (same settings
as before)
effects => 3D effects => drop shadow => 2 / 2
/ 50 / 2 / black
19
image => add borders => tick « symmetric » => ...
2px color 2
5px color 1
2px color 2
20
selections => select all
image => add borders => tick « symmetric » => 10px
white
effects => 3D effects => drop shadow => 0 / 0
/ 75 / 25 / black
selections => select none
21
image => add borders => tick « symmetric » => ...
2px color 2
5px color 1
2px color 2
22
selections => select all
image => add borders => tick « symmetric » => 30px
white
selections => invert
effects => plugins => Mehdi => Wavy Lab 1.1
effects => plugins => Graphic Plus => Cross
Shadow / default settings
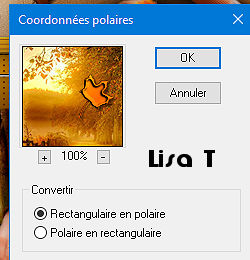
effects => plugins => Déformation => polar
coordinates
selections => invert
effects => 3D effects => drop shadow => 0 / 0
/ 75 / 25 / black
selections => select none
23
apply your watermark or signature
apply Bea’s watermark
24
image => add borders => tick « symmetric » => 2px
color 2
image => resize => tick « resize all layers » => 900
px width
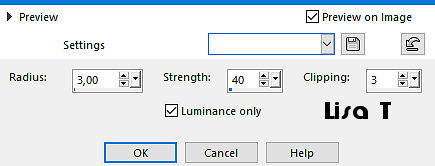
adjust => sharpness => unsharp mask
save your work as... type .jpeg
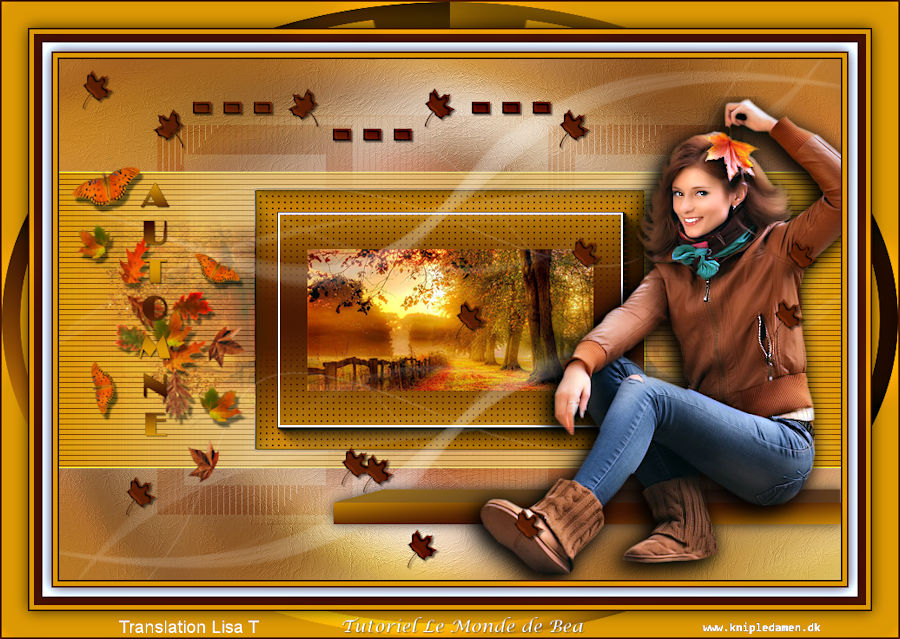
My tag with my tubes

Your tag is finished.
Thank you for following this tutorial
Don’t forget to sign (to avoid plagiarism) and save
file as… type JPEG
Don’t hesitate to send your creations
to Béa

It will be a real pleasure for her to show them in the
gallery at the bottom of the tutorial page
Don’t forget to indicate her your name and the adress
of your blog or site if you have one

created by Birte
Back to the boards of Béa’s tutorials
Board 1 Board 2 board
3

|