

The original tutorial can be found HERE

Conditions of use of the material provided
It is forbidden to modifiy, change the name, take off the
watermarks or alter tubes provided.
It is forbidden to share them in groups or offer them on
your site, blog or forum,
you are allowed to use them in another creation for your
personal use
If you want to use them to create a tutorial, you must ask
the permission to the authors.
this tutorial is a personal creation. Any resemblance with
another would be pure coincidence

Material
scrap elements by Manue Design - mask by Animabelle - font
- tubes - selection - plugin

you will need a main tube (woman tube not provided)
Thank you Grisi for
the tube (woman) I used to created my tag
copy / paste selection into the folder « selections » of
Corel PSP general folder
import the preset into the plugin folder « Flaming
pear »
install the font OR use the « Tip 1 » below
open the mask into PSP and minimize it to tray
open all tubes, erase the tuber’s watermark and duplicate
them. Work with these copies.

Filters Used
Flaming Pear
Filter Factorey gallery C
Sierpenski’s Mirror
Mura’s Meister
Thank you Tine for sharing your Plugins’ page


translator’s note
« Belle de Nuit » works with PSP X, I use PSPX9
to create my tag and write my translations
but this tutorial can be realized with any other version
of PSP
according to the version of PSP you use, the results might
be slightly differents
don’t hesitate to change blend modes of layers matching
your tubes and colors

Colors
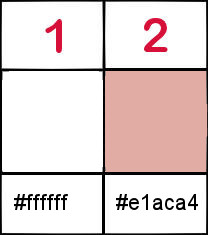
color 1 --> foreground color --> FG --> left click
--> #ffffff (white)
color 2 --> background color --> BG --> right click
--> #e1aca4 (pink)
if you change the colors, keep white as color 1

Hints and Tips
TIP 1 -> if you don’t
want to install a font -->
open it in a software as « Nexus Font » (or
other font viewer software of you choice)
as long as both windows are opened (software and font),
your font will be available in your PSP
TIP 2 -> from PSPX4, in the later versions of PSP the functions « Mirror » and « Flip » have
been replaced by -->
image -> Mirror --> image -> mirror -> mirror
horizontal
image -> Flip --> image -> mirror -> mirror
vertical

Use this pencil to follow the steps
hold down left click to grab it and move it


Realization
1
open your main tube (for Belle de Nuit -> the woman
tube)
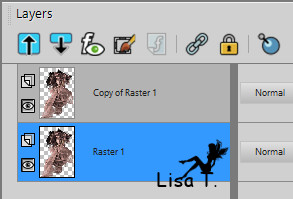
layers -> duplicate
highlight bottom layer
2
effects -> plugins -> Flaming Pear / Solidify A
adjust -> gaussian blur -> 100
edit -> copy
minimize this bacground to tray for a later use in step
30
3
open a new transparent image 900 * 500 pixels
4
selections -> select all
edit -> paste into selection
selections -> select none
5
layers -> duplicate
effects -> plugins -è> unlimited 2 -> Filter
Factory Gallery C / Sierpenski’s Mirror 186 / 231

6
adjust -> sharpness -> sharpen
7
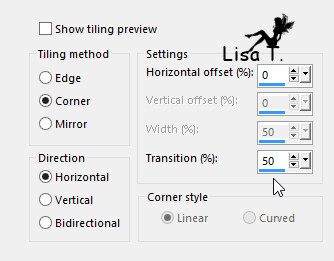
effects -> image effects -> seamless tiling
8
layers -> new raster layer
flood fill white
9
layers -> new mask layer -> from image -> choose
Animabelle’s mask
layer -> duplicate
layers -> merge -> merge group
10
blend mode of the layer -> Luminance (Legacy)
adjust -> sharpness -> sharpen
11
layers -> merge -> merge visible
layers -> duplicate
12
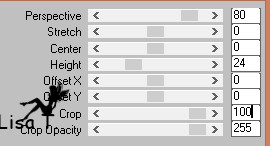
effects -> plugins -> Mura’s Meister / Perspective
Tiling
13
effects -> image effects -> seamless tiling

14
effects -> 3D effects -> drop shadow -> 10 / 10 /
45 / 8 / black
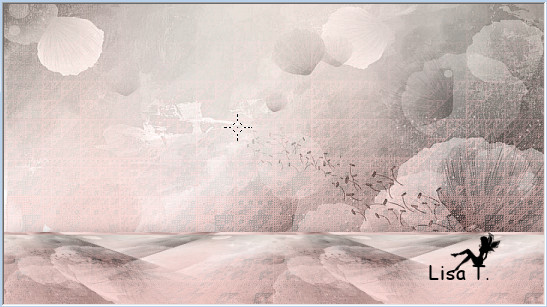
your tag looks like this
15
copy / paste as new layer « manueDesign_element(59) »
16
effects -> plugins -> Mura’s Meister / Perspective
Tiling (same settings as before)
17
copy / paste as new layer « manueDesign_element(65) » (rainbow)
18
enable the Pick Tool to move it
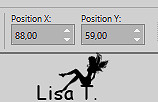
layers -> arrange -> move down TWICE
highlight top layer
19
copy / paste as new layer « manueDesign_element(79) » (flowers)
(the left one on the example)
20
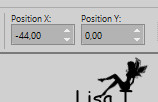
enable the Pick Tool to move it
21
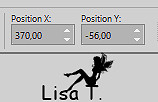
copy / paste as new layer « manueDesign_element(84) »
enable the Pick Tool to move it
22
highlight the background layer
copy / paste as new layer « manueDesign_element(84) » (the
text)
move it as shown on the final result
optional -> image -> negative image
23
highlight top layer
24
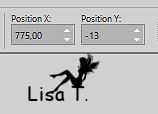
copy / paste as new layer « manueDesign_element(63) » (feather)
enable the Pick Tool to move it
25
copy / paste as new layer « manueDesign_element(22) » (flowers)
move it to the right
26
image -> add borders -> tick « symmetric » -> ...
1 pixel color 2
10 pixels white
1 pixel color 2
60 pixels white
27
copy / paste your main tube
move it where you like
28
adjust -> sharpness -> sharpen
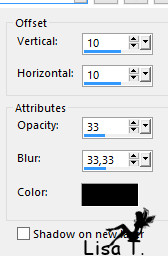
effects -> 3D effects -> drop shadow
29
layers -> new raster layer
load-save selection -> from disk « wordart_bdn_moment_secret »
30
copy / paste into selection the background you created
in step 2
31
effects -> 3D effects -> drop shadow -> 1 / 1
/ 63 / 1 / black
selections -> select none
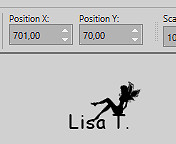
enable the Pick Tool to move it
32
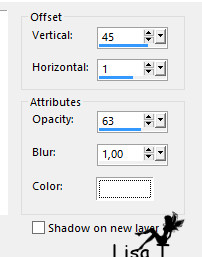
effects -> 3D effects -> drop shadow -> 45 / 1
/ 63 / 1 / white
33
image -> add borders -> tick « symmetric » -> 1
pixel color 2
apply your watermark
resize to 950 pixels (width)
34
adjust -> sharpness -> unsharp mask


Your tag is finished.
Thank you for following this tutorial
Don’t hesitate to send your creations
to Belle de Nuit

It will be a real pleasure for her to show them in
the gallery at the bottom of the tutorial page
Don’t forget to indicate her your name and
the adress of your blog or site if you have one

If you want to receive Belle de Nuit’s Newsletter,
sign up ...


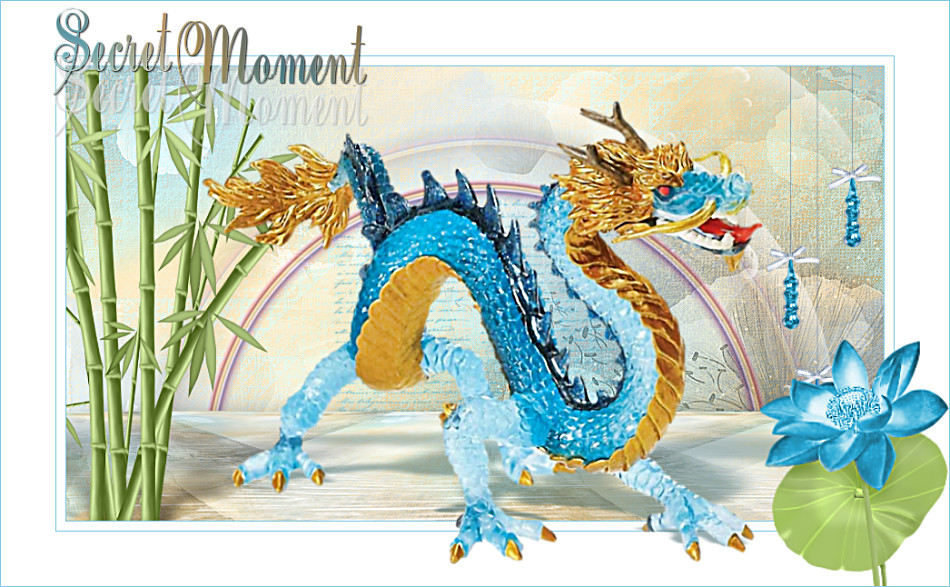
My tag with one of my tubes
(dragon -
under the heading "divers" page 7)
Back to the boards of Belle de Nuit’s tutorials
Board 1 

|