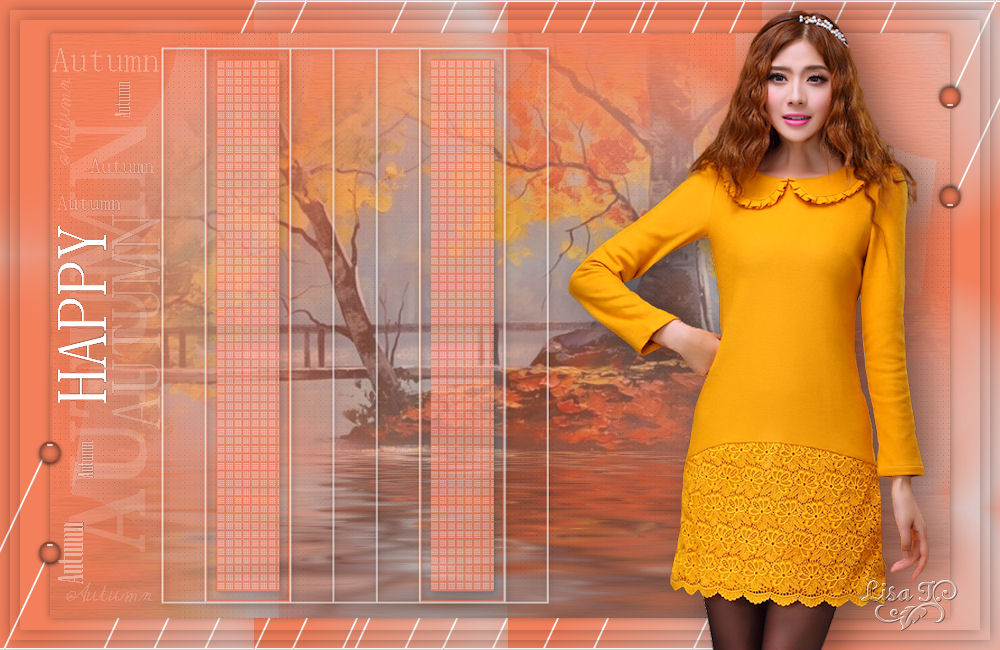
Happy Autumn

You will find the original tutorial here :


All the tubes used to realize this tag were created by Azalée
She is only the tuber, the copyright© belongs to the authors of the original images
If you find the “same” tubes elsewhere, it is pure coincidence
because the images she uses are found on the net.
These tubes are for personal use, and not for profit.
Some “decoration” tubes were found on the net,
or received in the following sharing groups, whom she thanks
Beautiful-PSP - fantasiadicolori - C-Josy-Partages - UnMondodi

This tutorial is a personal creation.
Any resemblance with another one would be pure coincidence.
Azalée uses PSP X6, I use PSP X2, but this tutorial can be realized with other versions of PSP

Plugins
AP 01[Innovations]/Lines Silverlining
Unlimited 2/
filter Factory Gallery B/Circulator & Seismic TRwirl
Flaming Pear/Flood
Penta.Com/Dot and Cross
plugins offered with the kind permission of Pinuccia


Material
tubes - decoration tubes - preset - selections - texture

open the tubes, duplicate them and close the originals.Work with the copies
copy the selection and paste it into the folder « Selections » of « My PSP Files »
copy the texture and paste it into the folder « texture » of « My PSP Files »
copy the mask 20-20 and paste it into the folder « masks » of « My PSP Files »

Colors
foreground color -> color 1 -> #dbcfd0
background color -> color 2 -> #f37f5b


Use the pencil to follow the steps
left click to grab it
 |
     
Realization
Step 1
open a new transparent raster layer 1000 * 650 pixels
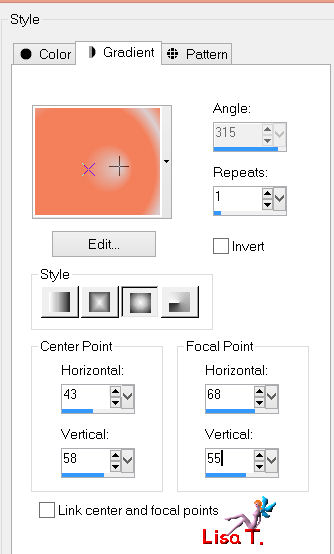
in the materials palette, prepare an sunburst gradient/ repeats : 1 / uncheck « invert »

Step 2
effects/plugins/Unlimited 2/Filter Factory Gallery B/Seismic Twirl

Step 3
layers/duplicate
effects/plugins/Unlimited 2/Filter Factory Gallery B/Circulator

Step 4
effects/plugins/AP 01|Innovations]/Lines Silverlining

Step 5
effects/image effects/seamless tiling/

Step 6
selections/load selection from disk/selection « Azalee-sel-tuto-90-1 »

layers/new raster layer (Raster2), fill with color 2 (right click)
effects/texture effects/Texture/ « Hachure fine »

selections/select none
layers/merge/merge down
set the opacity on 35%
adjust/sharpness/sharpen
Step 7
layers/new raster layer (Raster 2)
activate the selection tool/rectangle/custom selection


fill the selection with color 1
selections/modify/contract/2 pixels
hit the delete key of your keyboard
selections/select none
effects/edge effects/enhance
Step 8
layers/duplicate
effects/image effects/offset/ ( -150 / 0)

layers/merge/merge down
Step 9
layers/duplicate
effects/image effects/offset/ ( 50 / 0 )

layers/merge/merge down
Step 10
layers/duplicate
effects/geometric effects/skew

close the « eye » of this layer, and activate the layer below ( Raster 2 )
activate the magic wand tool/tolerance : 0/ feather : 0/select the 2 rectangles as shown on the screenshot

layers/new raster layer ( Raster 3 )
fill the selection with color 2
selections/modify/contract/2 pixels
hit the delete key of your keyboard
selections/modify/contract/10 pixels
layers/new raster layer ( Raster 4 )
fill the selection with color 2
effects/plugins/Penta.Com/Dot and Cross

selections/select none
layers/merge/merge down twice
Step 11
make sur Raster 2 is the active layer
image/resize/uncheck « resize all layers »/95%
effects/3D effects/drop shadow/ 2 / 2 / 35 / 10,89 / black

set the opacity on 65%
Step 12
layers/new raster layer ( Raster 3 )
selections/select all
activate the tube of the landscape
edit/copy - back to your work - edit/paste into selection
selections/select none
Step 13
layers/load mask from disk/mask 20-20

layers/merge/merge group
Step 14
effects/plugins/Flaming Pear/Flood
click on the button with the red arrow as shown on the screenshot

find the folder where you can find the preset provided
select « Flood-tuto-90-Azalee », click on « open »

here are the settings

set the opacity on 55%
layers/arrange/move down
your tag and your layers palette look like this

Step 15
close the « eye » of the background layer (the eye of the upper layer is still closed)
the layer « Group Raster 3 » is active
layers/merge/merge visible
Step 16
open the « eye » of the background layer (Raster 1) and activate this layer
layers/duplicate
activate the layer above (Merged)
layers/merge/merge down
image/resize/uncheck « resize all layers »/90%
effects/3D effects/drop shadow/ 0 / 0 / 35 / 10,89 / black

Step 17
open the « eye » of the top layer ( Copy of Raster 2 ) and activate it
layers/arrange/move down
layers/duplicate - image/mirror - image/flip
layers/merge/merge down twice
Step 18
selections/select all
selections/modify/contract/10 pixels
effects/3D effects/drop shadow/ 0 / 0 / 35 / 20,79 / black

selections/modify/contract/10 pixels
effects/3D effects/drop shadow/ 0 / 0 / 35 / 20,79 / black(as before)
selections/select none
Step 19
in the layers palette, activate the layer above (Copy of Raster 1 )
activate the tube of the element
edit/copy - back to your work - edit/paste as new layer
don’t move it
Step 20
activate the tube of the woman
edit/copy - back to your work - edit/paste as new layer
image/resize/uncheck « resize all layers »/85%
move it to the right as shown on the final result
effects/3D effects/drop shadow/ 7 / 14 / 45 / 55,45 / black

adjust/sharpness/sharpen
Step 21
activate the tube of the text
edit/copy - back to your work - edit/paste as new layer
move it to the left as shown on the final result
Step 22
apply your signature
Step 23
layers/merge/merge all (flatten)
image/resize as you like
Step 24
file/save as... type jpeg

Your tag is now finished
we hope you enjoyed doing it

You can send your creations to Azalée.


It will be her pleasure to present it on her site


If you want to be informed about Azalée’s new tutorials
Join her newsLetter, on her home page


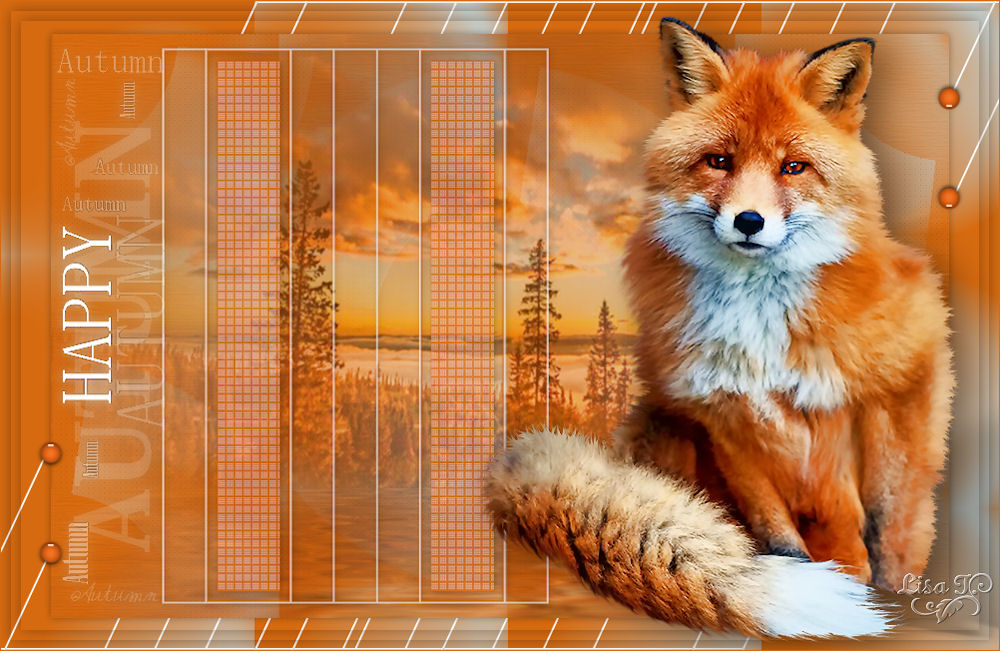
My tag with my tubes

Back to the boards of Azalée’s tutorials
board 1  board 2 board 2  board 3 board 3 

|